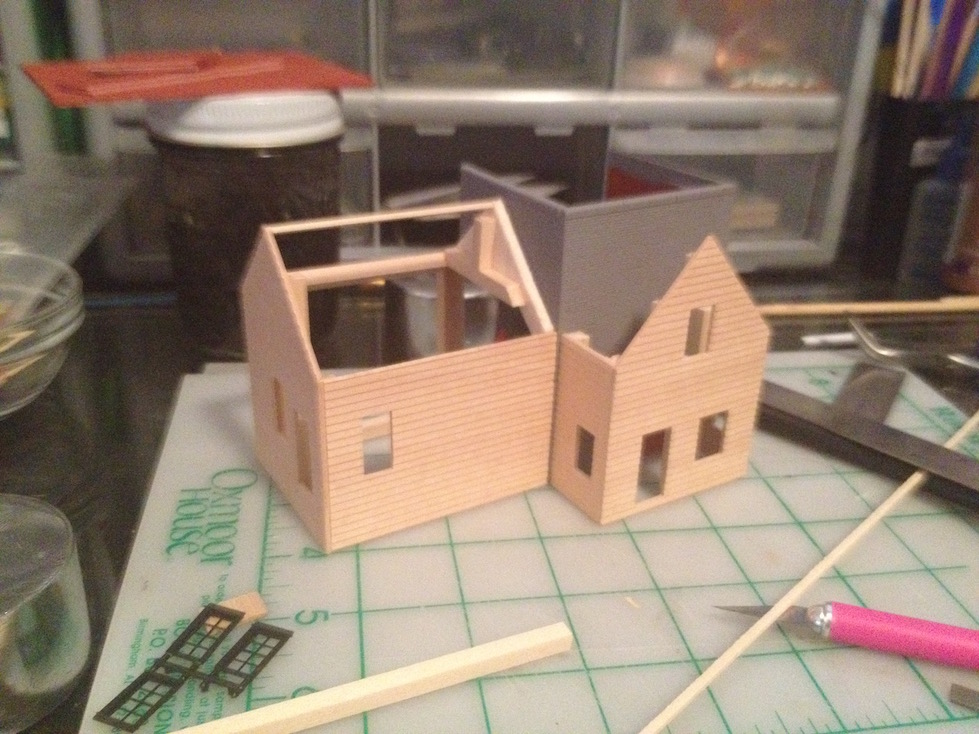
Next up is the conveyer between the two rooftop equipment sheds. First I added a simple card stock subroof to the lower shed that sits on the brick section.

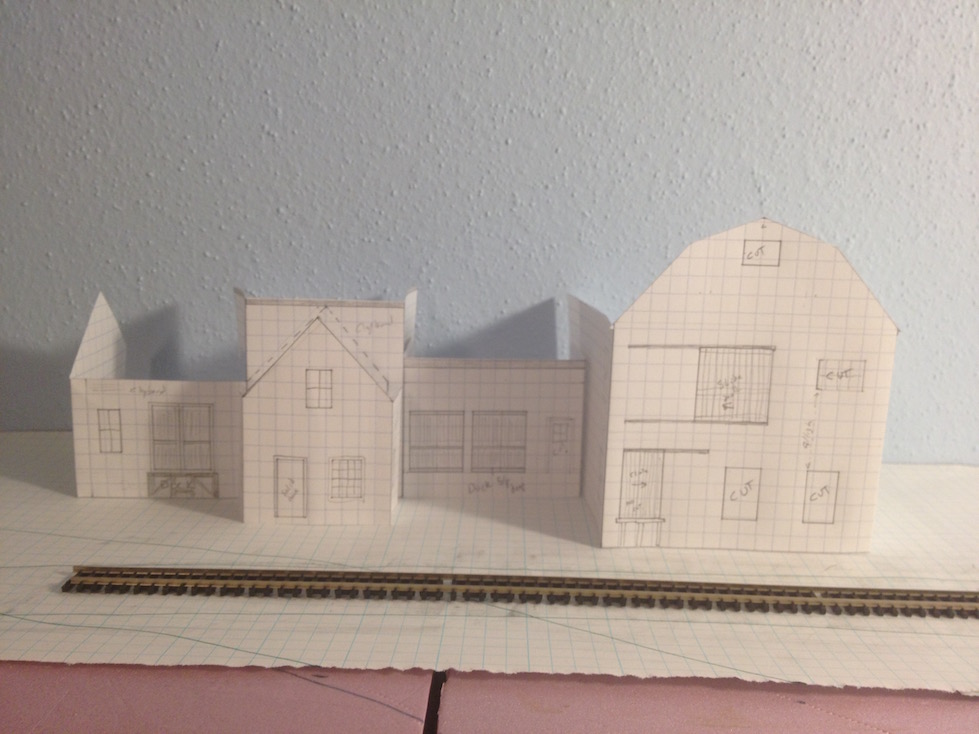
Next i played around with sizes a bit and decided on just over 4 scale feet for the hight of the conveyor. It actually measures 15mm for ease of marking. I cut a cardboard strip to that width and clamped it in place on the back of the upper shed. Once it was positioned to my liking I marked both ends against the roof of the lower shed and wall of the upper shed.


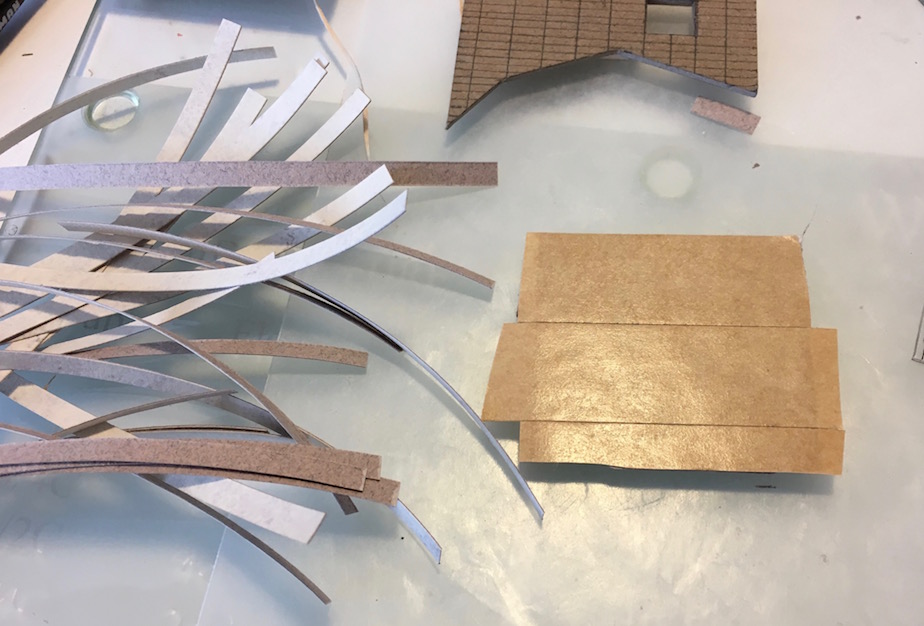
I used that as a template to cut out two sides (front and back) for the conveyer. I decided to make the profile square so I cut a top and bottom 15mm minus the thickness of the two sides. In order to keep things square I cut 3 pieces of thick balsa to fit inside the conveyer. I then attached the balsa guides to one side at each end and in the middle and then applied the other sides.

The black marking ensured that I kept the balsa guides in the same orientation.
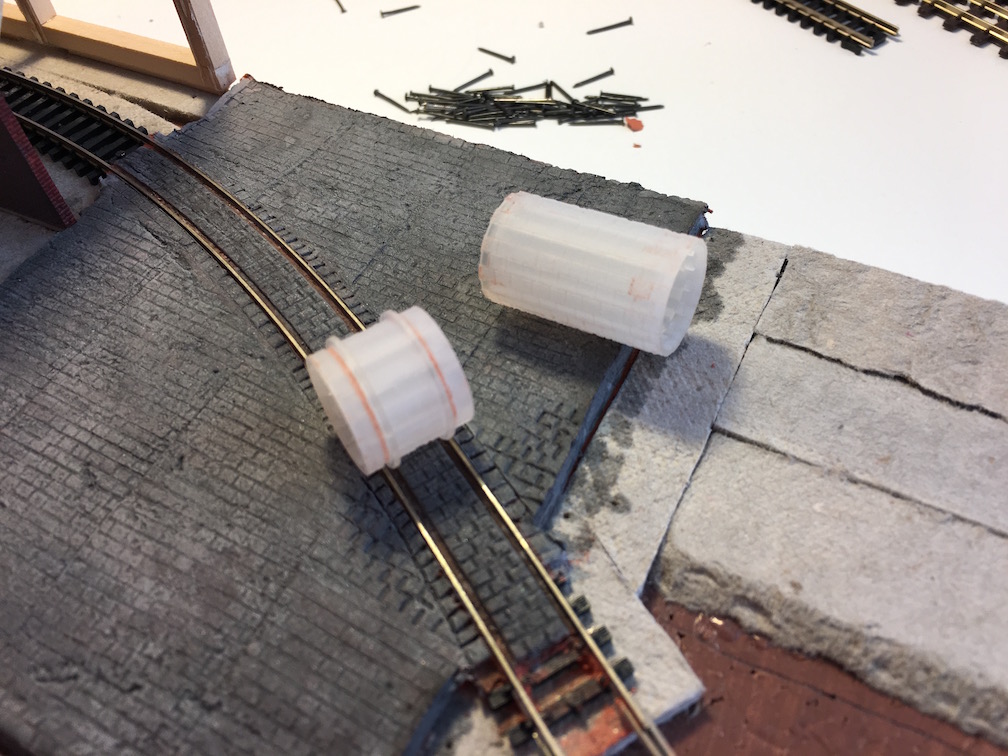
Here is the marking template, a balsa guide and the finished conveyer.

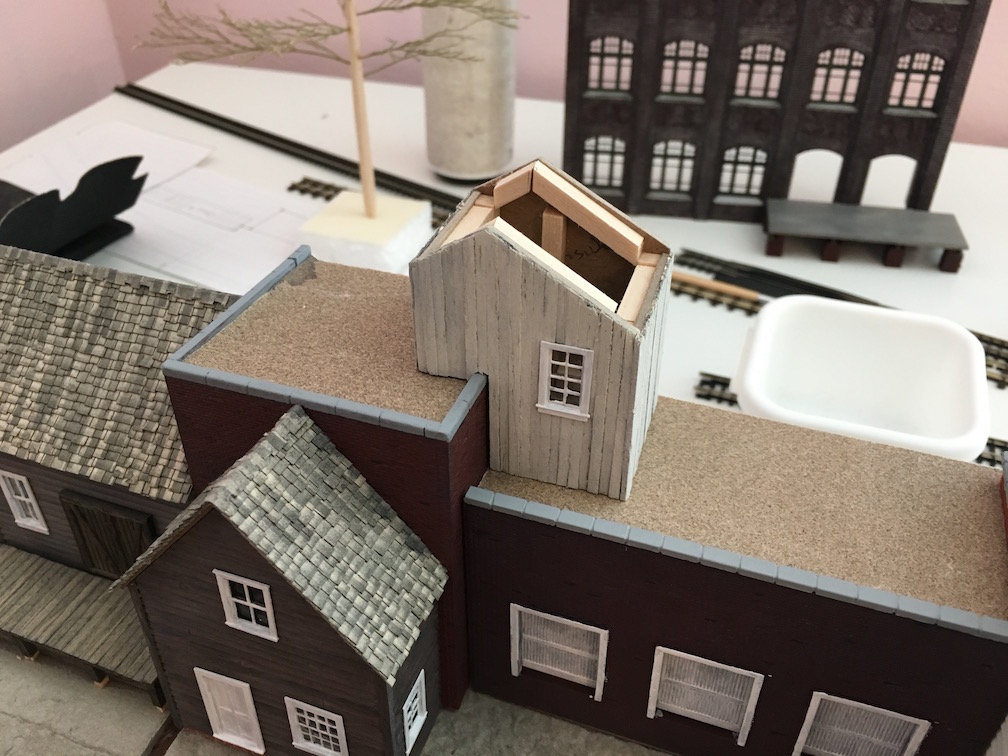
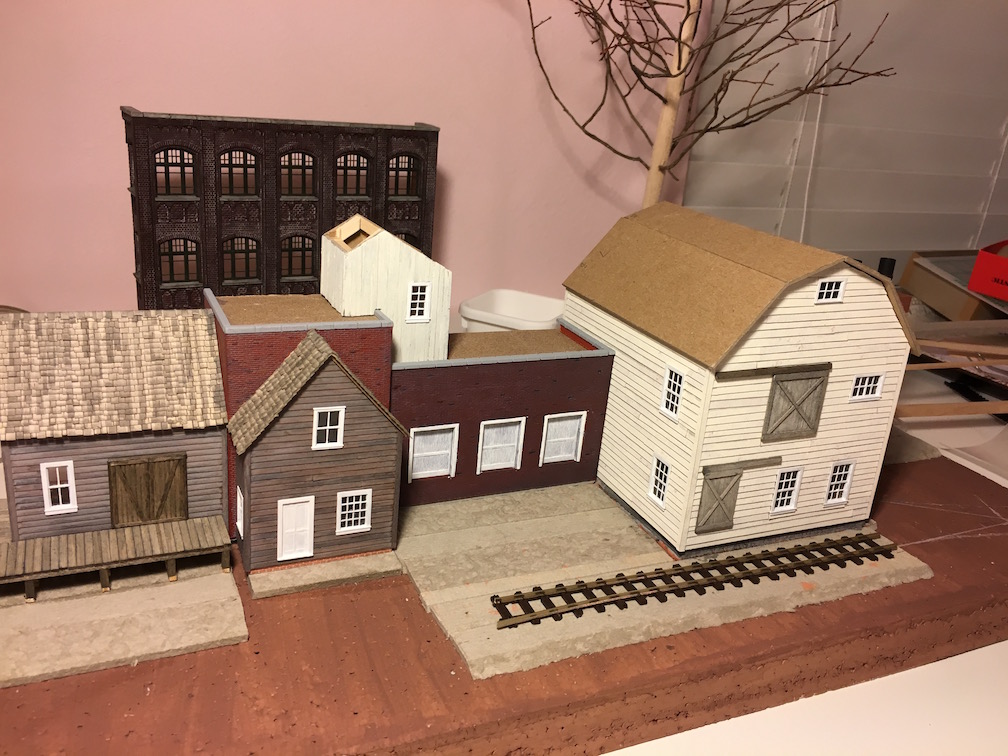
And here is the conveyer set in place between the two equipment sheds.

Next up will be the roof for the upper equipment shed and deciding on how to cover the conveyer. I'm considering the same planking as on the barn and upper shed with rolled roofing on top.
Next i played around with sizes a bit and decided on just over 4 scale feet for the hight of the conveyor. It actually measures 15mm for ease of marking. I cut a cardboard strip to that width and clamped it in place on the back of the upper shed. Once it was positioned to my liking I marked both ends against the roof of the lower shed and wall of the upper shed.
I used that as a template to cut out two sides (front and back) for the conveyer. I decided to make the profile square so I cut a top and bottom 15mm minus the thickness of the two sides. In order to keep things square I cut 3 pieces of thick balsa to fit inside the conveyer. I then attached the balsa guides to one side at each end and in the middle and then applied the other sides.
The black marking ensured that I kept the balsa guides in the same orientation.
Here is the marking template, a balsa guide and the finished conveyer.
And here is the conveyer set in place between the two equipment sheds.
Next up will be the roof for the upper equipment shed and deciding on how to cover the conveyer. I'm considering the same planking as on the barn and upper shed with rolled roofing on top.


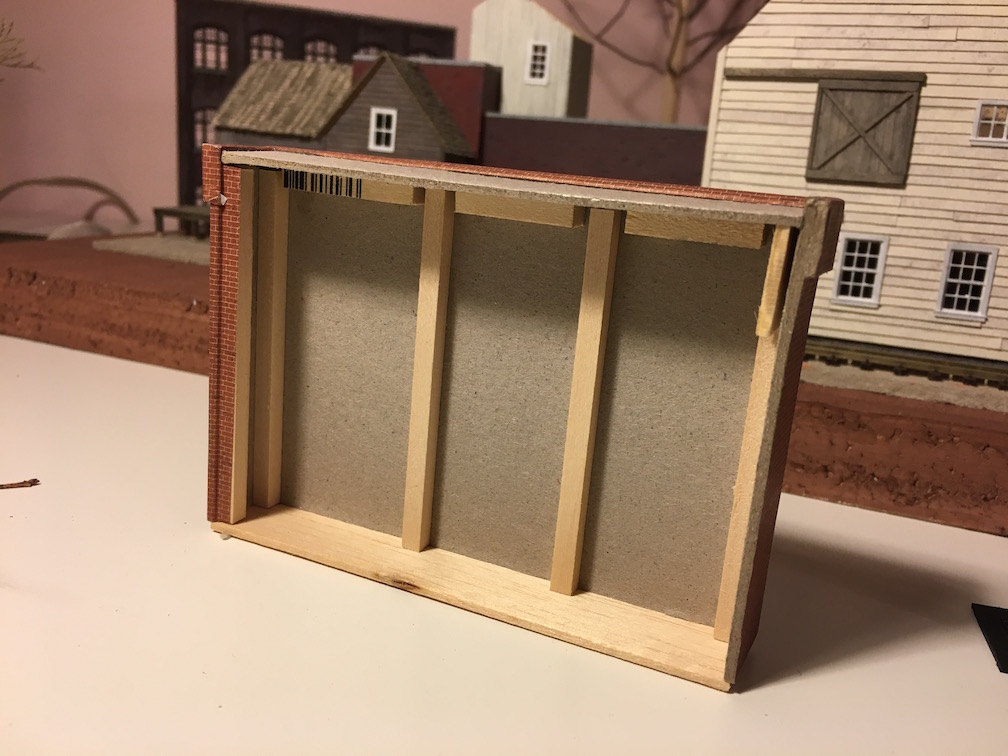


 So I went back and made an end cap for the left side and added it to the main structure. I'll have to cover the obvious butt joint with a down spout or ivy or something.