So I'm doing a sorta scratch.
I've had this Ken Kidder Porter Mogul forever. I put a can motor in it and a decoder about ten years ago but never ran it much. My railroad is an operational pike that uses Ship It for a switching system.
The original loco has a long pilot and no front coupler. Not good for switching.
So I decided to convert it to HOn3 and put a usable pilot on it at the same time. I'm making all new parts so that it could be put back to HO (however not easily).
These locos were scaled a bit small so the move to NG is going to be acceptable.
So here are the starting photos..... with the original loco.
see ya
Bob
Original loco

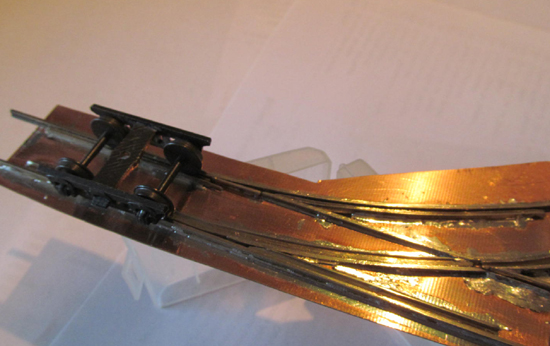
Progress


I've had this Ken Kidder Porter Mogul forever. I put a can motor in it and a decoder about ten years ago but never ran it much. My railroad is an operational pike that uses Ship It for a switching system.
The original loco has a long pilot and no front coupler. Not good for switching.
So I decided to convert it to HOn3 and put a usable pilot on it at the same time. I'm making all new parts so that it could be put back to HO (however not easily).
These locos were scaled a bit small so the move to NG is going to be acceptable.
So here are the starting photos..... with the original loco.
see ya
Bob
Original loco

Progress