Menu

Show posts

This section allows you to view all posts made by this member. Note that you can only see posts made in areas you currently have access to.

Show posts Menu

Topics - Bernd

#1
I mentioned this subject back in September 2025 on MRH. It was poop-pooed as impossible to do. This is a project that was talked about way back in history.

I said on MRH:

QuoteLooks like the Bearing Straight crossing by bridge or tunnel has been talked about quite a bit.

https://en.wikipedia.org/wiki/Bering_Strait_crossing

Putin's envoy boasts of plans to sign agreement with US on Chukotka-Alaska tunnel

https://www.pravda.com.ua/eng/news/2026/06/04/8037791/index.amp?utm_source=substack&utm_medium=email
 
Looks like Elon Musk will be involved. The signing happens today.

Aught to make for some interesting conversion.

Bernd
#2
My server where I have all my pictures stored must be down as of 9:30PM. Hopefully it'll back up tomorrow. I'll need to go back and straighten out the mess I made of the Grizzly Shear post because I thought I had done something wrong. It's a total mess right now.

NOTE: I just noticed the forums software is running one hour behind. Apparently the forum didn't Spring Ahead. <lol >

Bernd
#3
As I mentioned last week (3-14-2026) I had purchased a Grizzly hand Shear.

https://www.grizzly.com/products/grizzly-12-hand-shear-machine/t26470

I ordered it on Saturday 14 and the little brown truck delivered to my door on the following Friday at 6:15PM. Not bad for a trip across the country with the prevailing weather conditions.

Grizzly at one time had a warehouse/store in Muncy, PA in 2015. I had purchased all my first metal tooling, a lathe, milling machine, and woodworking tools, table saw, band saw, planer and joiner at the Pa. store. Loved going to that store and look at all the machines on the showroom floor. Now they have two stores. Grizzly offers two public U.S. showrooms in Bellingham, WA, and Springfield, MO.

On to the critique of this machine. Oh, BTW, shipping was free, but had to pay a sales tax of $22.13.

I'm sure you've already gone to the website to look at the product, but I'll post a picture so you can see how I mounted it on a heavy metal stand.


Here's a close up of the shear. The red arrow points to the finger guard. The green arrows and lines make note of how large the opening is. Anything over .080" thick won't go under that guard. The blue arrow points to the bend in the stamped steel table where I'm contemplating of cutting off the finger guard. If you purchase one and feel it unsafe to do this then don't follow what I'm thinking of doing with it. I'll explain later as to my thinking of eliminating that guard. It also looks like it's bowed down, but it's not. It's the camera lens.


My first piece of non-ferrous metal being sheared.


The next set of pictures shows all the different material I cut and the quality of cut.

Brass .020" thick. Equates to 24 gage. The max you can shear on the shear is gage 17 mild metal. 17 gage being .0538" thick.


A piece of .0315" nickel silver.


And for Dave Emery the styrene cuts. First piece,.080" thick.


.040" thick.


.015" thick and a very narrow piece of the same thickness. It's a bit tapered due to not being able to line the sheet up parallel. Something I plan on correcting down the road.


This next one is hard to see. It's a piece of .010" thick clear styrene. I was surprised at how clean it cut.


A piece of single sided PC copper clad board .064" thick. I was surprised at how easy it sheared.


A piece of single sided PC copper clad board .030" thick. Again like a hot knife through butter.


I tested some wood also. First a piece of bass wood 1/16" thick.


And a piece of balsa 1/32" thick.


So that's my critique of the hand shear. After cutting all those different materials I wish I had purchased one of these tools earlier for building in brass and cutting PC board ties.

I hope this little critique helps if you're thinking of buying one. My experience is with the Grizzly shear only and I'm not receiving any compensation for my critique. I just find it another useful tool for model railroading. Questions? Ask away and I'll try to answer them.

Bernd
#4
Dave Eeemery (deemery) mentioned me to another modeler on the MRH forum and how I had a Bridgeport milling machine in the basement. I thought I'd post the 103 pictures of that adventure here in this section.

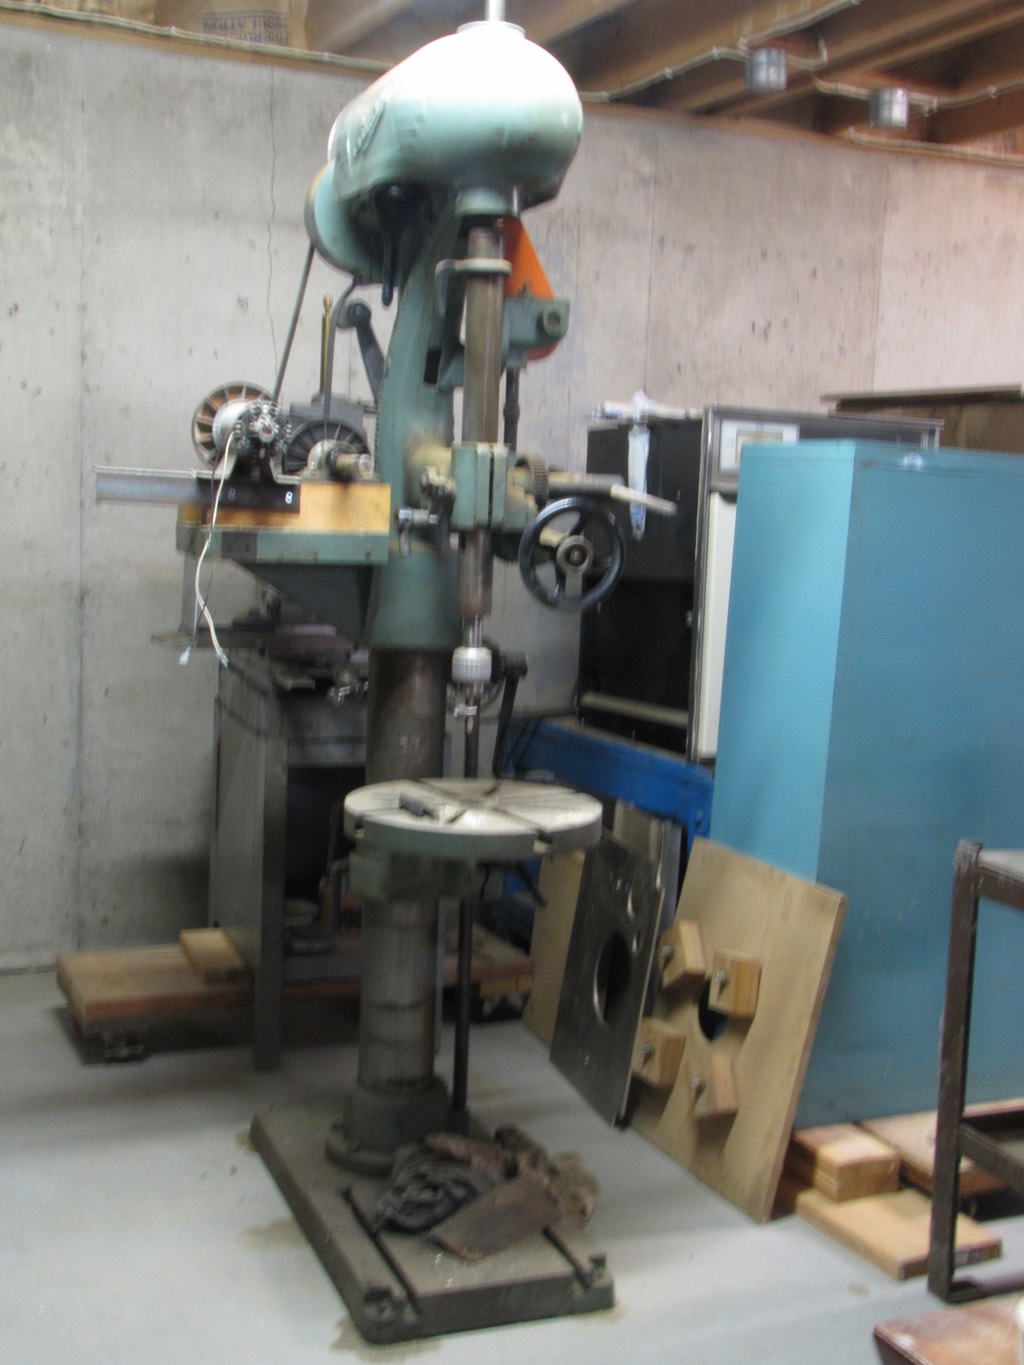
I'll start it off with this first machine. It's a #21 Buffalo forge drill press I got for couple hundred dollars. The 21 stands for 21" from the center of the spindle to the back support column. This machine weighs in at around 1000lbs. I had it in the garage for a while until I decided to move it to the basement. I had added a motor and drive from a treadmill. That's what those light colored blocks are on the left. It was used to cut out 6061 aluminum engine/transmission support plates for dragsters. This is what happens when somebody in the neighborhood finds out you can do machine work.


The other machine is a Bridgeport machine weighing in at 2000lbs.


I'll begin with the drill press since I had that before the Bridgeport.

This is how you move something that weighs 1000lbs. Any kind of round bar will work on a solid floor such as concrete. A crow bar also works for lifting.


As the saying goes "Give me a lever long enough and I'll move the world."

Some hydraulic help from a friend helps. In the case a 270 Massey Ferguson tractor with a bucket.


Tipping the drill press over with the help of the bucket.


Large straps help secure it from getting away on you.


Actually I was dragging it outside so I could sperate the top from the bottom.


The top and bottom on pallets ready for moving. That's Miss Boots, my supervisor. (RIP)


I had to disassemble the door and frame to get the pallets through.


I built a wooden slide to slide the parts down. The pallets were tied off on the tractor and slowly let down the slide.


A view up from down in the basement.


The top half has made it to the basement safely.


Using 2" diameter pipes to move the top part further into the basement.


Now for the bottom part. It was securely strapped to the pallet.


This time I'm using a platform with wheels on it. Getting it over the door jam was a bit hard.


Got it on the rolling platform.


Both parts made it safely to the basement.


Now for some assembly. That'll be in the next installment.

Bernd

#5
Sine the quarry line is HOn30 I'm going to write up the building of the brass quarry cars in this section. This project started a little over a year ago after I did a basement redo moving things around to start on the quarry layout part.

I had purchased two MiniTrains set over the years at train shows.


ahm-minitrains.jpg

I'm using the plastic cars as a template to make the brass ones. Why brass and not use the plastic one's? They are going to be used dumping real rocks into a crusher building and then the crushed rock will get loaded into the cars and taken to an interchange where they will be dumped into standard gauge hopper cars. That's why brass is being used. The plastic cars do not shove well when empty.

So once I came up with some idea of how I wanted to go about building these I began getting parts together. I'll be using the wheels and axles from the Mini-Trains cars. They will roll in roller bearing axles instead of friction bearings for easier rolling stock.


Tiny bearings from E-bay. They have an id of .039" and fit the Mini-Trains axel.

Here's a close up of the plastic cars and one set of bearing fitted to an axle.


Six cars will be loaded simultaneously under the rock bin. The rock bin will be animated for loading the quarry cars.


Taking a closer look at the plastic cars shows some detail bracing and of course rivets.


I looked into making rivets in aluminum shim (very thin aluminum - approx. 005" thick).


The jury is still out as to whether I'll install rivets on the cars. I may say they are welded steel instead of riveted cars.

That's it for now. More to come.

Bernd
#6
Time to write up the construction of four boxcab electrics I had built several years ago. These were built to compliment the Diesel Boxcabs I wrote up in the following link:

https://modelersforum.com/index.php?topic=6790.0

One of my modeling interests is in electric engines powered from overhead wires. I have several large main line engines from commercial manufactures. Nobody makes small four wheeled electric boxcabs so I had to  scratchbuild them out of brass of course. One of my favorite building materials.

So to start off, a search on the net to get an idea of what's out there. I did a search for quarry electric engines and came up with the following pics. These were the closest that I had in mind.


Next problem, was I going to build a DYI powered chassis or buy one. After looking at what was available in HOn30 (N gauge track width actually) I came up with these Kato 11-103. I didn't like what was available in a two truck design in HOn30, that's why the two axle unit was picked.


Now I needed to come up with a properly designed boxcab. I paper mock up was drafted in CAD, applied to some cardboard for the mock up, but first I needed to make a floor to fit on the chassis.

Using a piece of .030" thick brass I used a CAD drawing to cut out the base using a fret saw with a fine tooth metal saw blade.


To fit properly I had to removed two tabs for the floor to fit over the motor.


Next the body mockup.


Next I'll get into the sides that were cutout on the Sherline CNC.

Bernd

#7
Looking for something to watch on U-tube? New Tracks is live at 7:00PM EST.

New Tracks on U-Tube
 
Tonights feature :
 
This week is the monthly MyBuild with "anything goes". MyBuild is where New Tracks Modelers show their latest efforts. In News and Views O Scale 2 Rail. Skyler Shippy will look ahead to events and activities for O Scale modelers in 2026. Steve Sherrill will host a "What do you want to talk about?" and we have a great New Tracks Layout Visit to Bernard Kempinski's O Scale U. S. Military Railroad (USMRR) Aquia-Falmouth Line.
 
If you like what you see and want to join the weekly show by being on Zoom and interact with other modelers of like mind sign up on the New Tracks website and get the weekly Zoom link.

New Tracks Modeling
 
Bernd
#8
Modeling Wizardry / UV colored printer
December 16, 2025, 09:43:55 AM
Looks like UV (ultra violet) printing is just around the corner.


And the Kick Starter web site selling the printer.

https://www.eufymake.com/products/eufymake-e1?pageType=b

I see a potienial here for a kit maker. With a laser and this printer one could print bill board refer cars or any wood side car with a finished paint job and weathered to. No more need for paint and air brush. Sames goes for buildings.

Bernd
#9
I finally picked up my new tool after it spent two days riding around in a FedEx truck. They were supposed to deliver it Monday. I get a notice in tracking that due to weather condtions they would try again next day. I did a "chat" with their AI and had it sent to Victor, NY (close to me if you consider a 20 minute drive close) to their FedEx store. Was supposed to be there by 3:00PM Tuesday afternoon. Ya, it got there at 5:06PM according to tracking time. So I went and got it this morning. Got it home and set it up on it's workbench.

What is it? Here are some pics.

The box.


Packed pretty good.


The only way to get it out of the box was to flip it on it's back and pull the box off.


There it is, 75lbs. of CNC machine.


The only way for an old geezer to pickup the machine from the floor is with a chainfall.


Got it on the bench finally and opened up the box with all the tooling in it.


Here's why I bought this one instead of the Carvera Air. (I'll explain in more detail later)


All fired up and ready for a test job.


More later on the whole adventure.

Bernd
#10
The HO / HOn3 / HOn30 Line / Ken Kidder Locomotives
December 09, 2025, 10:53:17 AM
A 2-6-0 Mogul built by Ken Kidder arrived yesterday from an E-bay vendor. He had it listed as HOn3. When I opened the box and was looking at the wheels, I thought that they looked a little to widely spaced to be HOn3. Sure enough they were standard gauge. I mentioned that in my "Feed Back" along with the two picures below. I'm keeping the engine. It's in nice condtion, just needs to be assembled since it was a kit. I did tell to hime to use a NMRA gauge the next time and gave him a 1 star on description of the product. This might become a narrow gauging project. I might just turn it into a 3 foot narrow gauge engine. I already have a standard gauge like this one that I bough may moons ago.


I got out my other two Ken Kidder engines. A 4-4-0 HOn3 and my other 2-6-0 Porter Mogul. The HOn3 4-4-0 is on the top, the 2-6-0 Mogul I bought many years ago is in the middel and the new acquisition is at the bottom.


Here's a bottom view of all three locomotives.


The idea was to convert the standard gauge to narrow gauge. After inspecting the 4-4-0 I've determined it might be quite an undertaking as I noticed the 4-4-0 has smaller diameter wheels on the tender and also on the engine. Of course getting the correct wheels sets to do the regauging would be a problem. What I might do is modernize both standard gauge engines. There was an article back in Model Railroader of modernizing these engines. Time will tell which direction I'll go in.

Bernd
#11
I guess this section is good as any to post this for you DCC operators. A U-tuber I follow has an interesting video for a device for seeing how fast your engine are running. The video will explain everything you need to know about this device.


Bernd
#12
Baggage Car - Daily Chat / Website Provider must be down
November 08, 2025, 09:29:27 AM
For those wondering where my pictures went I believe the site that hosts my website is down or something else is wrong. I'll be checking into as soon as I can figure out how to get them.

Bernd
#13
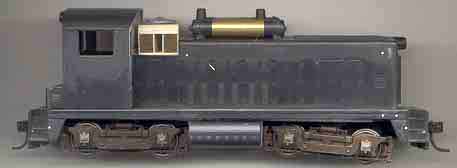
This little tarnished beauty landed on my workbench this past Monday.


But it has a slight problem.


Cracked coupling cups. A modeler on the HOn3 Group.io was selling it. I bought it with the knowledge of it's short comings. I plan on making new coupling from black delrin acetal resin rod material. I was going to use brass but discovered the way this thing picks up power that all metal parts in the drive train would cause a dead short.

I've started a web page on the fix. I'll post updates here to forum as I progress on this project.

Link to web page.

https://www.kingstonemodelworks.com/HeislerRebuild.html

Enjoy.

Bernd

#14
Got this off of Badlands Media feed. Looks like the locomotive builders will be busy soon. Maybe there might even be a new builder open up shop. Be nice to see some modern day Alco's.


"US President Donald Trump on Monday announced that Kazakhstan signed a $4 billion deal to purchase American locomotives and rail equipment, calling it "the largest railroad equipment purchase in history" following his phone call with Kazakh President Kassym-Jomart Tokayev.

"They have signed the largest Railroad Equipment Purchase in History, $4 Billion Dollars Worth of United States Locomotives and Rail Equipment. We need to support our U.S. Rail Industry, which has been attacked by Fake Environmentalists for years," Trump wrote on the US social media company Truth Social, congratulating Tokayev on the agreement.

Earlier in the day, Tokayev met with US Presidential Special Envoy for South and Central Asia Sergio Gore in New York, congratulating him on his appointment and pledging support for his mission.

He reaffirmed Kazakhstan's commitment to advancing the Kazakh-American strategic partnership, emphasizing the country's role as Washington's main economic partner in Central Asia. – AA"


B~
#15
Modeling Wizardry / Carvera Air by Makera
August 13, 2025, 05:24:42 PM
I've been researching table top CNC machines. Although I have two now, ROBO router/engraver and the Sherline CNC mill I like what I see in this machine and it's capability with contour milling and a fourth axis. I'm hoping I can get one toward the end of this year when my finance guy tells me I need to draw out $7,000 before the government get's it.

https://www.makera.com/products/carvera-air?variant=46578639470817

Here's a video of a cute oriental female with a demo of what it can do.


Plus a follow up video.


Something resin printers can't do.

Bernd
#16
As promised, a description of the router/engraver.


The above picture was an advertisement for Comgrove ROBO Router/Engraver. They are no longer made. If you do a search on "tabletop router/engraver", you'll see several types and sizes of machines.

Now on with ROBO (have no idea why they called it that). I ordered it off of Amazon.
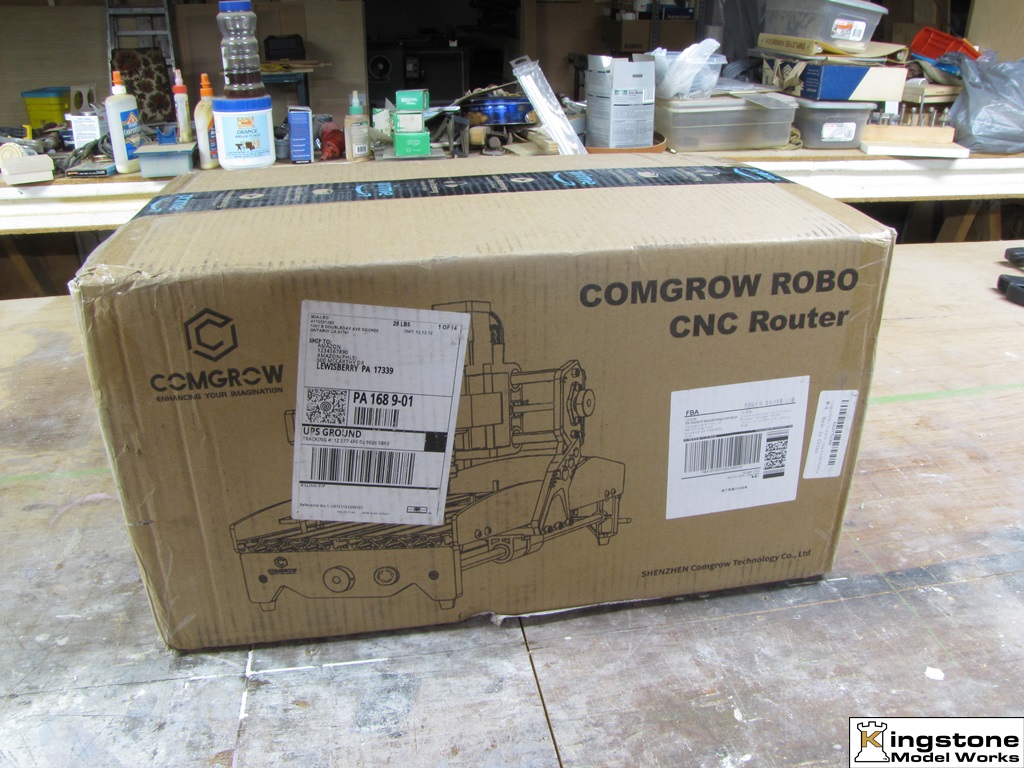


It basically came as a kit. All the parts laid out. The screw gun shows relative size of router/engraver.


The machine completely assembled.


The back of the machine showing the offline controller's mounting spot.
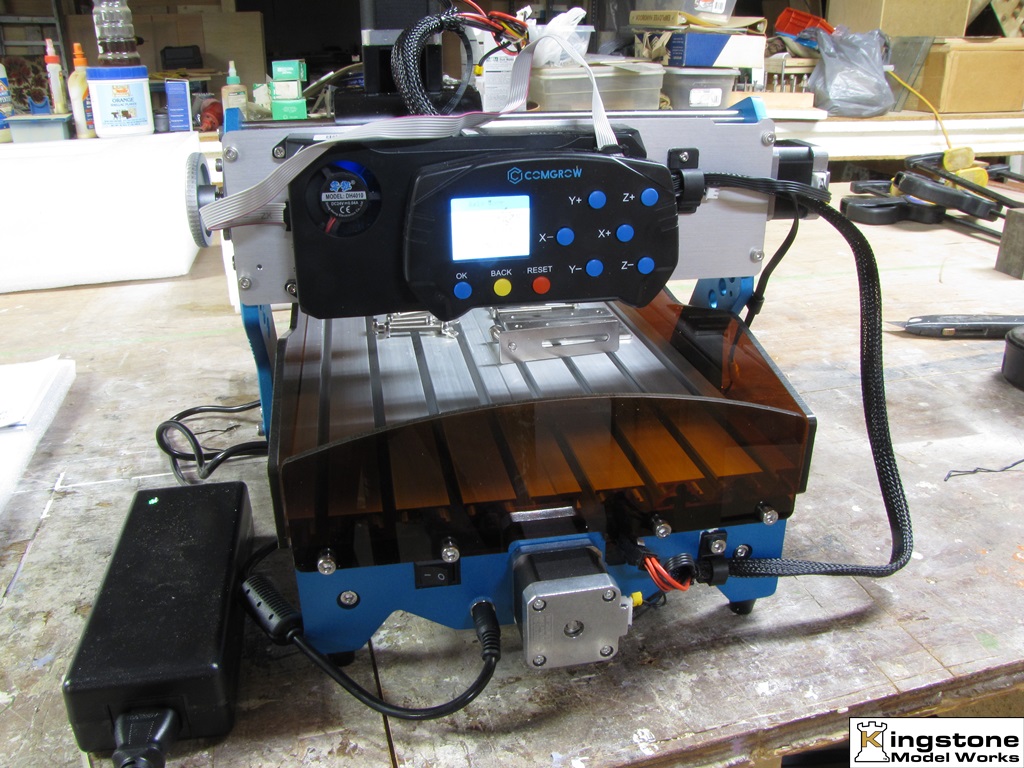


The off line controller showing the control buttons.


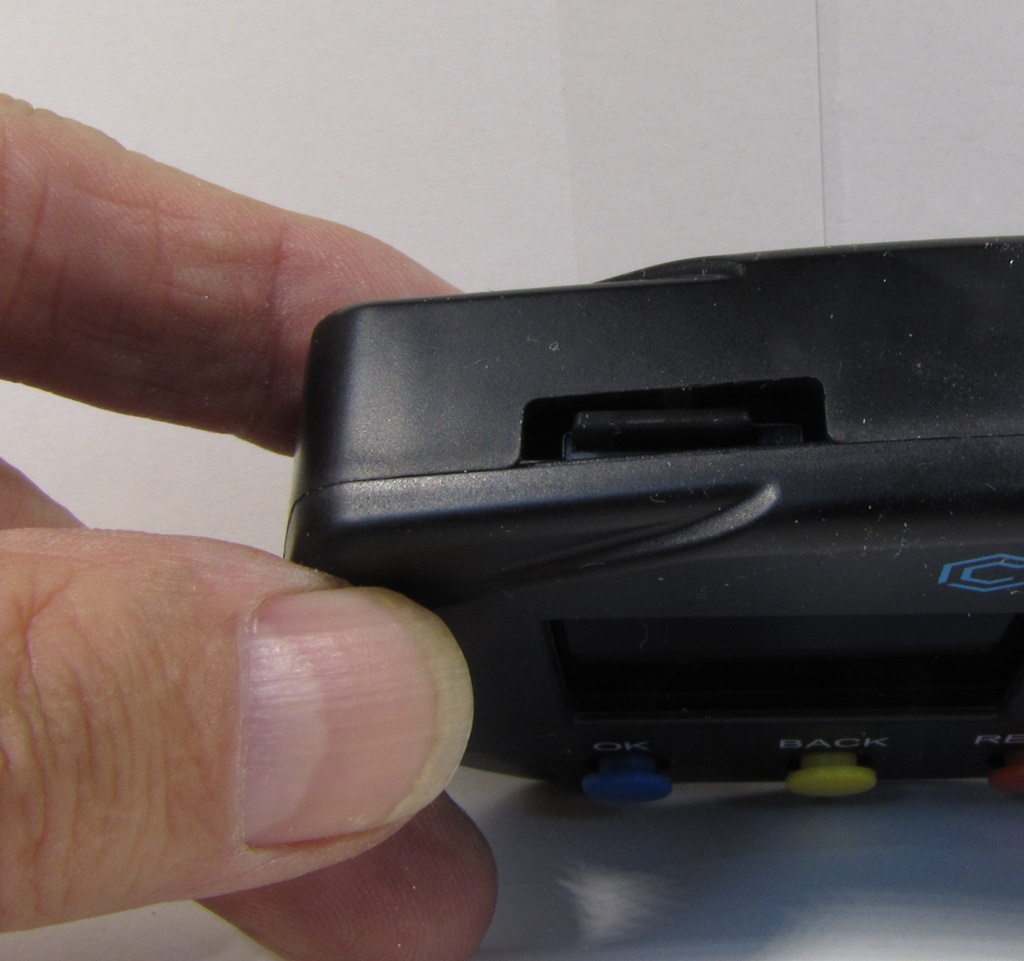
The SDHC slot.


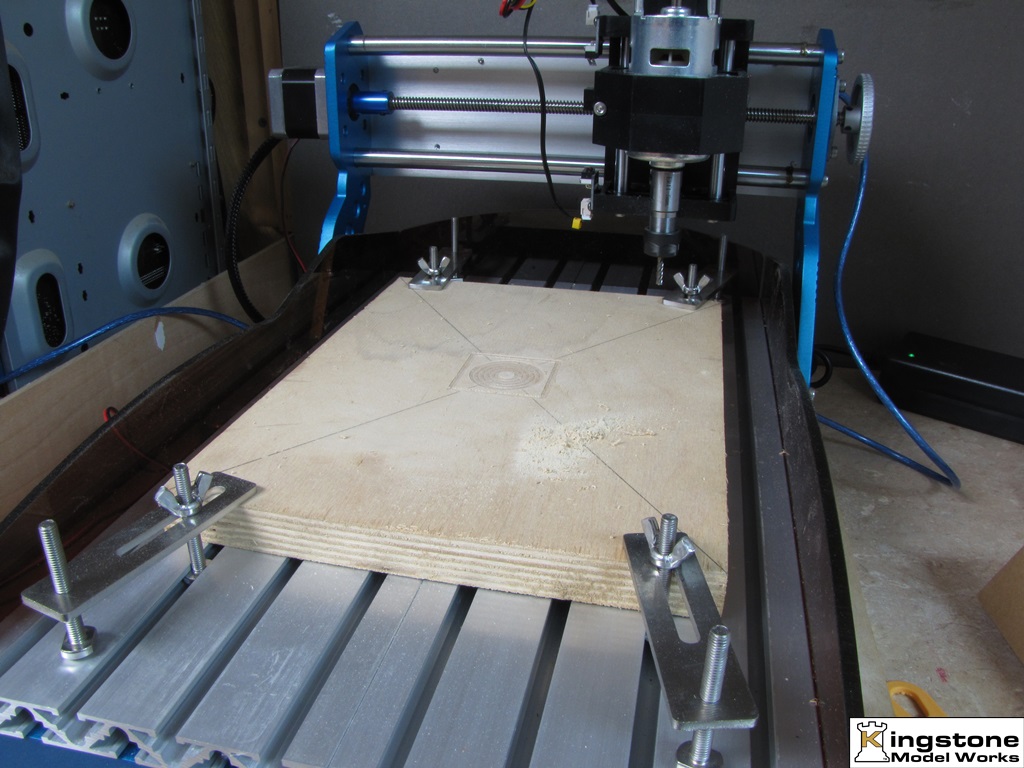
First test cut. Several circles surrounded by square.


This basically describes the machine I bought. When this one electrically dies, I plan on getting another router/engraver. I'm looking at getting a Genmitsu 4040-PRO. It has a larger work envelop than the ROBO at 15'7" X 15.7" X 3.1". Here's a link to Amazon on what it looks like and price.
  https://tinyurl.com/rjczpenn

I have actually two tabletop CNC machines, the ROBO and a Sherline CNC. Both are very useful tools since you can work almost any kind of material used in model railroading or structure builds. I find 3D printers limited in what they can do because you can only add stock, not remove stock as you can with a CNC or any machine tool. I believe 3D printers are great if you want to make a master for casting something in resin or even plaster. Even though I have a 3D printer I found learning 360 Fusion or any other 3D CAD program as being very time consuming. And if you don't use the program enough you forget how to use it. Also having grown up in the machine tool industry where I learned how to operate the larger machines in making parts, learning to use the tabletop machines was easy for me.

Next post I'll go into what it took to make those windows.

To be continued.

Bernd


#17
New Details, Tools & Accessories / Corrugator
January 15, 2025, 09:54:08 PM
I see it's been a little over four years since somebody got a new tool. Well at times I make my own since I spent over 30 years in the machine tool industry working for a major manufacturer of gear cutting machines I've got some idea about making tooling for a job. So here goes on a tool I've spent some time researching.

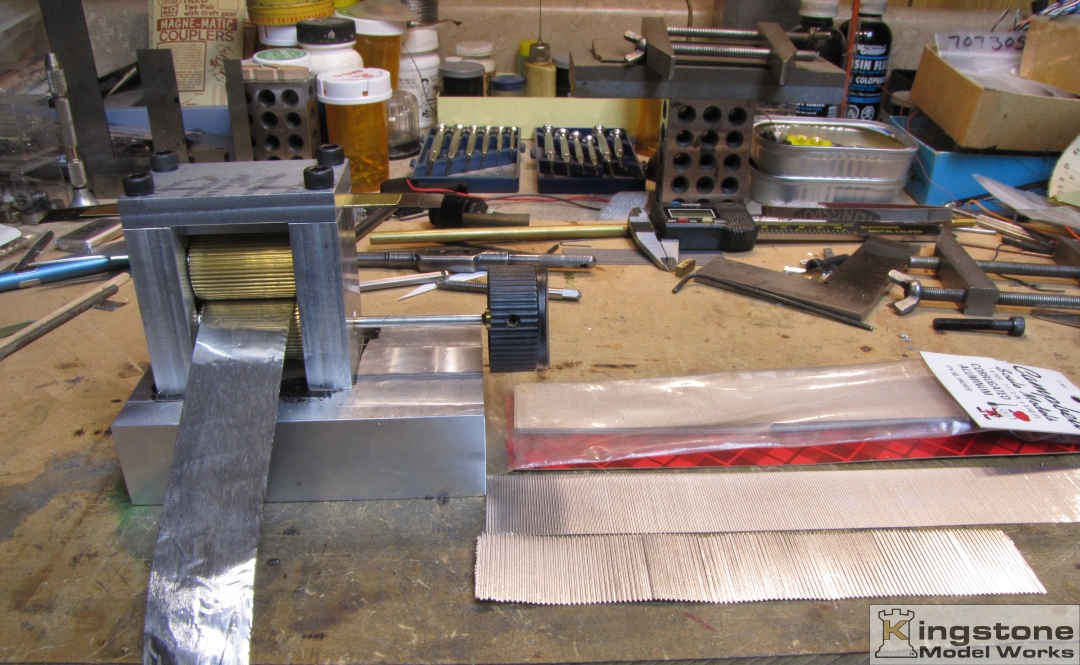
After many months of false starts and procrastination, I finally have something I can make corrugated foil with. It still needs some tweaking but it gives decent corrugated sheets.
 
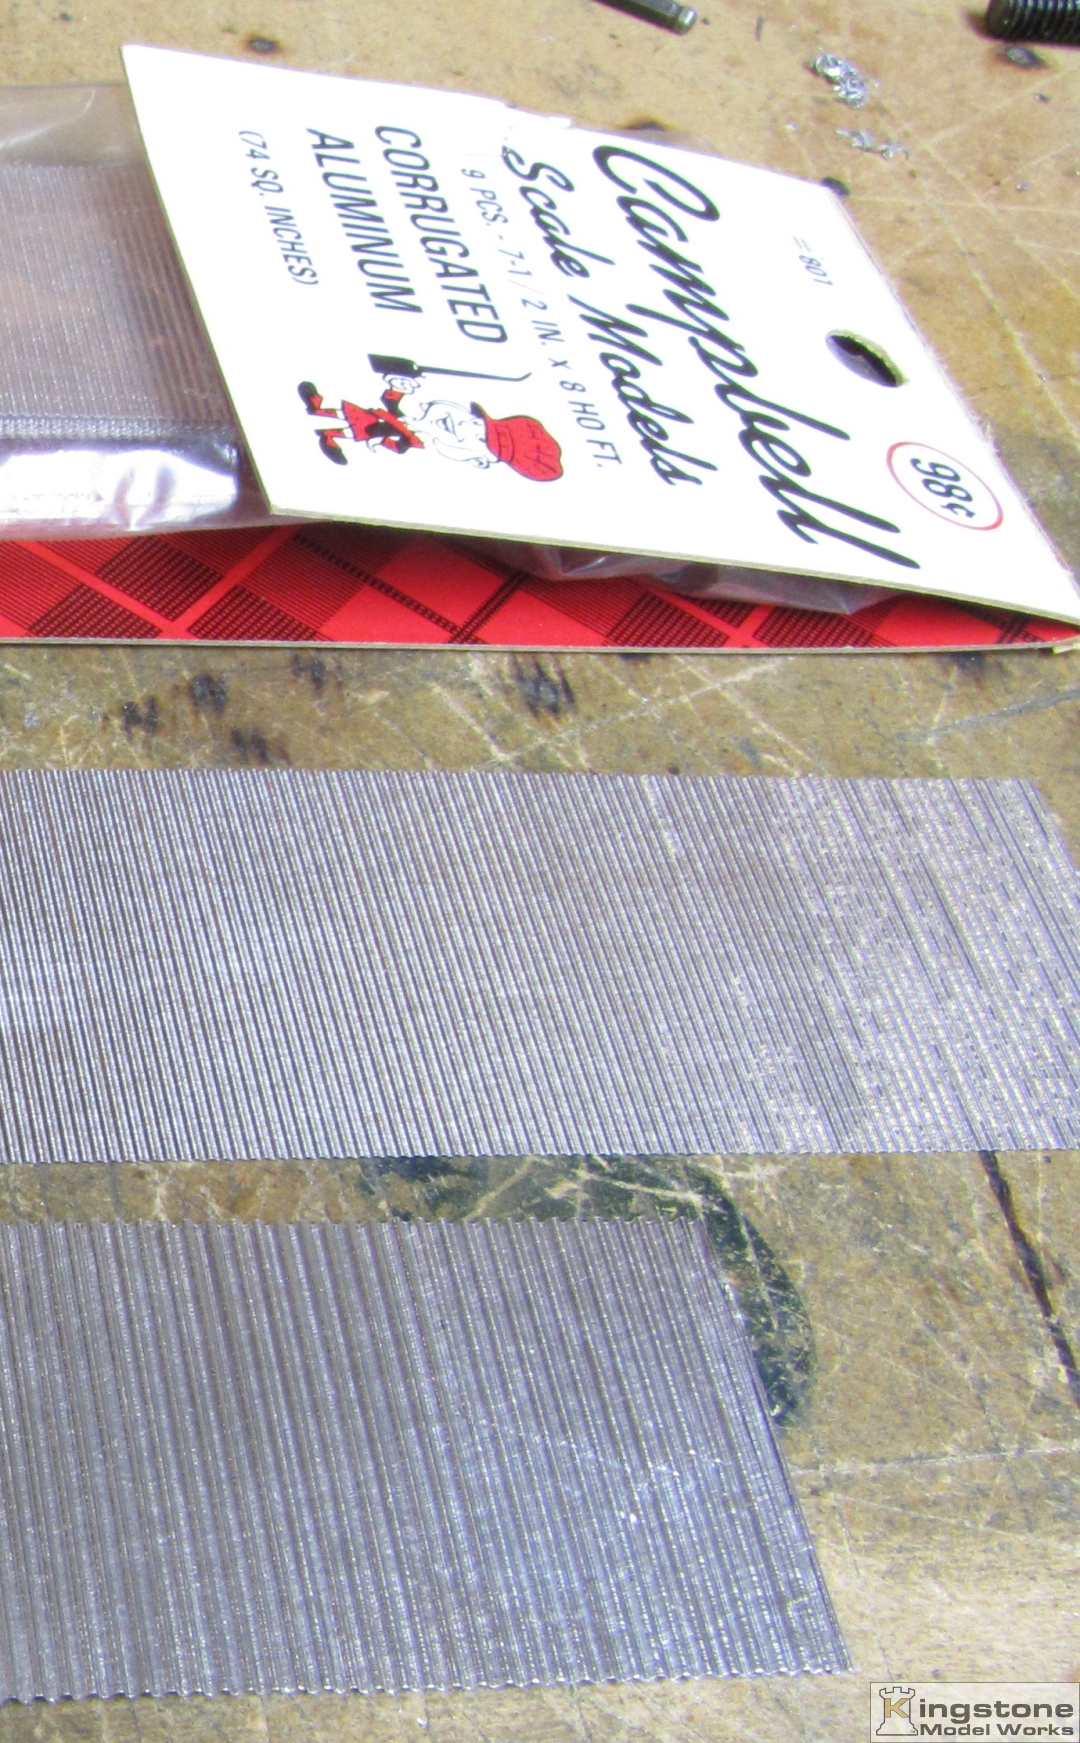
Comparison between Campbells and mine. Top one is Campbell's. The bottom is from the corrugator.


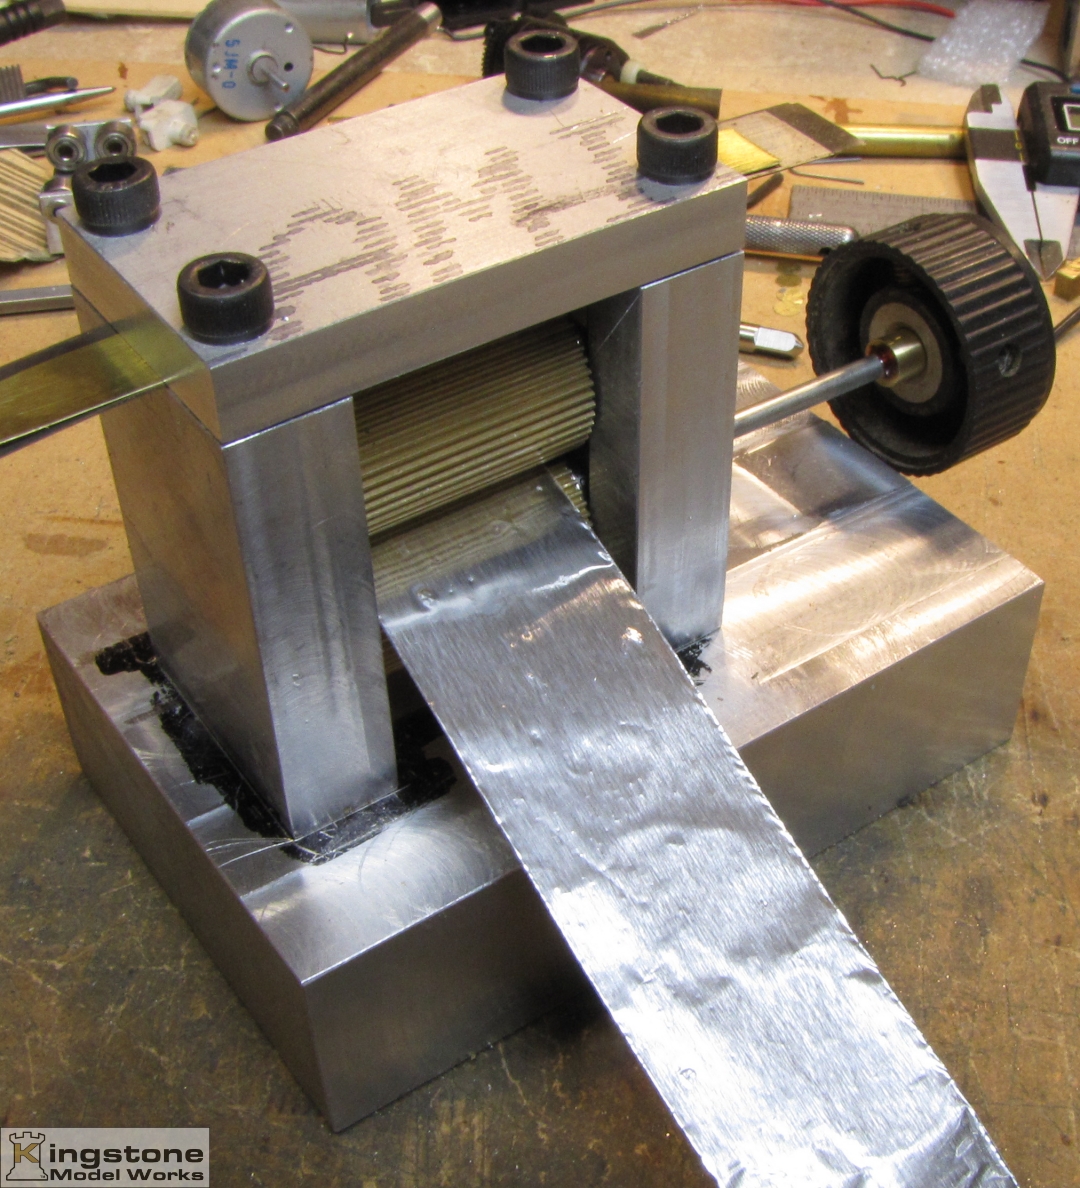
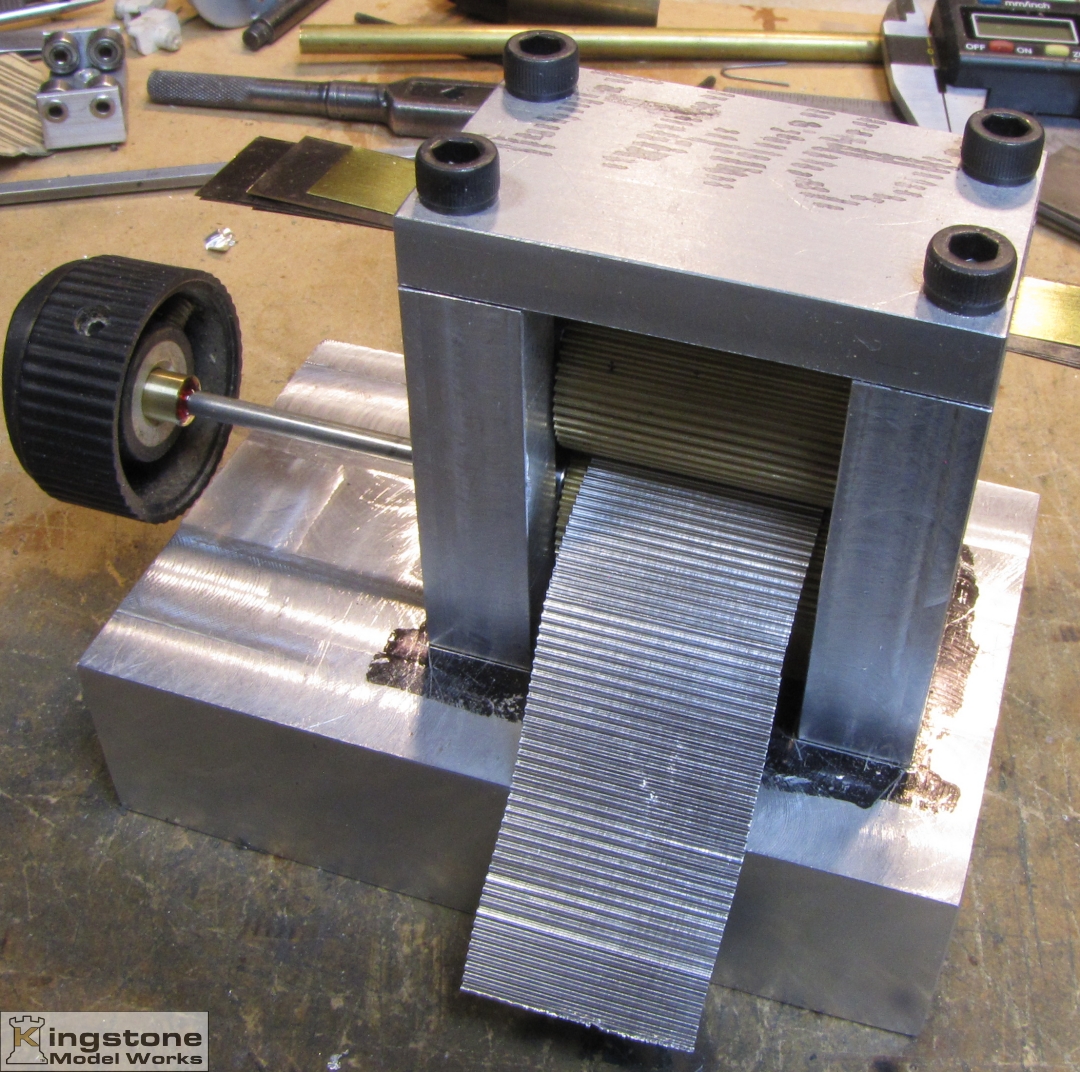
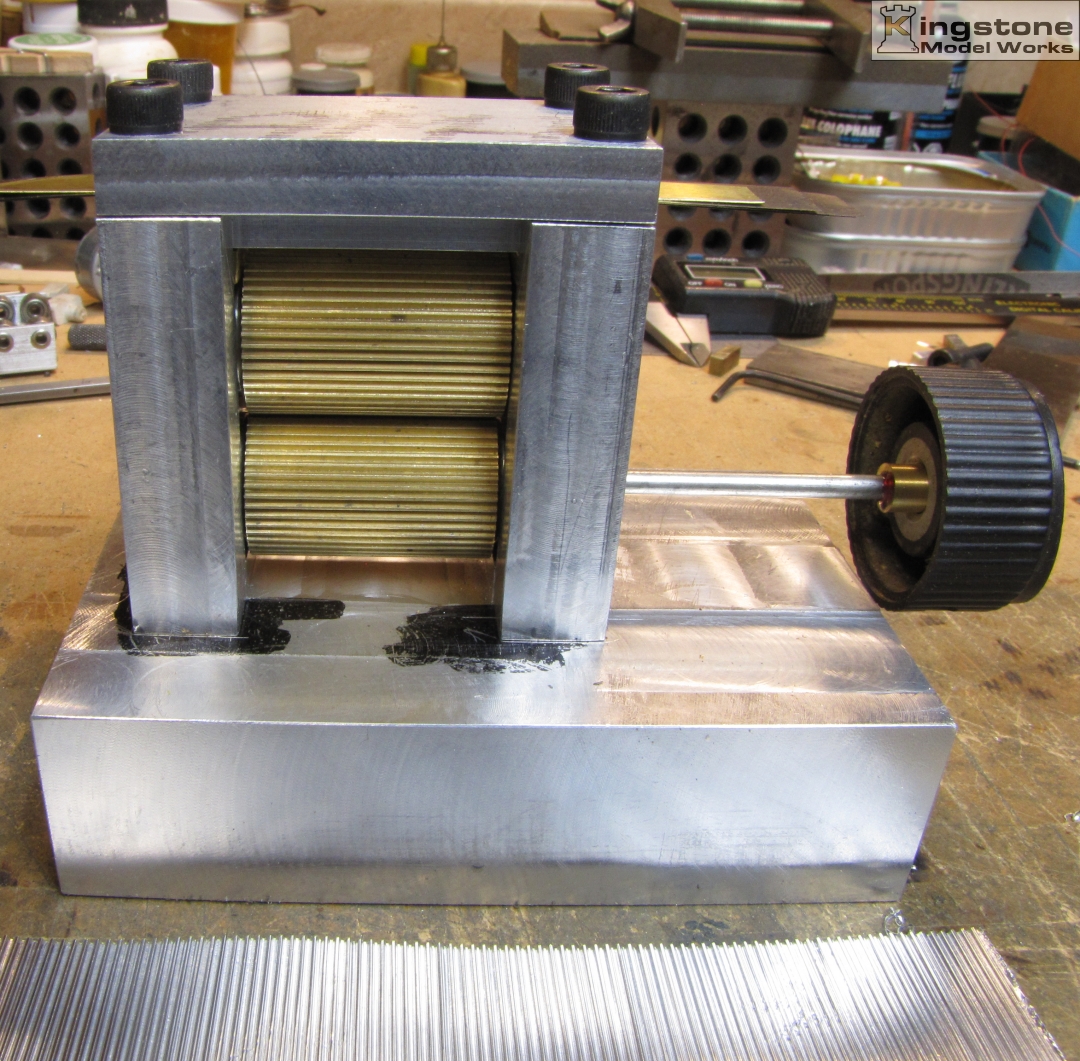
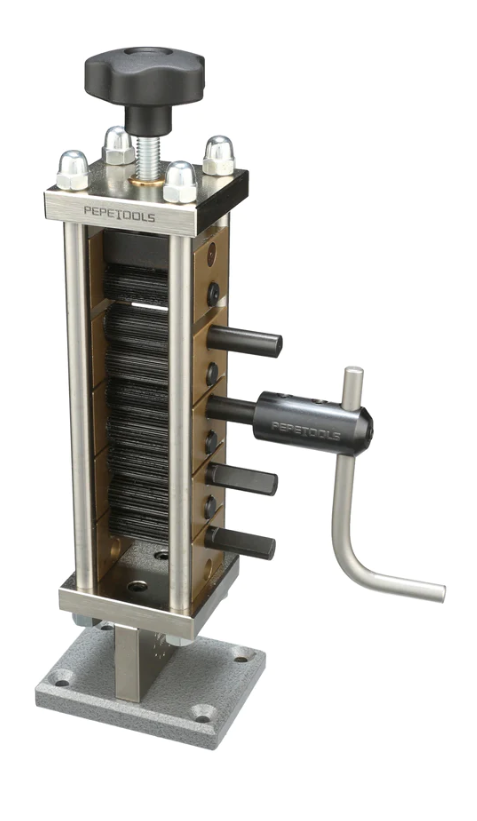
Closer look at the tool.


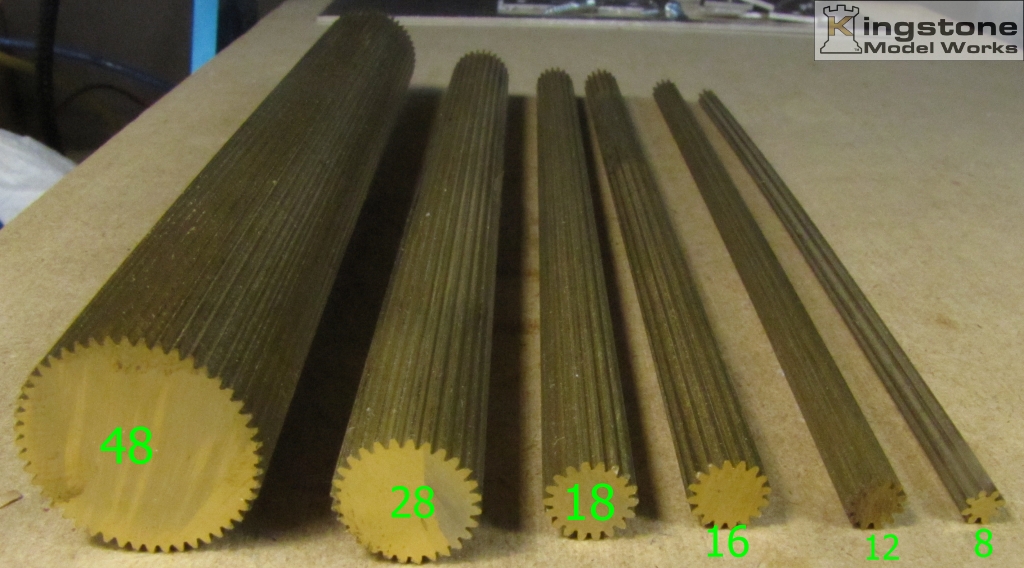
Those are gears. They come as a long rod, and you cut off the width of gear you need. I used the 48 tooth one for the corrugator.


I got the idea from this.


Now I'll be able to finish the stone crusher for my quarry line.

Bernd
#18
The HO / HOn3 / HOn30 Line / HOn30 Tribute Diesels
January 11, 2025, 10:26:03 AM
First thank you Criag for adding the three gauges as I model in all three. I'll have to start a thread in the Layout Tour section on the layout I'm building and how the three gauges are part of the layout.

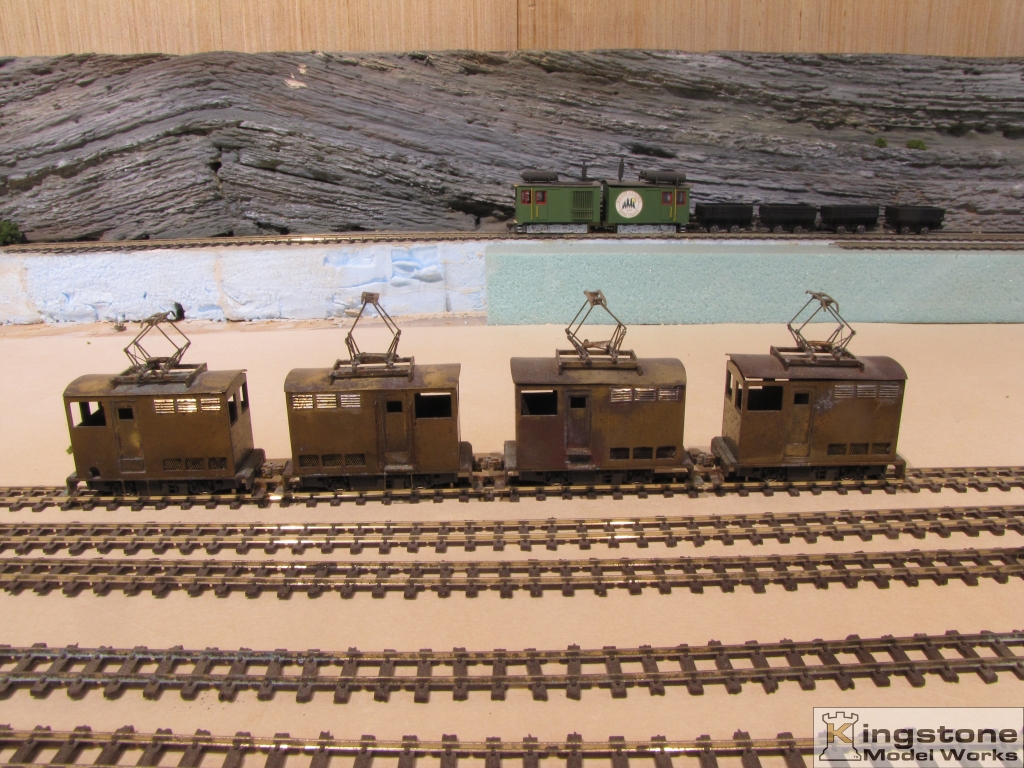
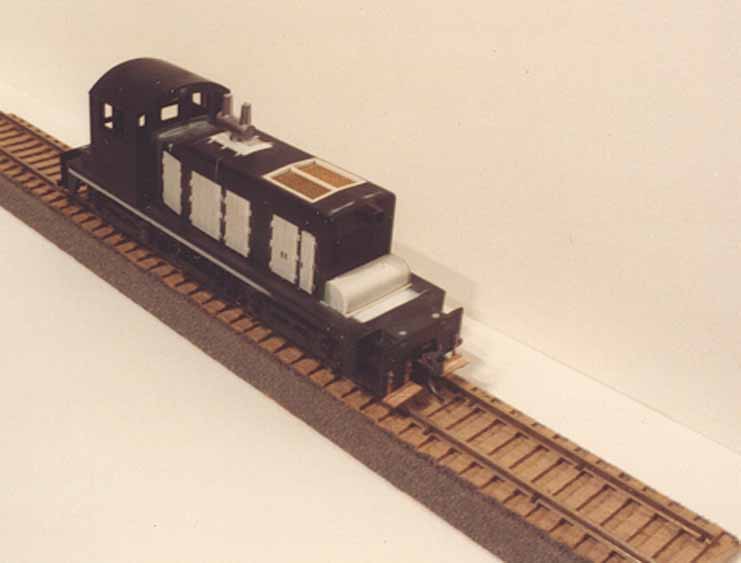
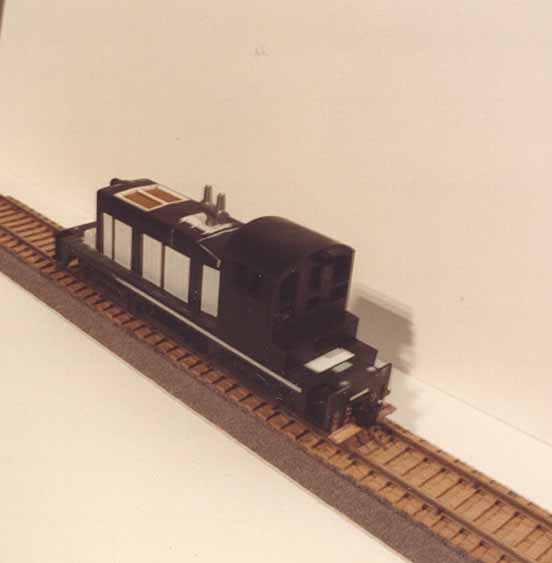
So first I'll show a set of HOn30 diesels I built as a tribute to a fallen member of the RR-L. That would be Bill Andersen (aka geezer). And I also scratch built a set of four HOn30 electric box cabs.


I'll start the thread off with these pictures of the six sets of power.


I was also into On30 at that time and built two On30 box cabs that Bill wound up owning.


Once I get my pictures transferred on my website server list I'll do another SBS thread on HOn30 "Critters".

Bernd
#19
Kit Building / Suydam 2 Stall Engine House
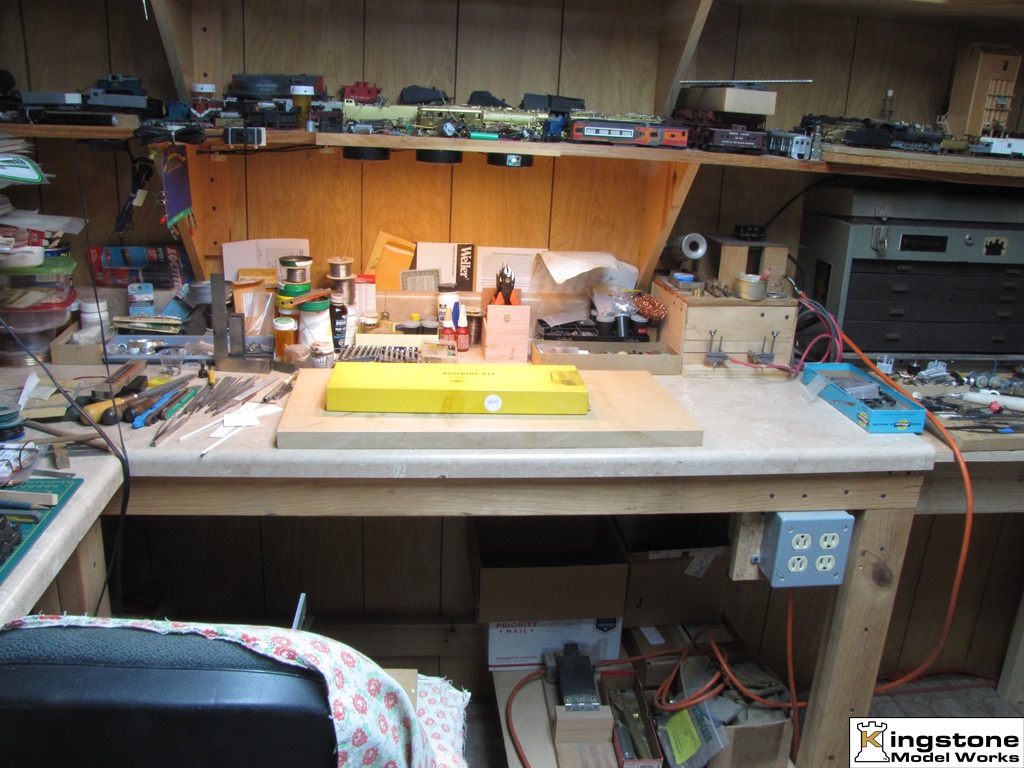
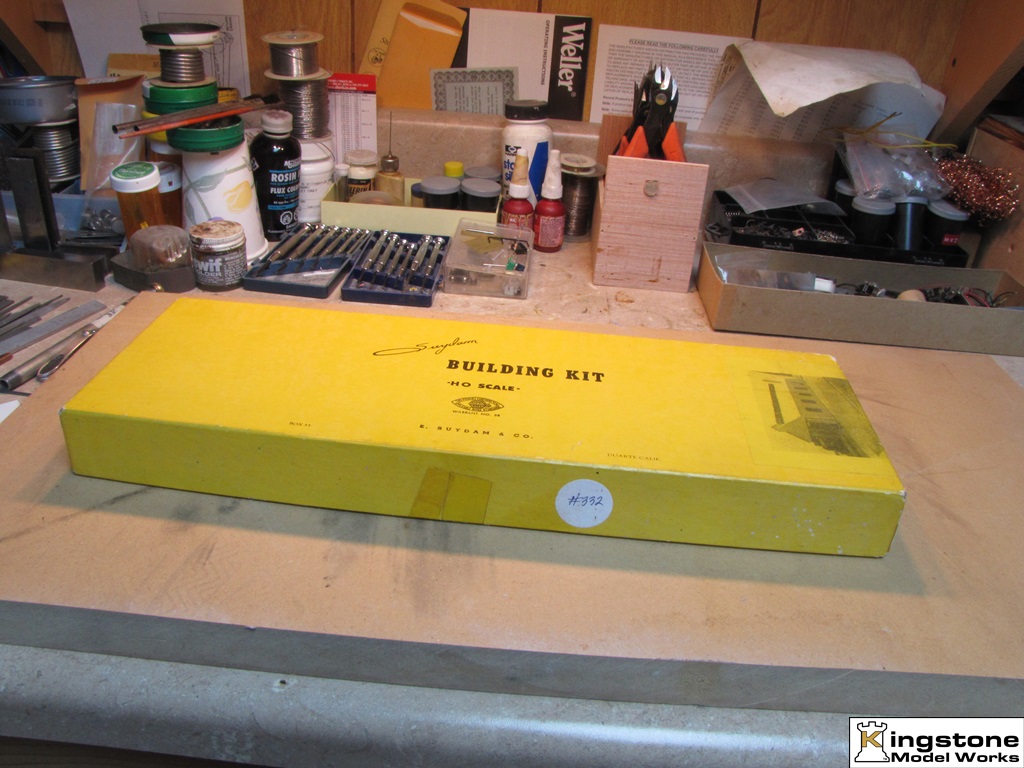
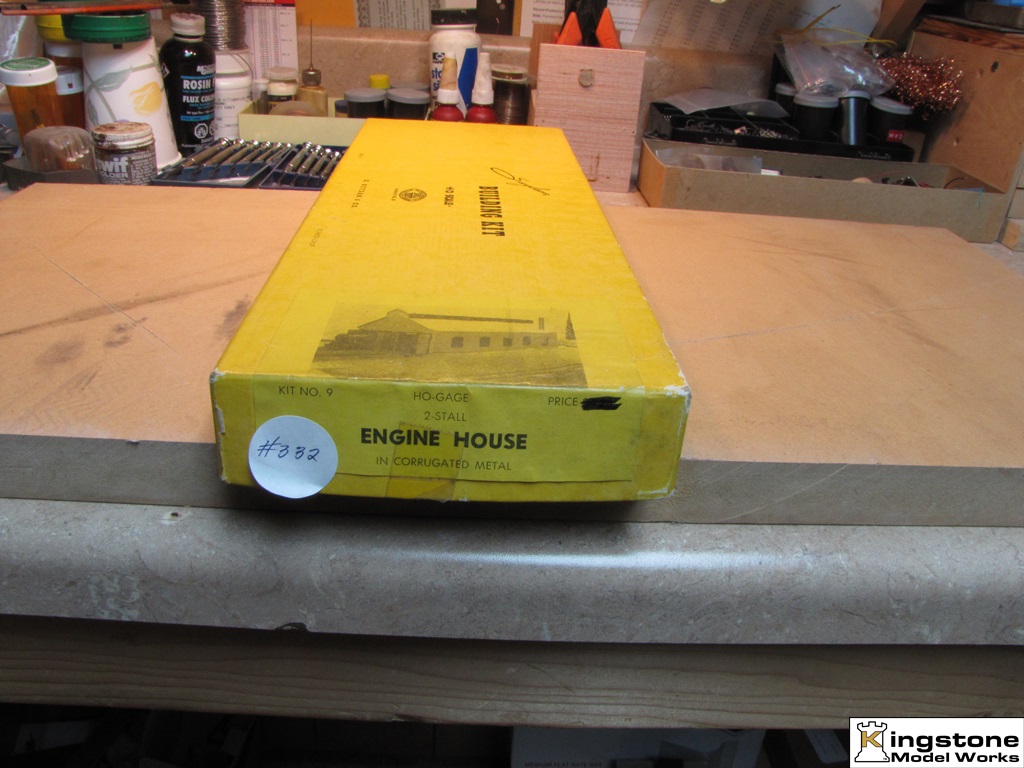
January 08, 2025, 05:32:28 PM
I started this project last Nov. 2020. Anybody ever post on having to solder a building together?

This is the project.


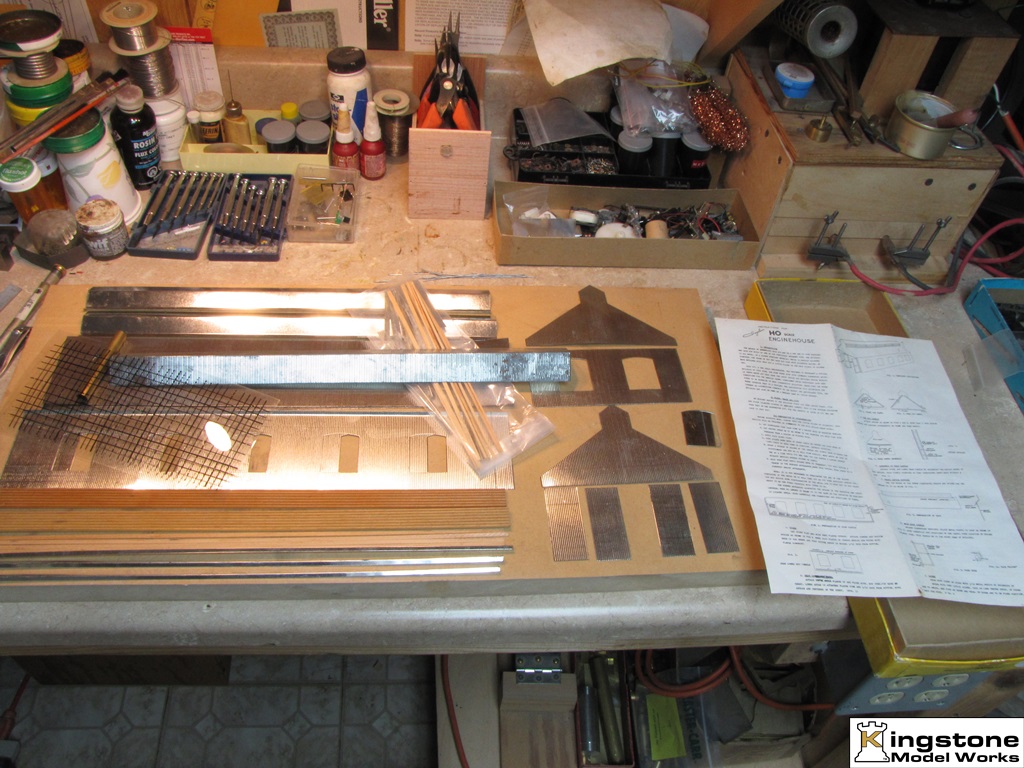
These are all the parts to make up the engine house. The majority of them need to be soldered together.


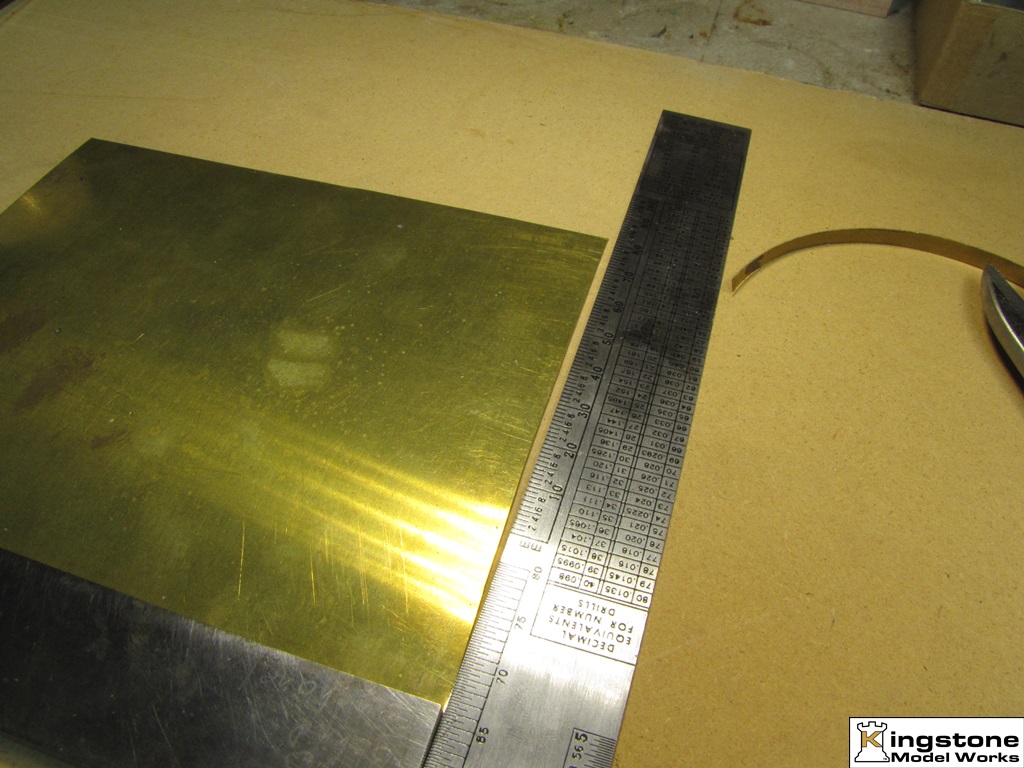
The first thing the instructions call for is to solder angle pieces to the corners of the long section. Since this was an open kit and purchased at a train show, some of the angle pieces were missing. So, I made some up of .010" (.250mm) thick brass.


Of course, as Murphy would have it, none of the corners were square. I did an experiment on the best way to cut thin stock like this brass. I'll show that next.

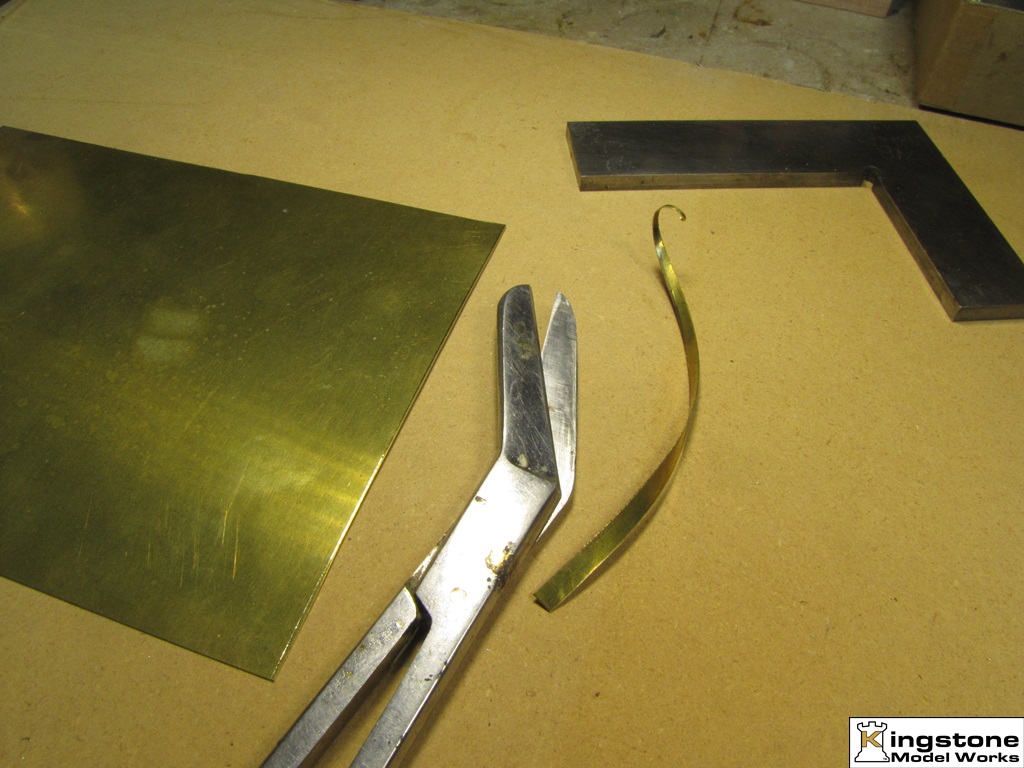
I have a pair of these scissors. I think they have a medical term for them. I scribed a line and cut the brass.


Note how the piece has a twist and curl in it? Hard to straighten out properly.

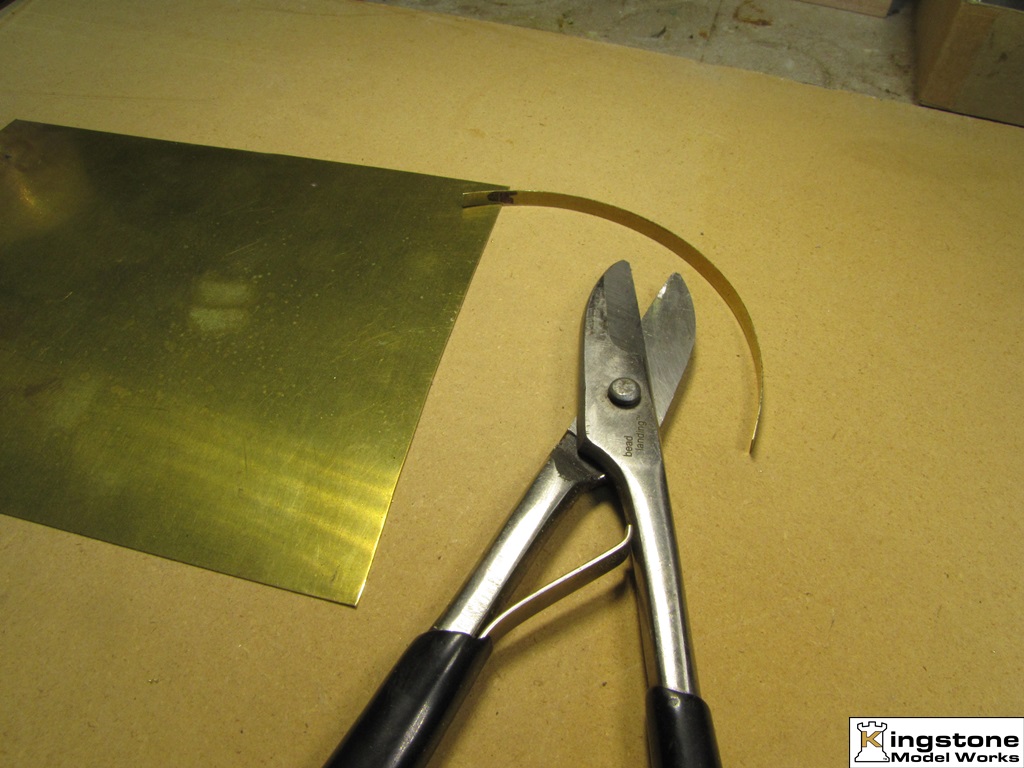
Next up was a pair of small tin snips.


No twist, but it curled. Still tuff to straighten this out properly for the next process of bending an angle.

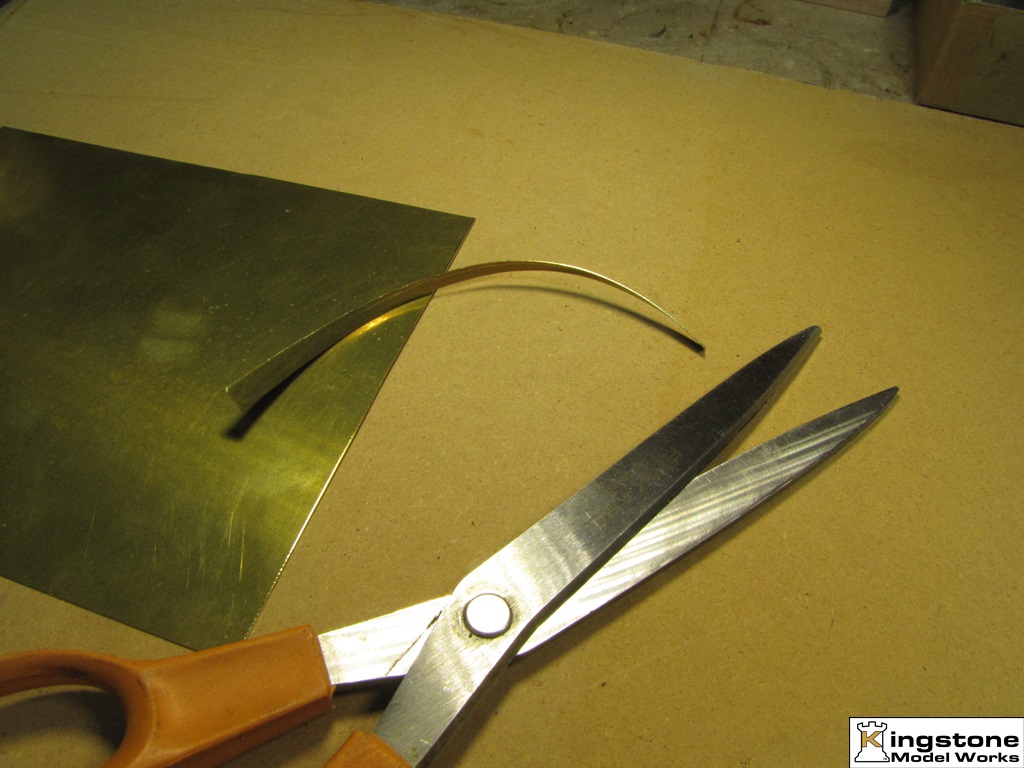
Next, I tried a regular pair of Fiskars scissors.


Same result as the first pair of scissors I tried.

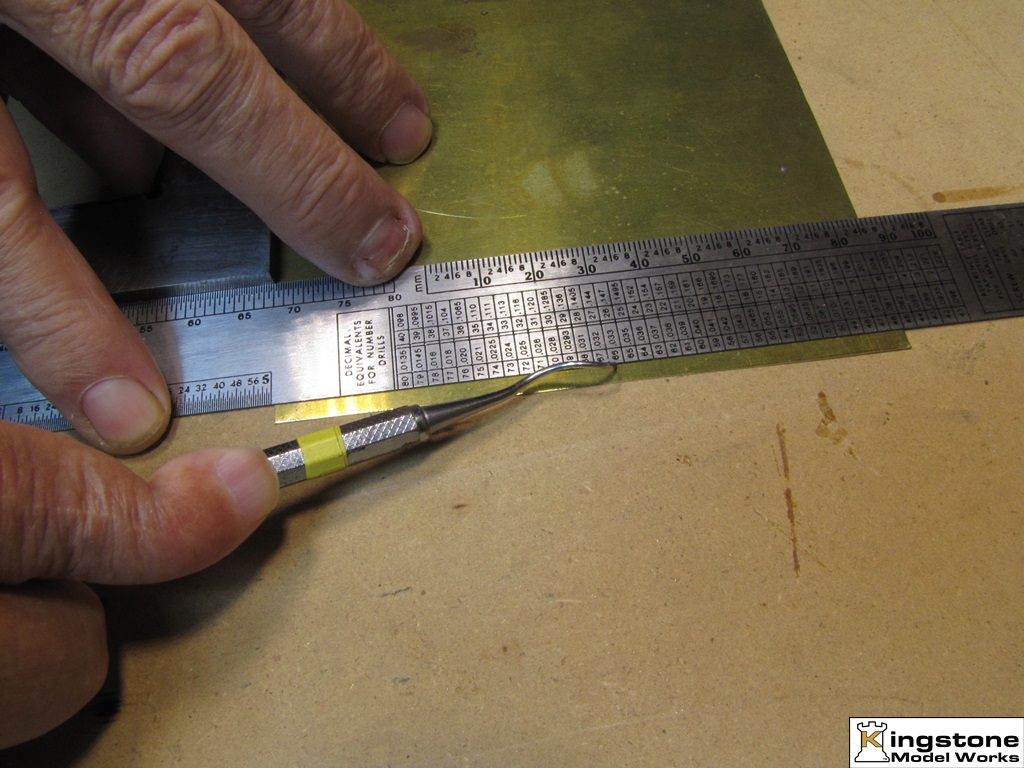
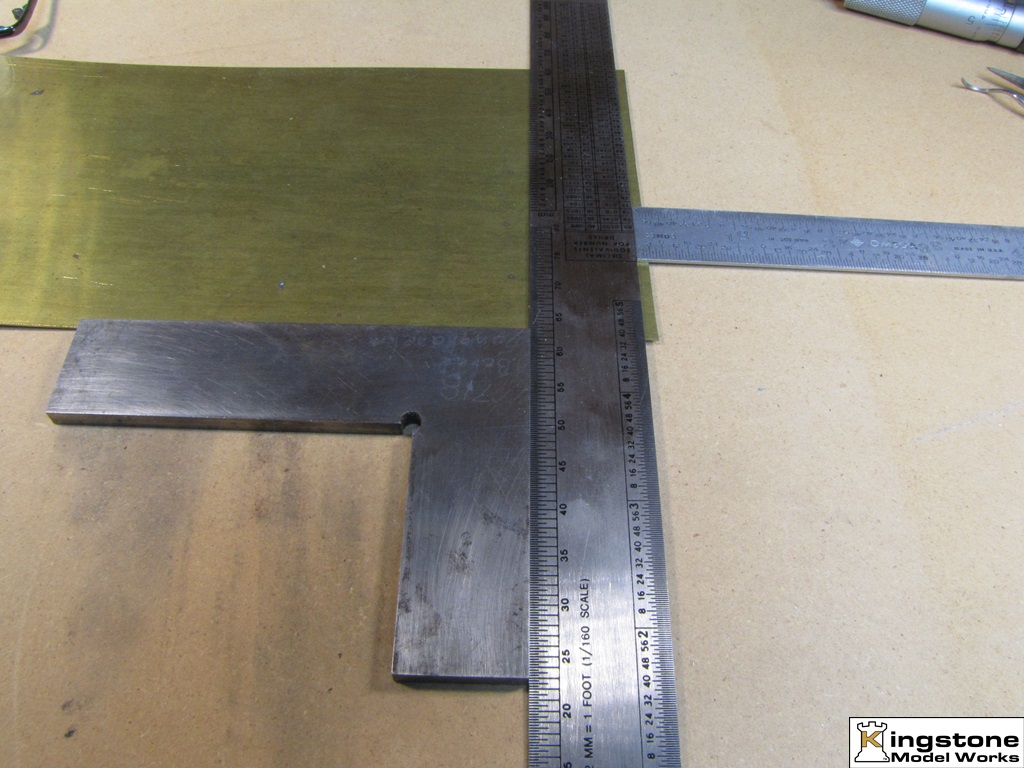
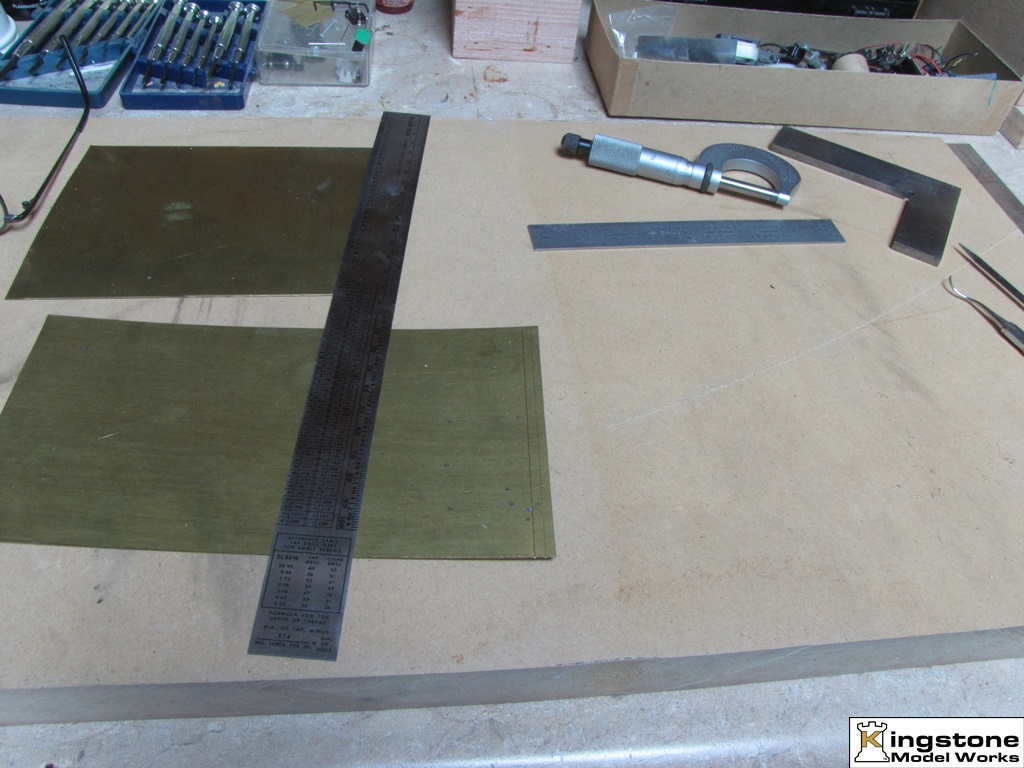
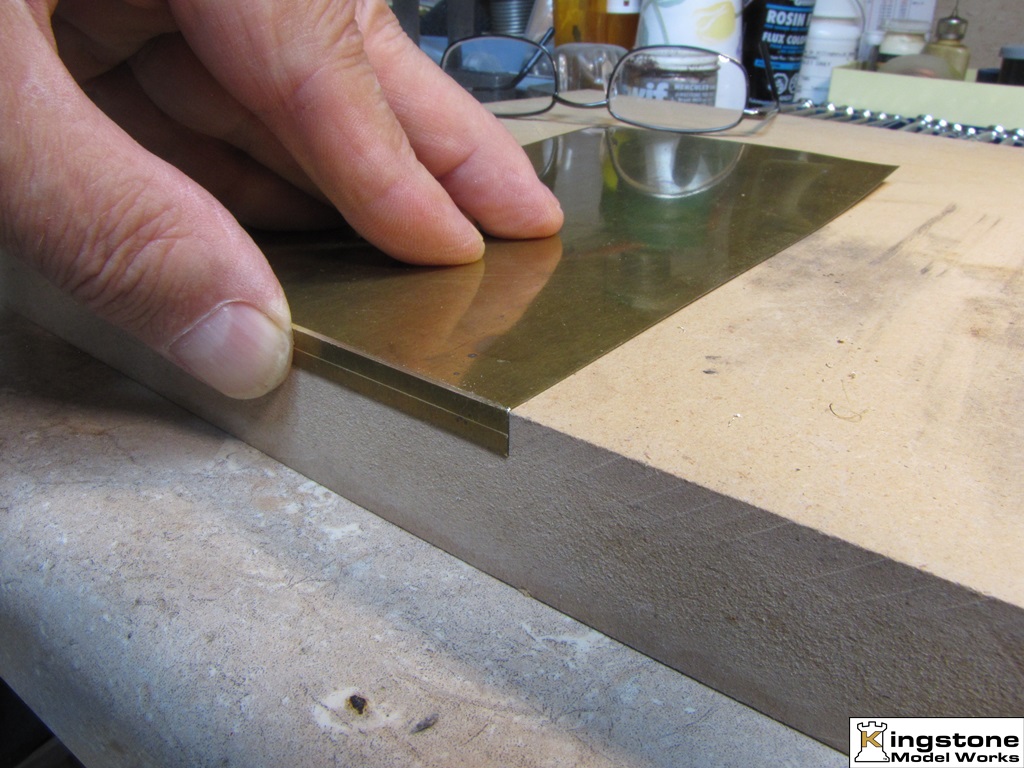
I figured since this is very thin brass it should be able to be scribed like styrene and snapped off. I'm using a dental pick with a very sharp pointed end to scribe the lines. One for the bend and the second is scribed almost all the way through.


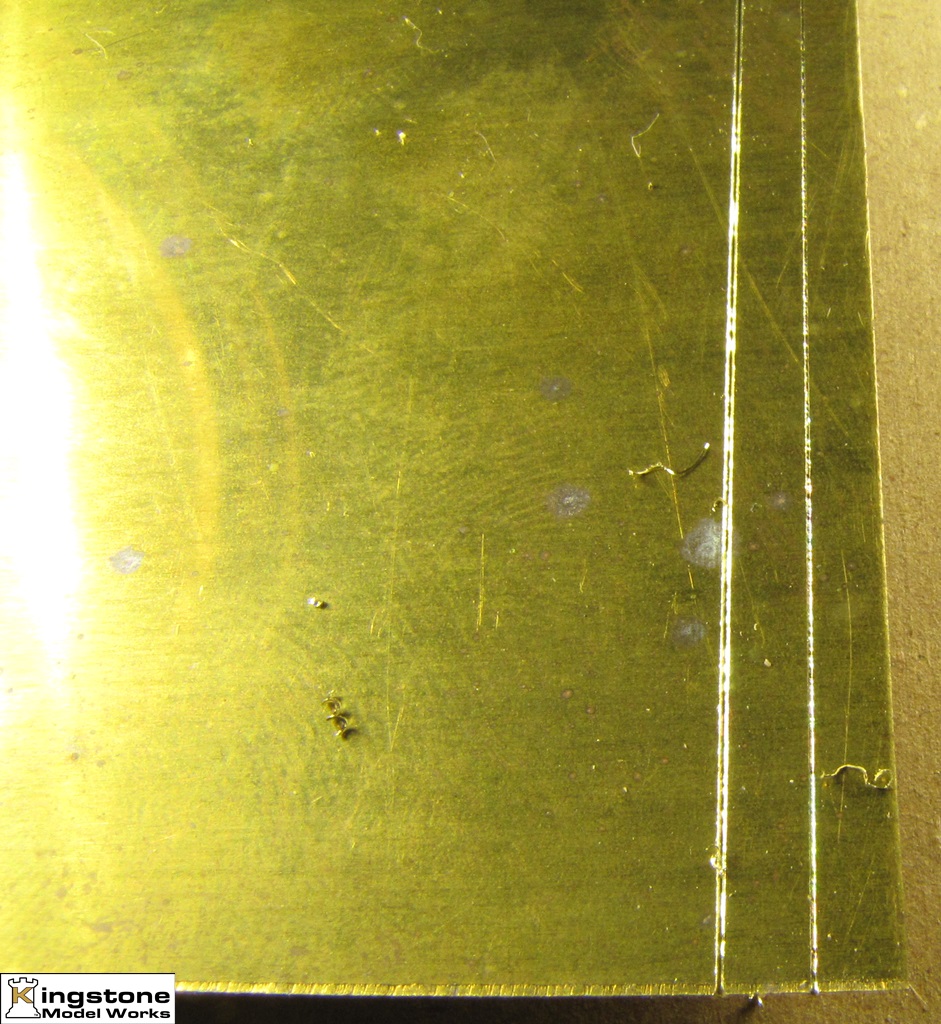
First I measured in 1/8" (3.175mm) and scribed a line. Then I measure in 1/4" (6.35mm) and scribed almost all the way through.


The line that gets scribed where the brake happens leaves nice little curly cue chips.


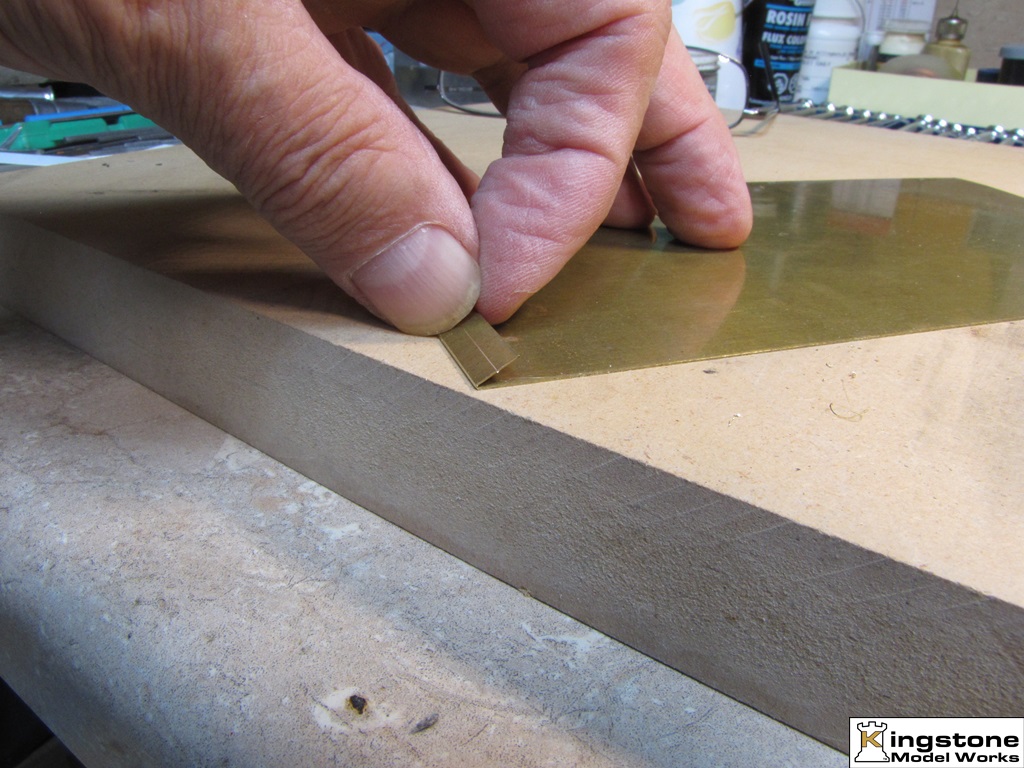
Next the piece is placed on the edge of a sharp corner and bent down.


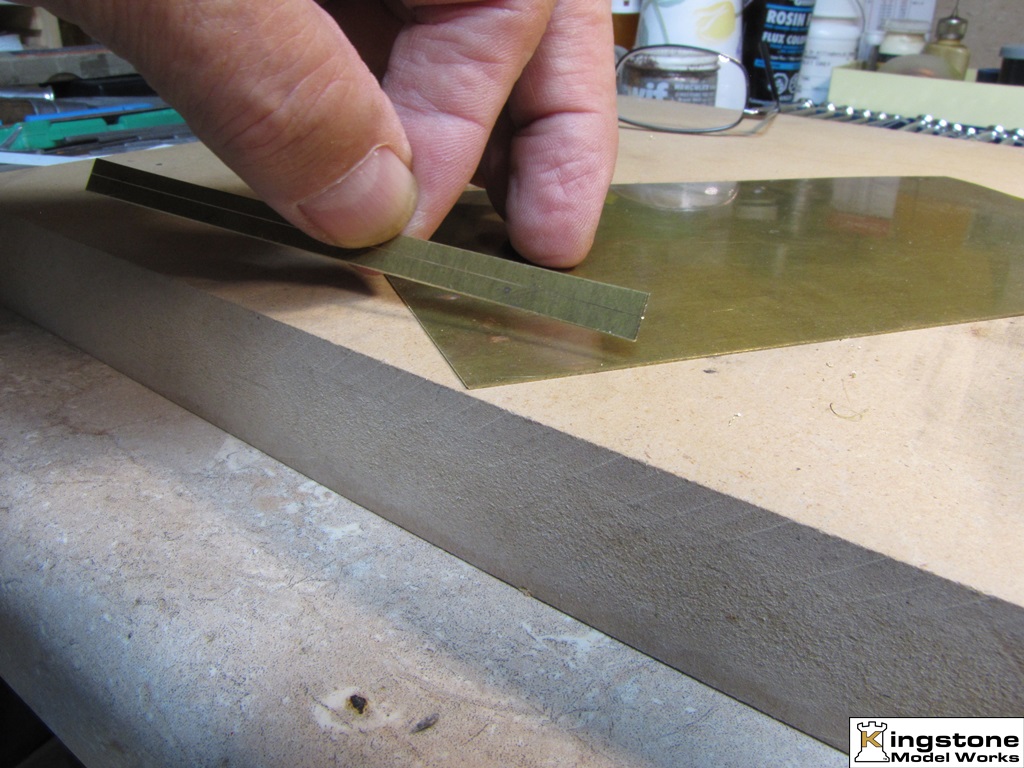
It is then bent back up over itself and it should break off. Sometimes it takes one or two more bends to do that. It depends on how deep you make the scribe. Just like when you do styrene sheet.


And success.


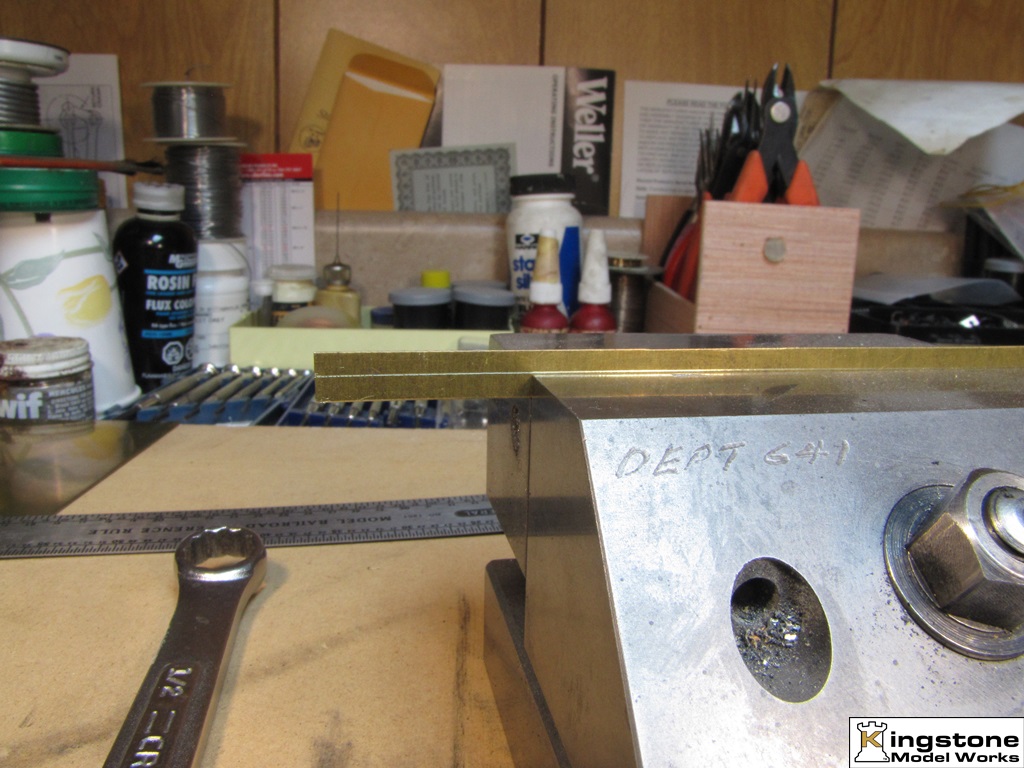
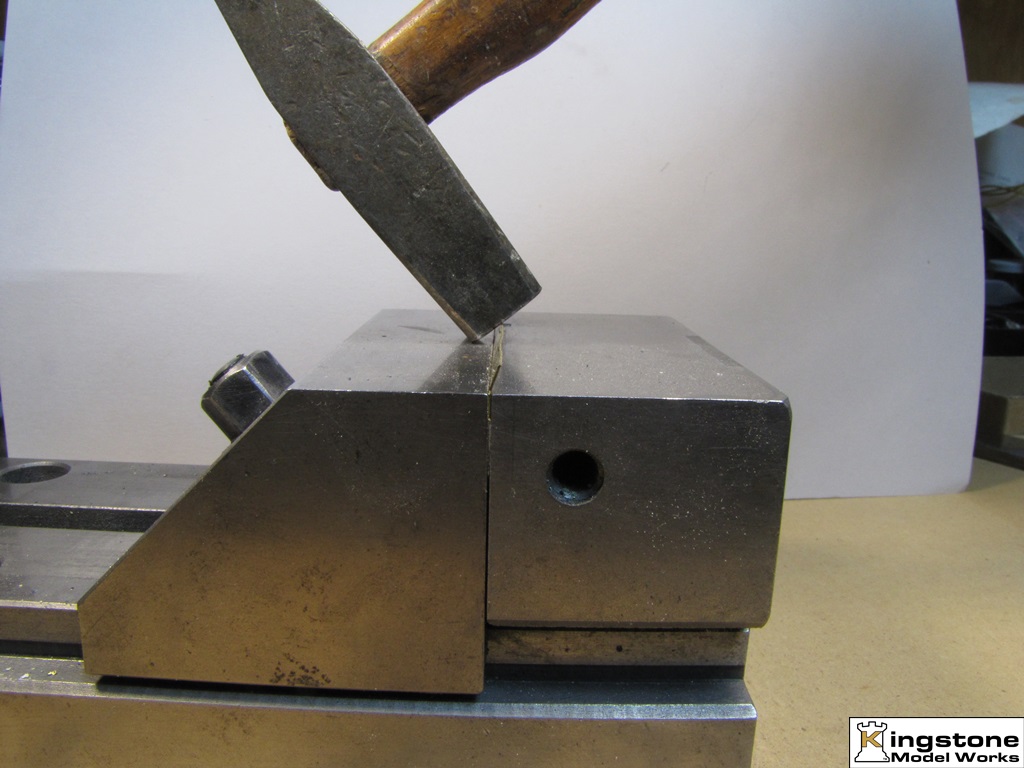
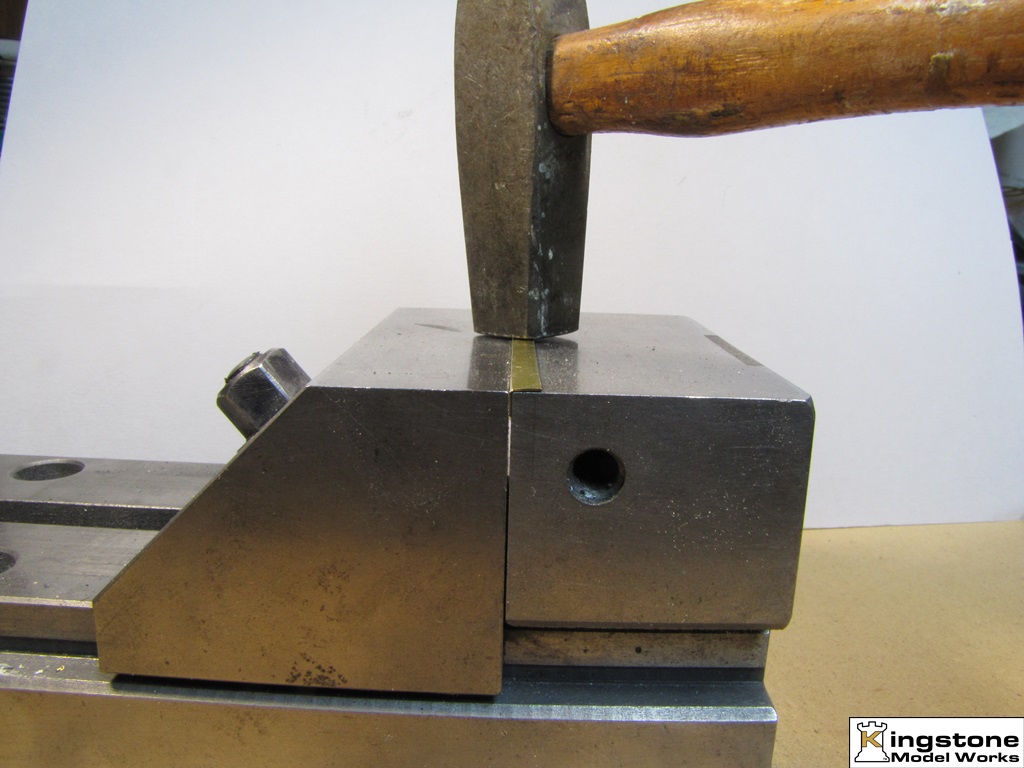
Next the piece gets bent to a 90° in a vise with sharp corner smooth jaws.


The 1/8" (3.175mm) scribed line gets lined up even with the vise jaw. Tighten the vise good and tight so the part doesn't move and using a hammer bend over the other protruding 1/8" (3.175mm) piece.

Don't hammer it over all at once. Work your way down the piece bending a little at a time.


Once bent all the way over it's time to make a nice sharp corner. Tap down till it's flat on the jaw.


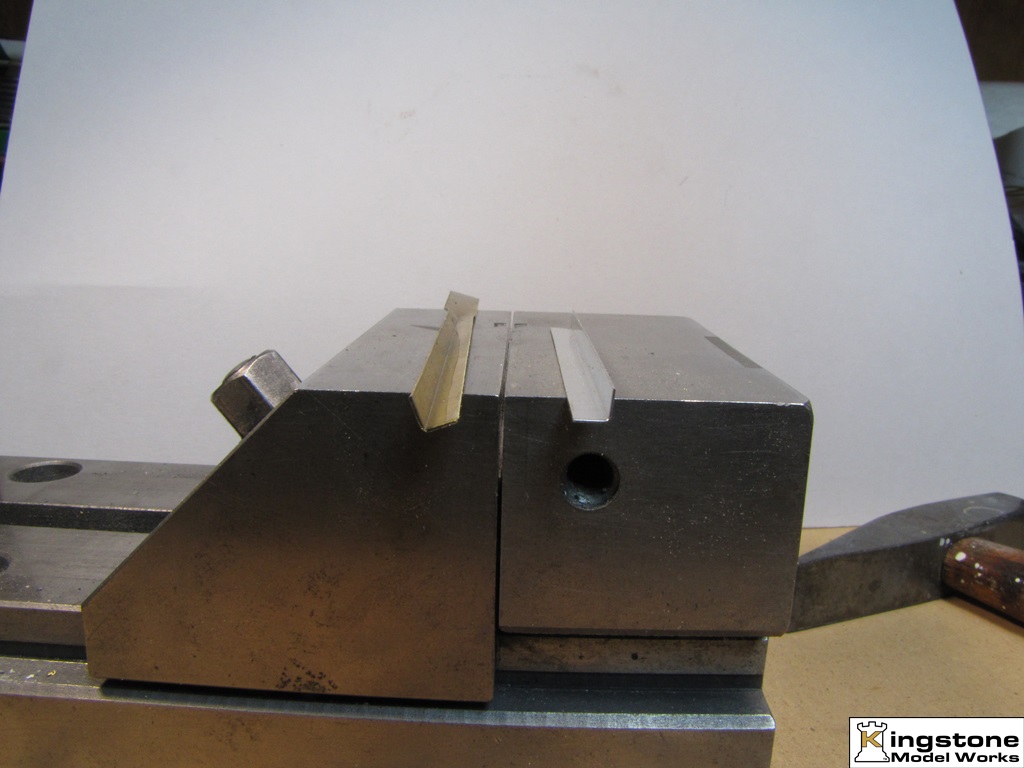
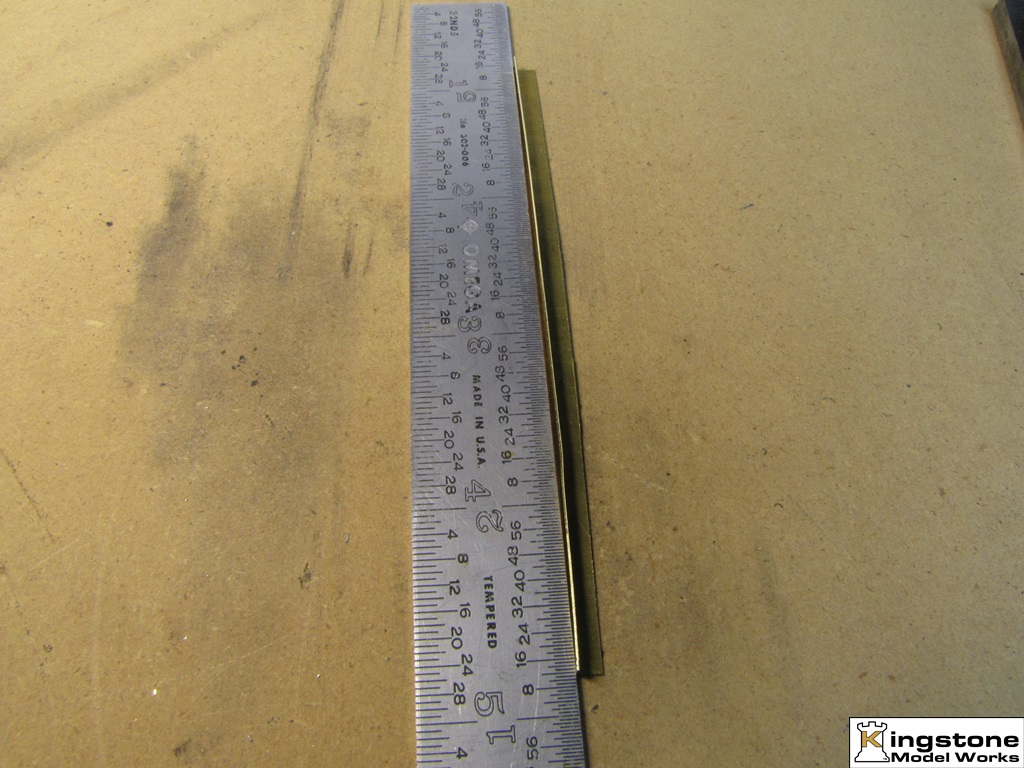
A comparison with the brass piece and one that comes with the kit. Note that the piece was not bent all at once.


This is what happens when you finish bending the rest of the piece. You get a slight bend where you finished the second bending process.


You'll either need longer vise jaws or make shorter pieces. There are more ways to do a bend like this but it's beyond the scope of this thread. I know somebody is going to tell me I need to buy a brake press. Naw, I don't think so. Being a machinist for many years and home hobby machinist for the same amount of time, I'd build one.

On the next installment I'll get into soldering the angle pieces to the sides of the building and some of the mistakes I made along the way.

Until next time.

Bernd
#20
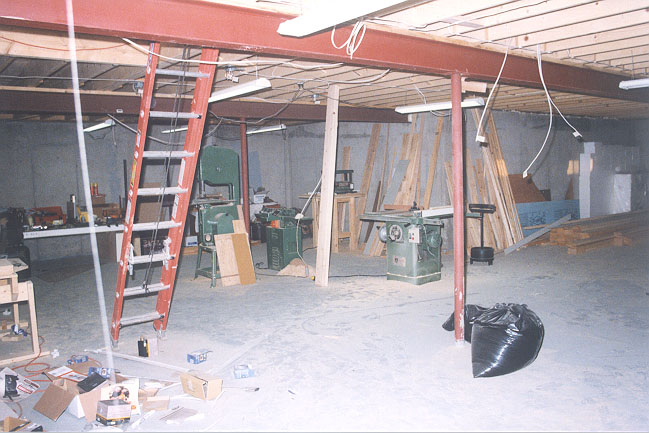
My modeling activity has been put on the back burner for the season and outside projects, plus a large basement project is underway. With the grass growing faster than I can mow it, I guess adding fertilizer doesn't help, getting the boat ready to take to camp and cleaning up an outside area for a building to house the 2 boats, one car and the tractor for the winter takes a big chunk out of modeling time. Best I can do is check into the forums and see what's going on.

As for the basement project I've finally come to the conclusion that it's time to get rid of all the things that followed me home over the last 20 years and it was time to get serious about building a layout. So the first thing to go was the Buffalo Forge Drill press. I'd powered it with a treadmill motor. Great variable speed capability. It went to the wife's nephew who build pulling trucks.


GONE. Time to move the lathe and drill press.


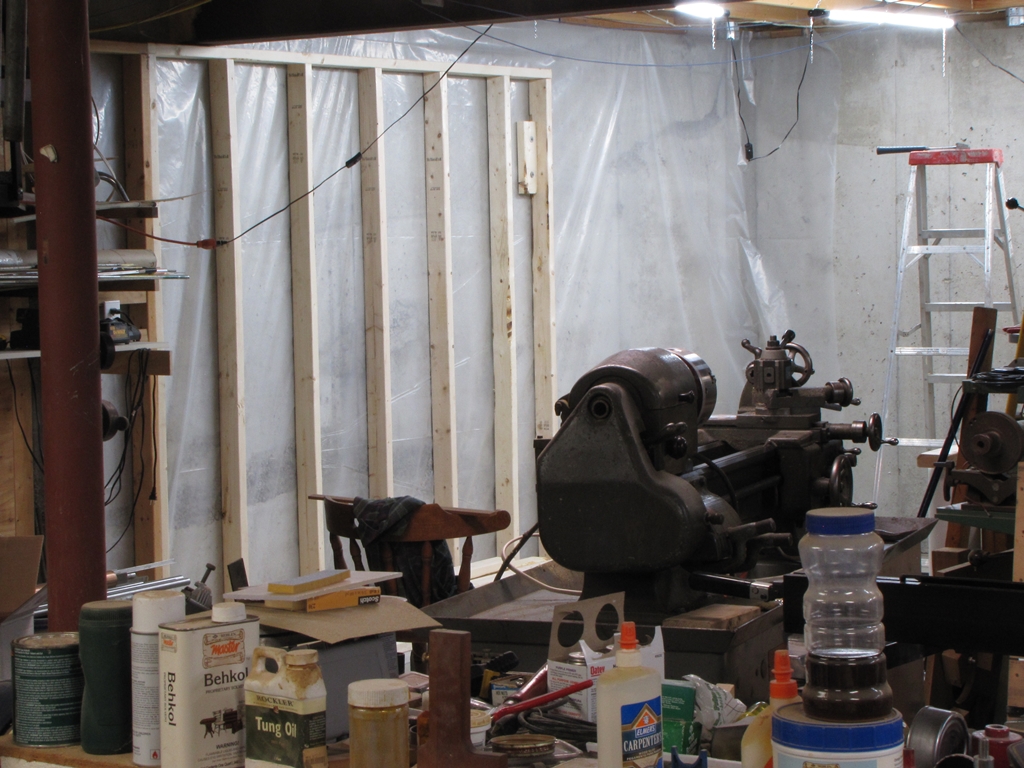
The lumber has arrived to build up the wall which will be insulated. Code says you need to insulate 30" below the frost line. I decided on the full 8 foot. Also new LED lights are temporarily hung. I do think they will stay where they are and the wiring will get neatened up. Right now they are daisy chained. They plug into each other to form a chain.


And this is what happens to the rest of the basement "storage" area.


The first section of wall is up.


So the object of this project is to finally get the basement organized for a layout. This first part will be setting up the machine shop area which will contain the lathe, Bridgeport, small surface grinder and perhaps the Grizzly mini-mill. Then on the right will be the wood working shop. Looking at the 5th picture you can see the beam running horizontally with a post in the center. Those will be the division points for the two rooms. The whole length of the beam from left to right will be walled in with doors large enough to move equipment in and out.

An another project is to convert my Sherline mill to use ball screws. They don't wear out like the lead screws that came with the original machine. Only difference is they are metric. I'll see how that all works out when I get to that. That won't happen till fall or winter. This was delivered yesterday.


So if you don't see me around it'll because I'm either at the summer cottage or busy with the above mentioned projects. Also on another note and why I have some many 1:1 projects is that the wife finally retired in March and I can't get away with doing "jigs & fixtures" because she's home all day.

Bernd
Powered by EzPortal