Menu

Show posts

This section allows you to view all posts made by this member. Note that you can only see posts made in areas you currently have access to.

Show posts Menu

Topics - ReadingBob

#1
Selling Kit... / Sitting on a shelf in the closet
August 10, 2026, 02:21:32 PM
I'm not interested in actively selling my stash of kits however, I have far more kits than I'll ever have space for (or time to build) so I thought I'd list some of them here in the off chance I have something that someone has been looking for.

I'm not listing prices, if something interests you just reach out to me and we can work something out. Being lazy, I'd like to keep this in the US as I don't want to deal with customs or international shipping nonsense (sorry to those not in the US).

SBG members get special consideration. ;)

If anyone gets one I sure hope we'll see a build thread out here on the forum.  ;D

This isn't a complete list but it's the stuff that's no longer available.

Fine Scale Miniatures
Now spoken for: #125 Water Tank & Tool Shed
#145 Coal Tower
#155 Coal Dock
#205 Wilfred J. Brambell Co.
#235 Station
#270 Roadside Delights
#285 Jeffries Point Stave and Heading
#290 Emporium Seafood
Jewel Series #3 Stuffy's Brewery
Jewel Series #12 Oatman's Mercantile
Jewel Series #19 The I. M. Dunn Co.

FOS
Now spoken for: #50 The Drake Theater & Nautilus Diner
#100 Radio WKLO

Builders In Scale
The Waterfront
#2
Super Detailing / Inter-Action Hobbies Ice Machine
June 04, 2026, 02:56:57 PM
Here's another mini build thread of a rather neat little detail that might be at home in a number of places on a layout. This one's for the Ice Machine kit from Interaction Hobbies. 

Alternately, you can spare yourself from perusing my thread and simply watch the instructional YouTube video Darryl created for this gem.  ;D


Here's the package, which includes two Ice Machines.


And here are the contents of the package.


I began by removing the base and rear pieces from the thicker sheet components.


After removing these components, I smoothed the edges out using an emery board.


A little glue was then applied to the bottom edge of the rear piece. This sits on top of the base piece, as pointed out in the instructions and the video.


I tried to make sure everything was square and properly lined up.


More in a moment... ;)
#3
Time for a new build. It's past due actually. This was going to be my challenge build but, things got off track for a bit between the flu, life, etc. so it'll simply be a build thread.

This was an X-Mas present from my better half. It's the Interaction Hobbies Moonshiner's Shed in HO Scale. It's also available in O Scale.

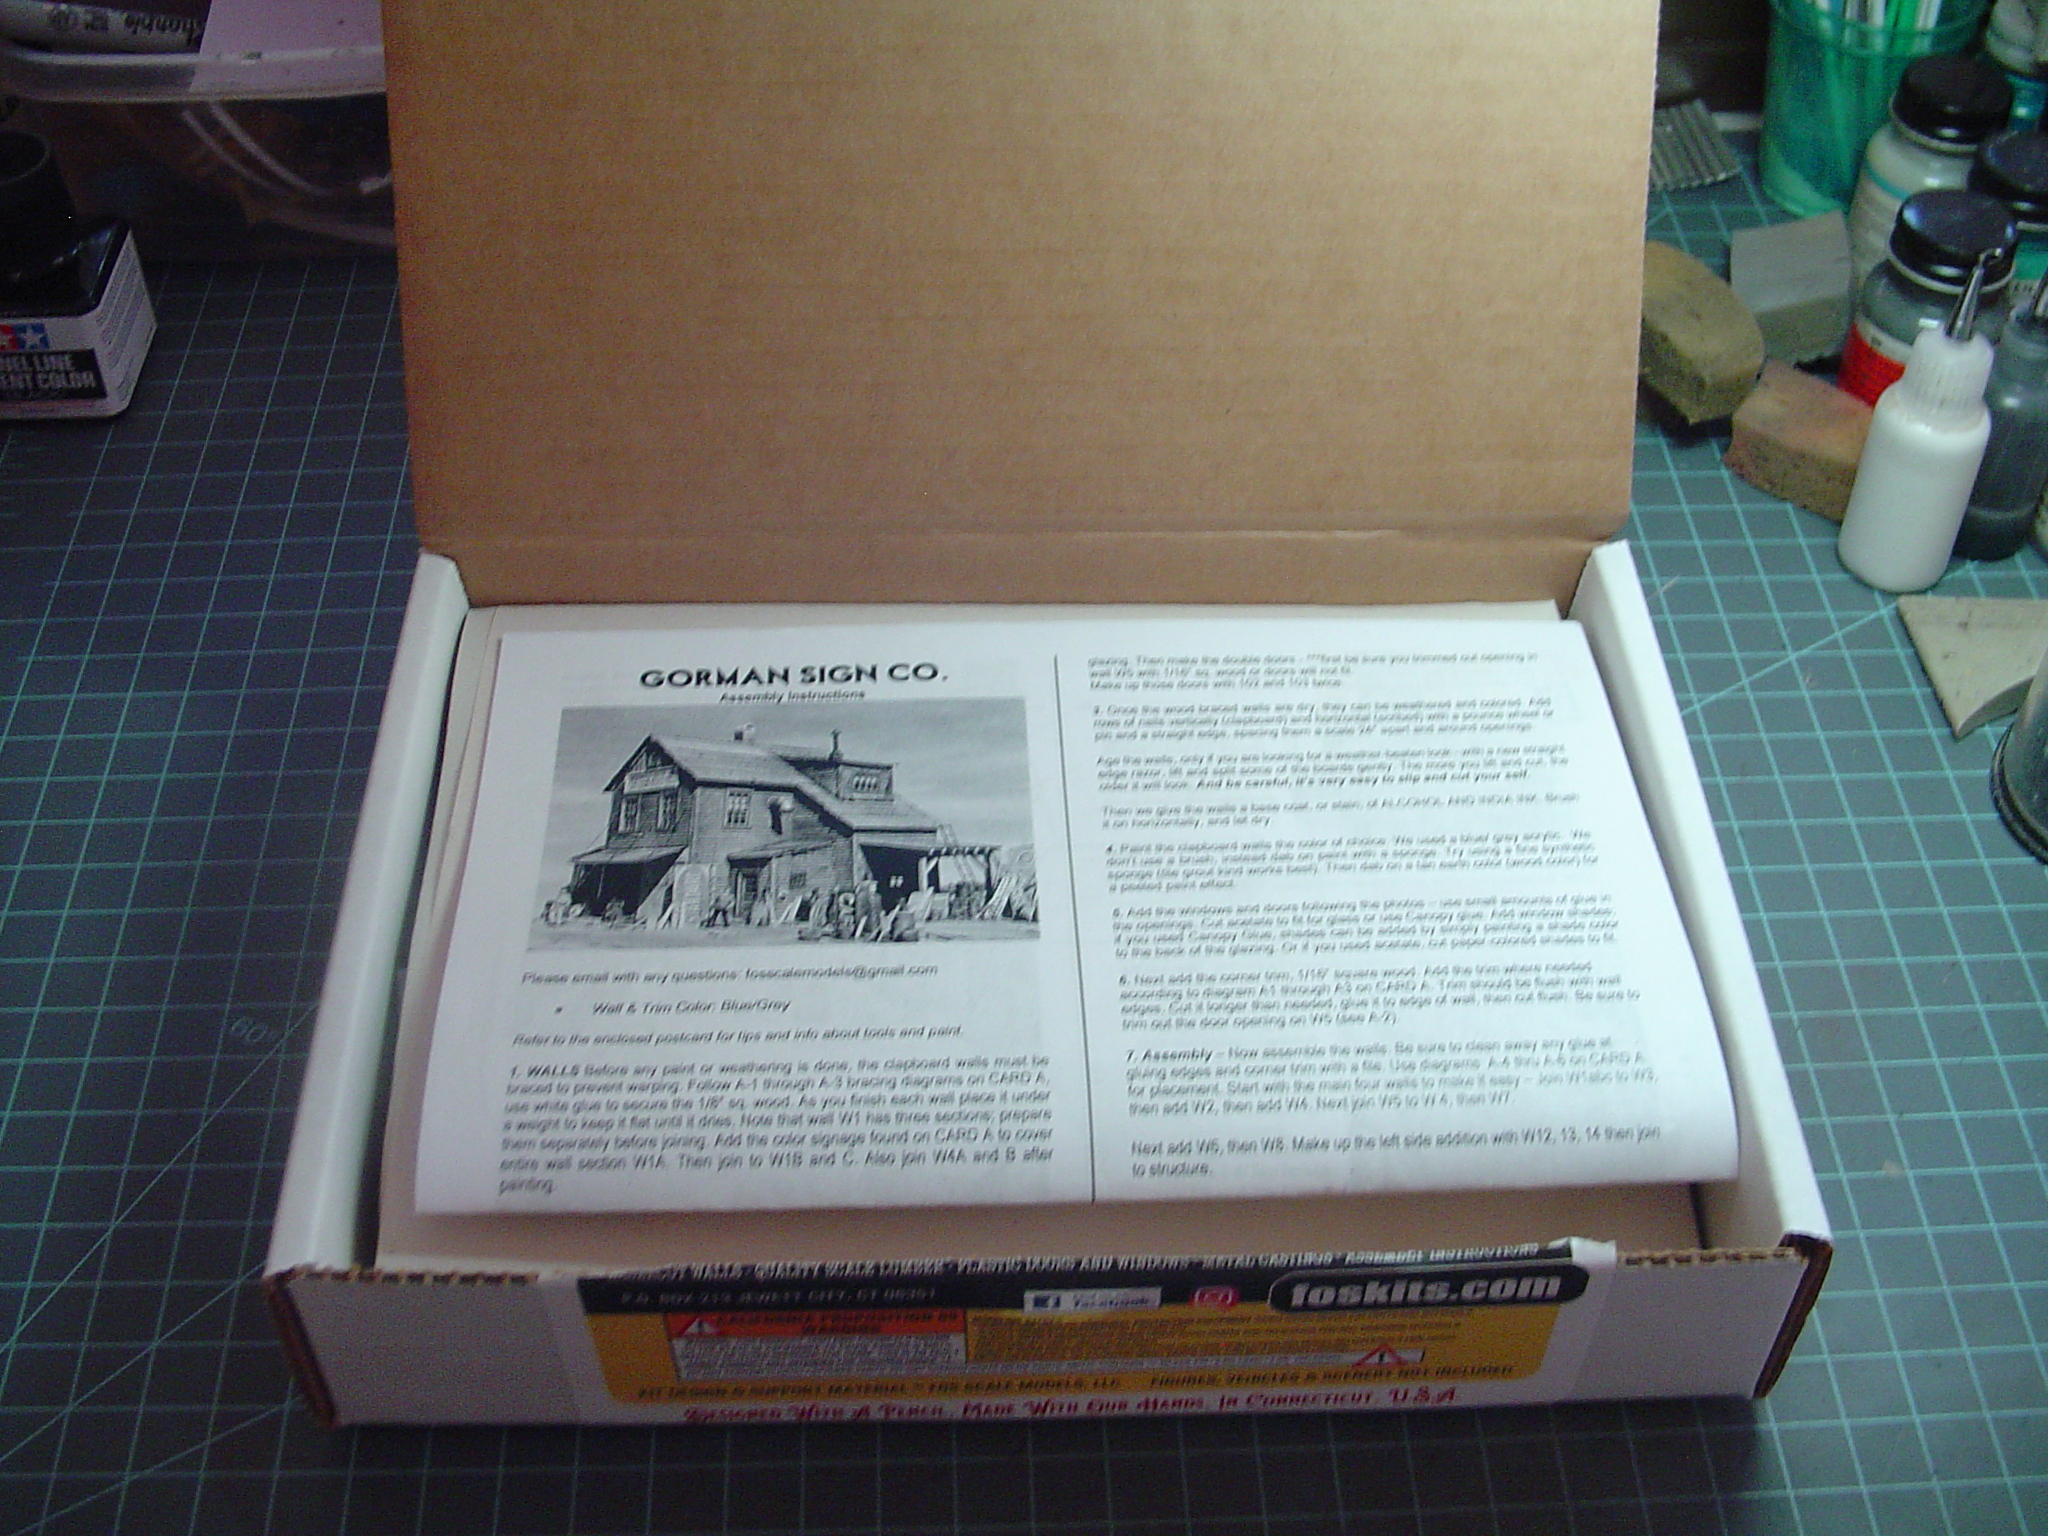
Let's start with the standard picture of the unopened kit.


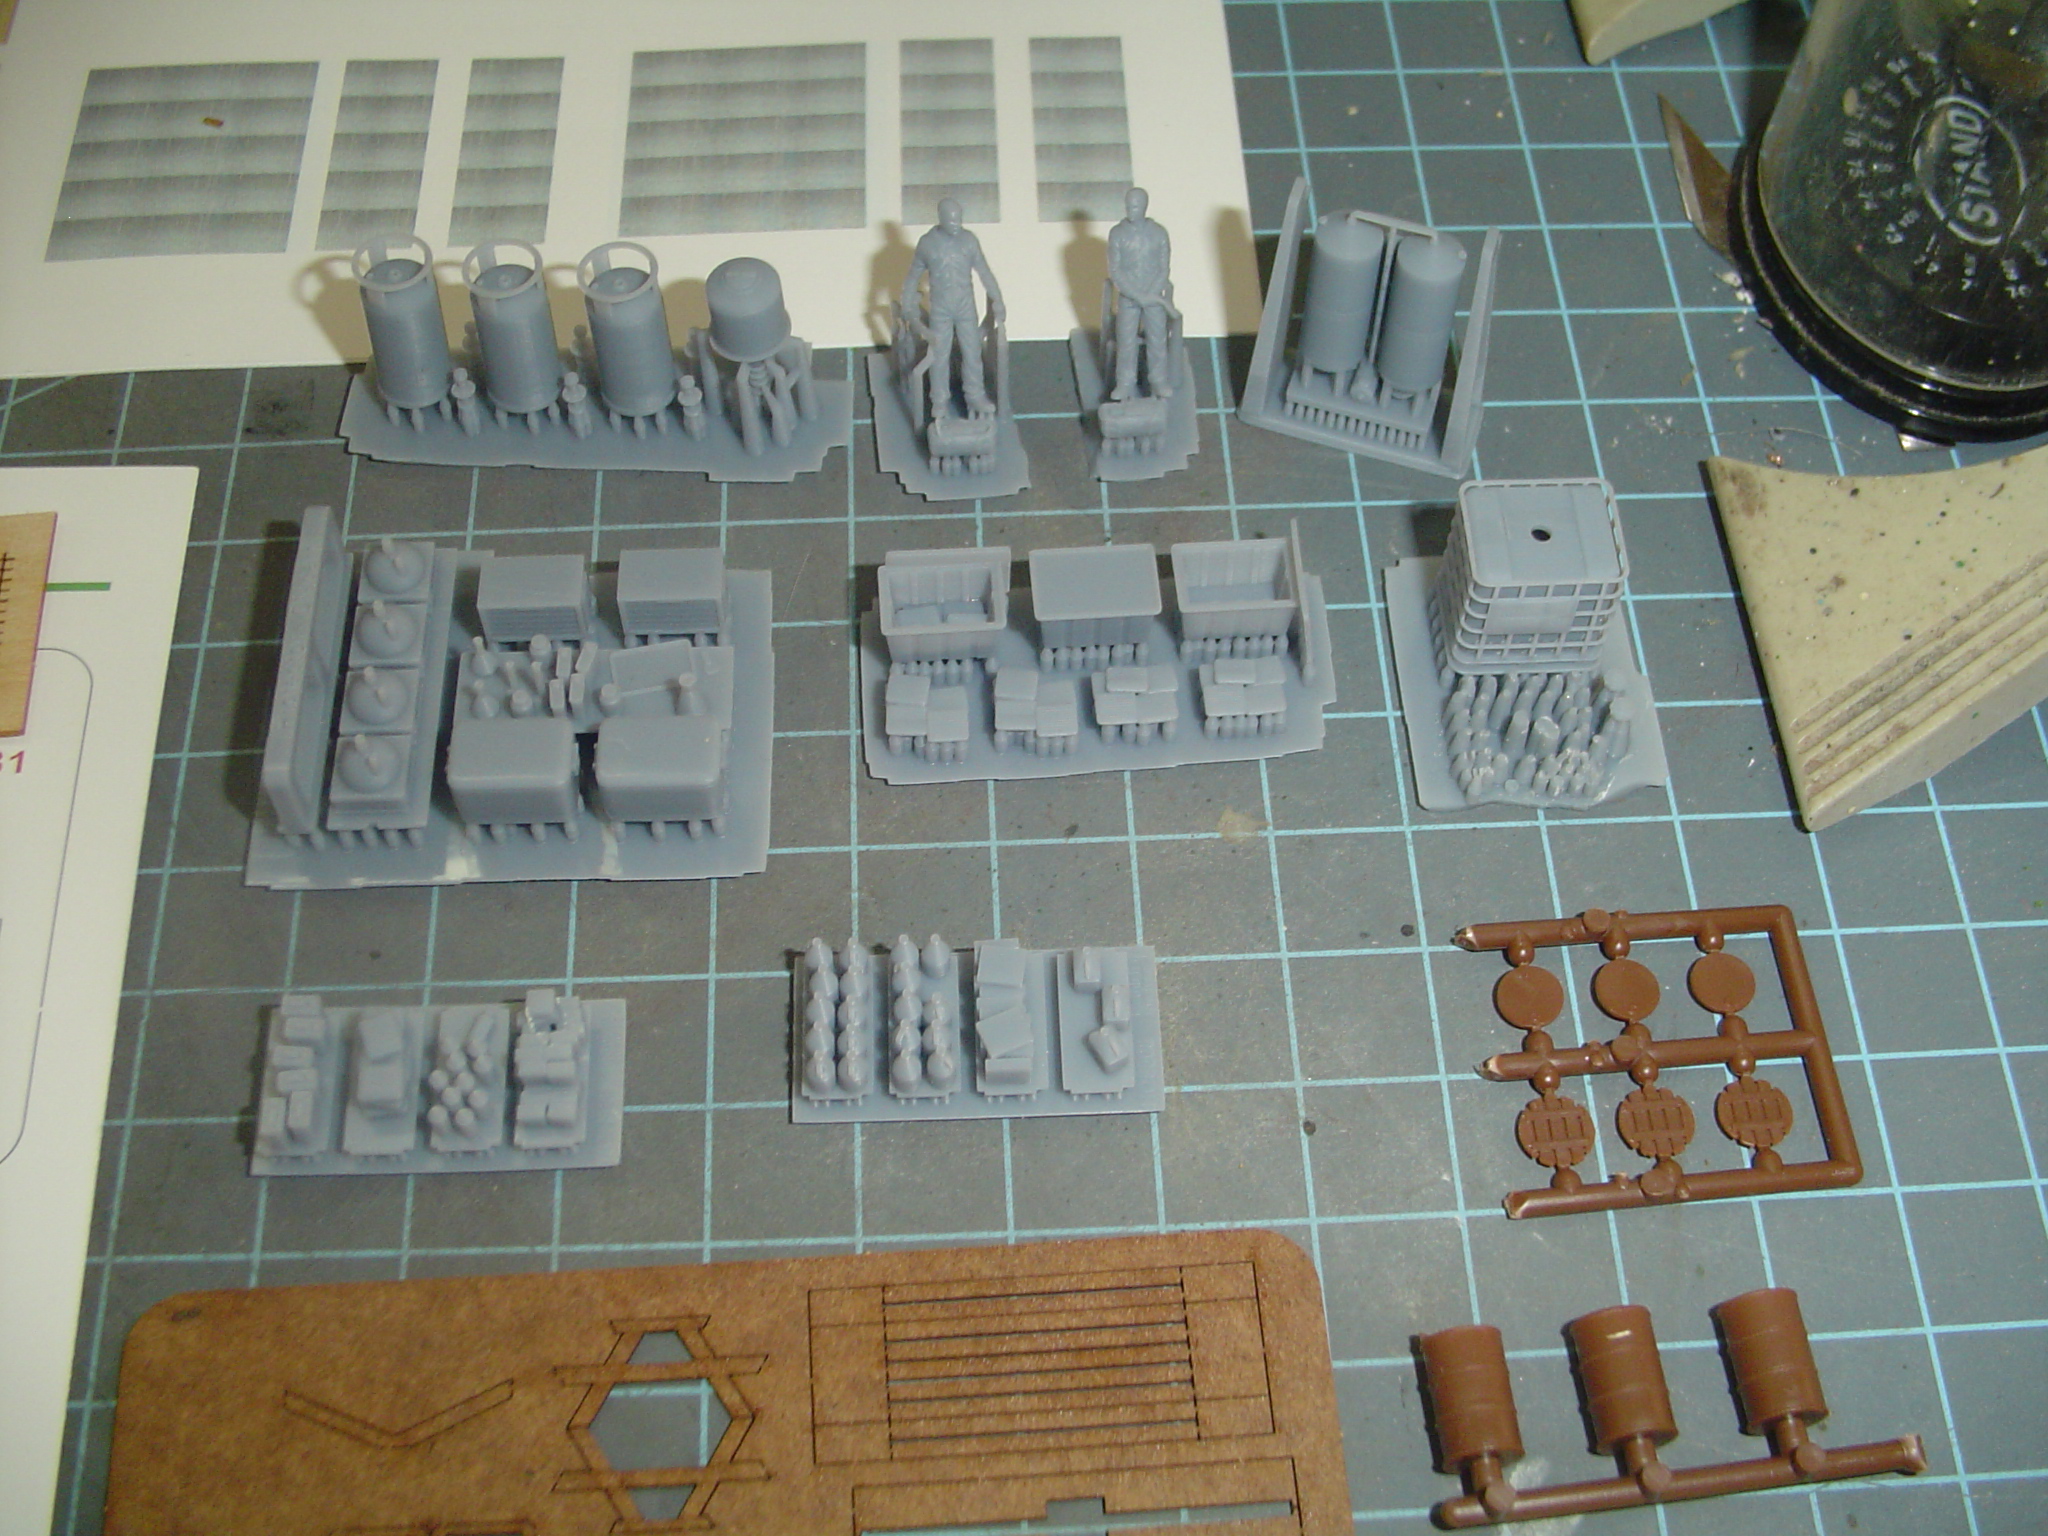
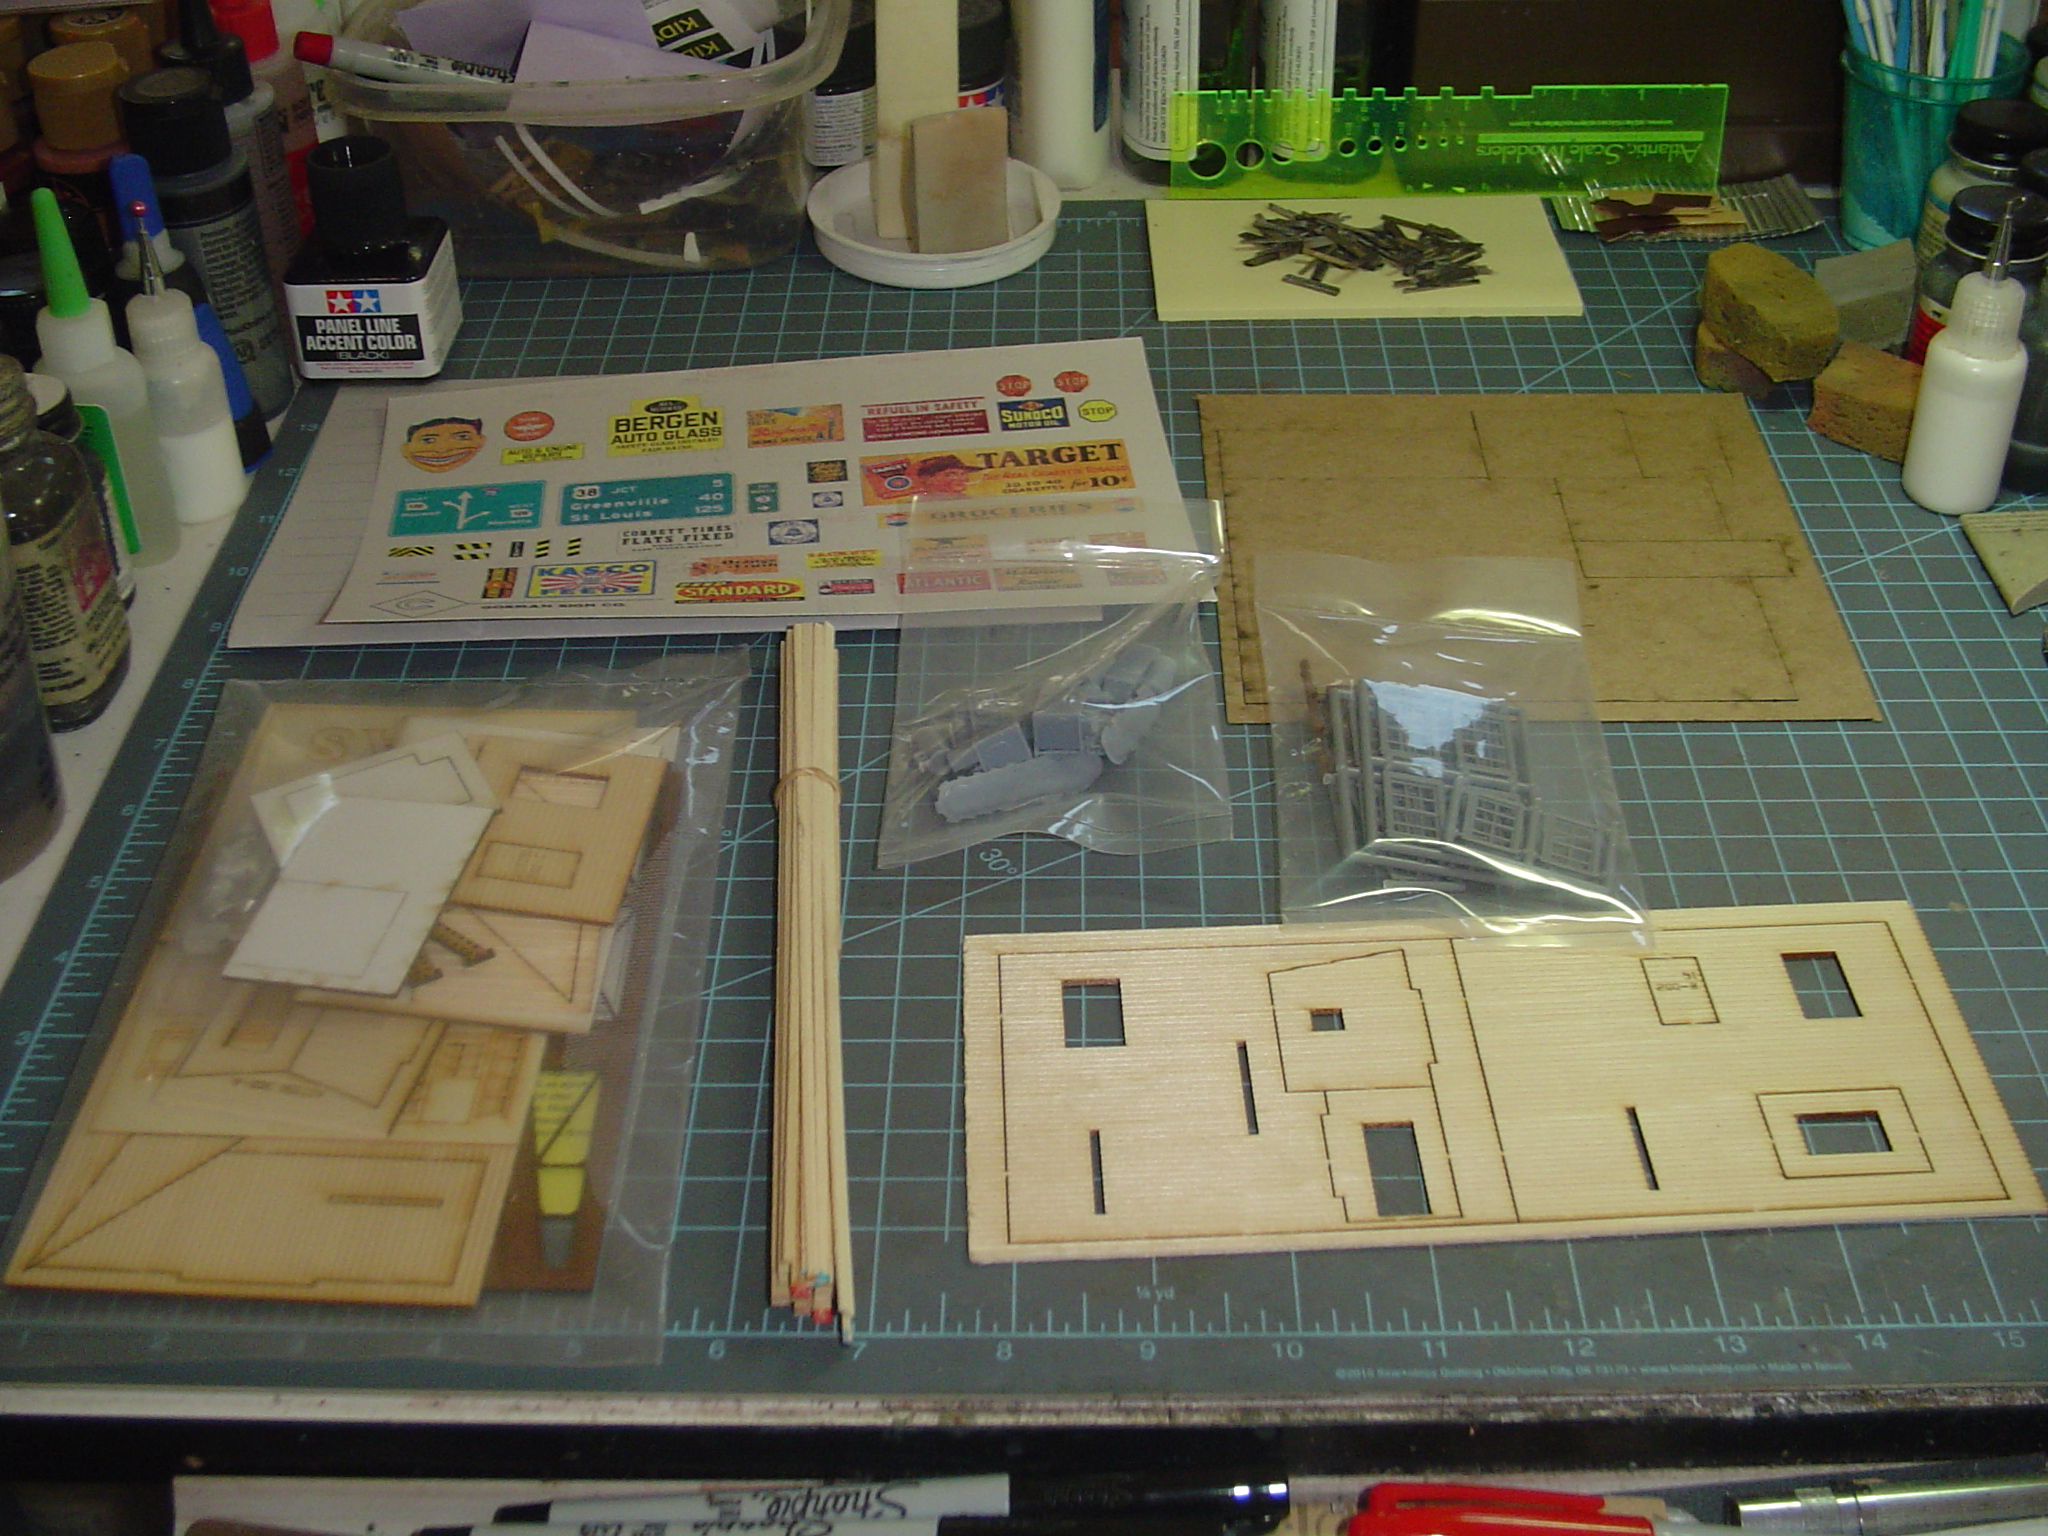
And here are the contents of the package. Lots of 3D printed stuff in this one.


The instructions recommend painting the 3D printed details while they're still attached to the base they're printed on. Maybe that would work for the O Scale version of the kit but, as you can see here, it would be difficult to paint these things in the HO Scale version given how close they are to one another.


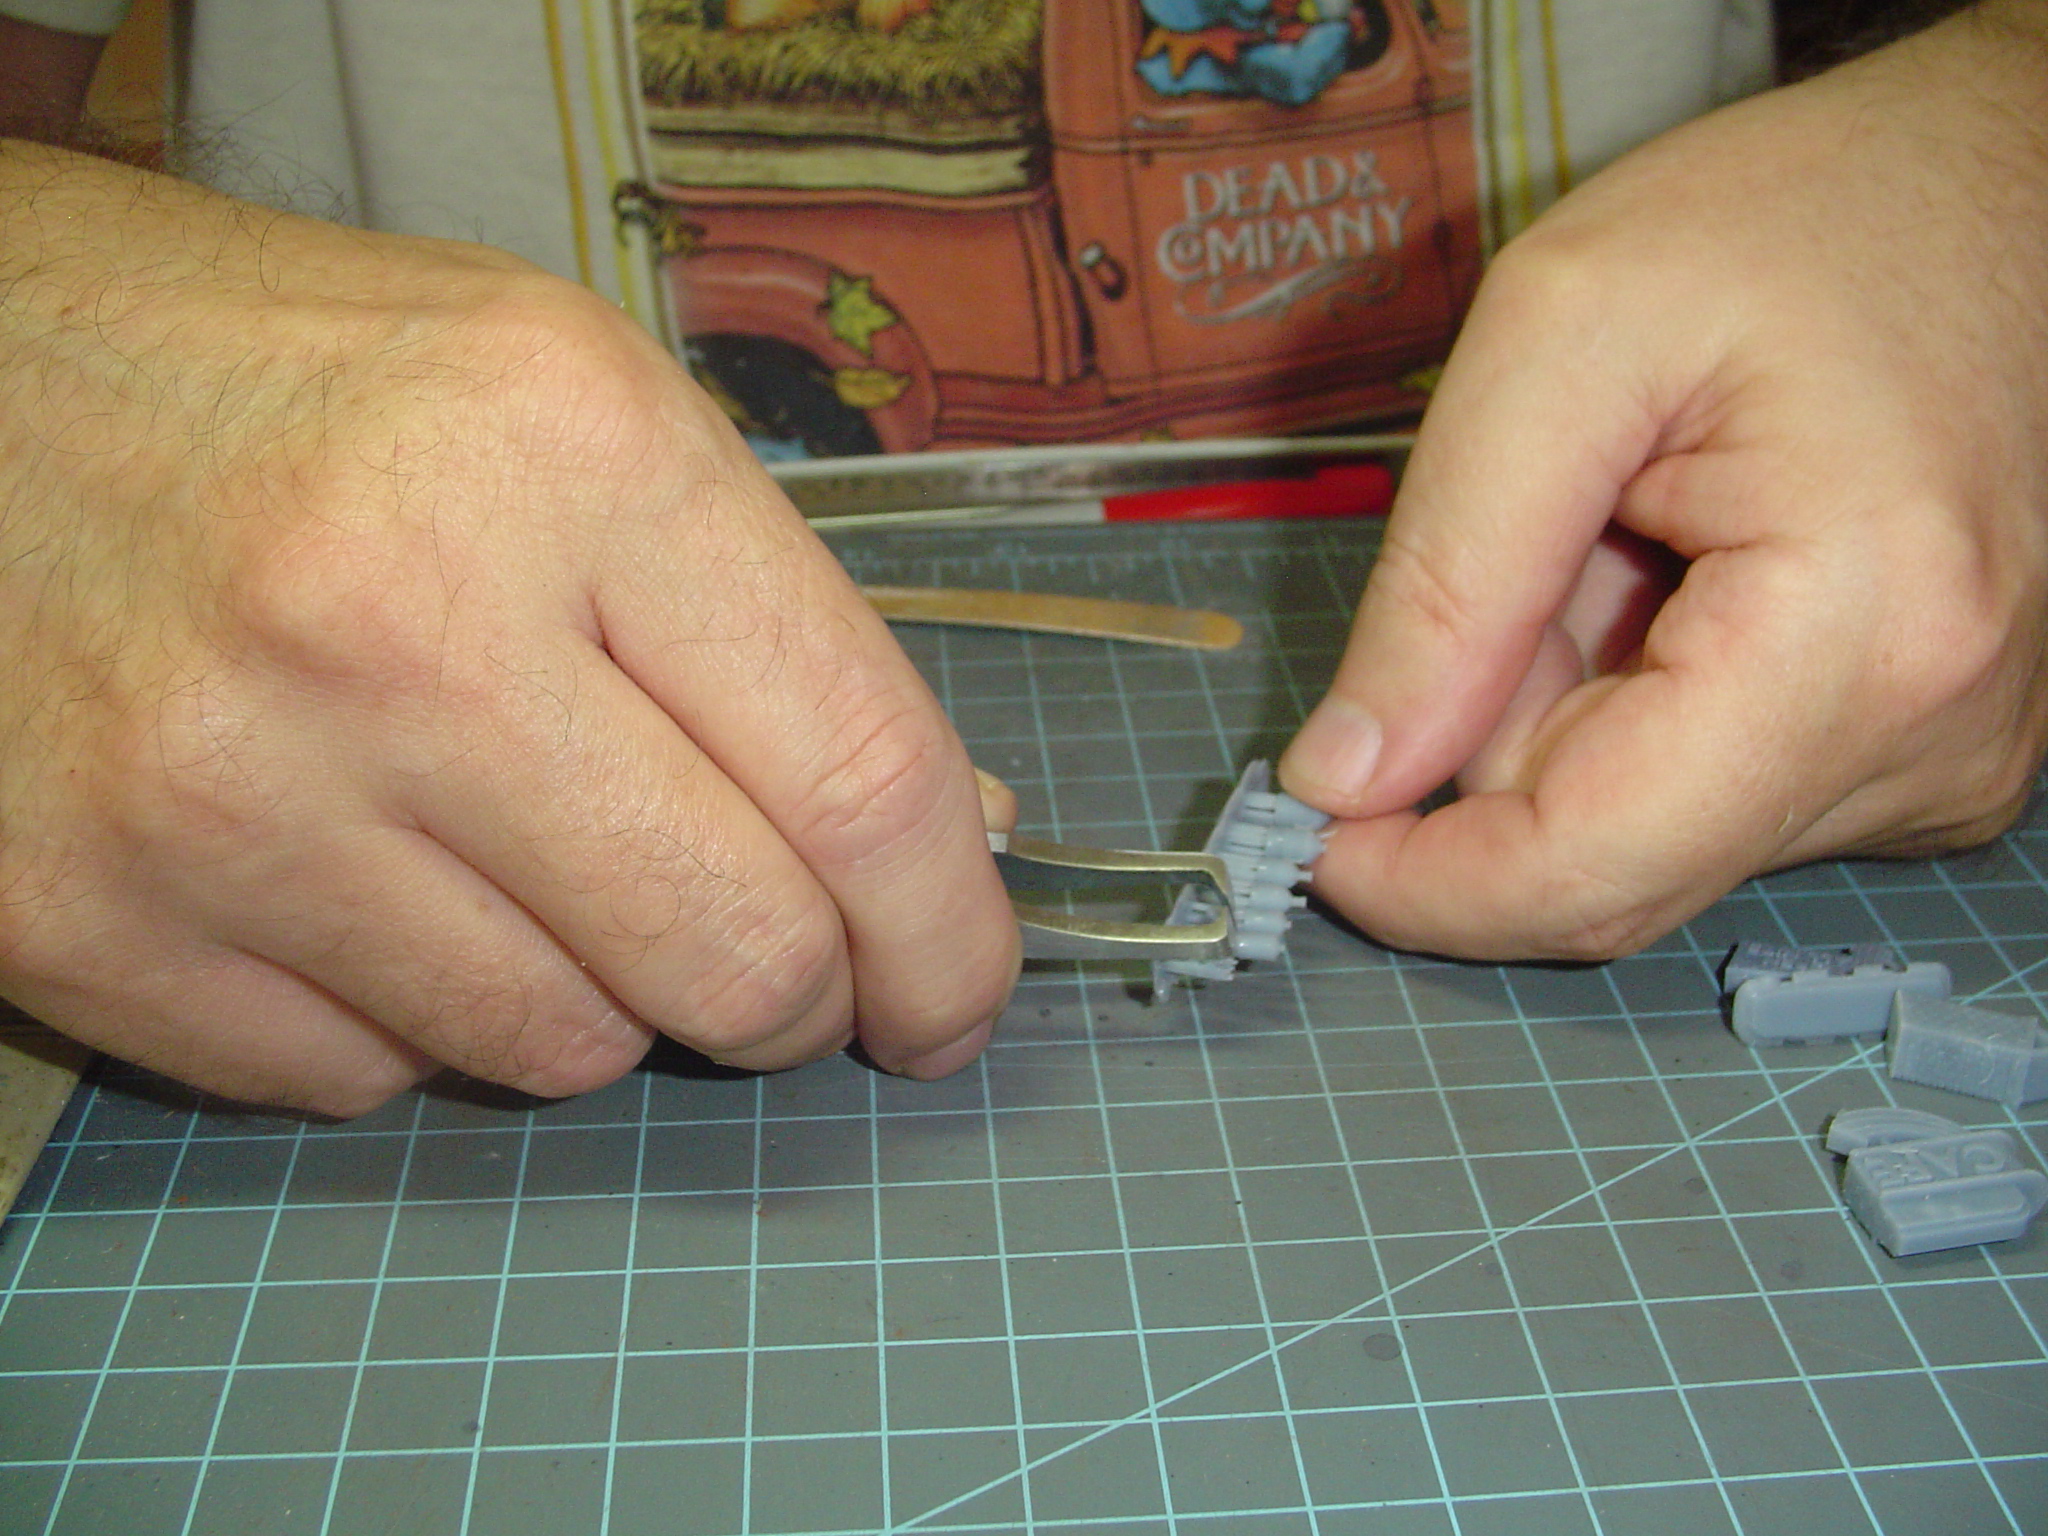
I started by separating the figures from one another using a razor saw. I planned on keeping this on their base while painting them and only removing those sprues (or whatever they're called) that rise up assist with the printing process. However, when I started trimming those off the ones beneath the shoes ended up giving way, so I ended up removing everything and cleaning them up in preparation for painting.


I primed everything, except the figures and glass bottles, with Floquil Foundation using an airbrush. The figures I primed using Floquil Weathered Black (I think it was Dave Emery who recommended using black as a starting point for figures, so I figured (pun intended ;D ) I'd give that a try. The glass bottles are clear so they didn't get primed.

The top row in this picture is all the stuff from this kit. The bottom row are some Mini-print figures I had sitting on the workbench waiting to be painted and aren't related to the kit.


Painting moonshine jugs in a two tone paint scheme turned out to be not as bad as I had feared. For the bottom I used Vallejo Iraqi Sand and for the top I used PollyScale Roof Brown. A 10X Optivisor is a must for most of the painting.


More in a moment... ;D
#4
Super Detailing / Inter-Action Hobbies Wood Pallets
February 23, 2026, 06:32:12 PM
Just a quick thread on assembling Inter-Action Hobbies Wood Pallets. These are a net looking little detail. I tend to prefer this over most of the metal castings of wood pallets I've encountered in the past.

There are 18 pallets included in the package.


Inside you'll find instructions and three laser cut sheets of components (top and bottom deck boards and stringers).


The first step is to remove the stringers from the carrier sheet. 


Though it's not really necessary I clean up the top and bottom of the stringers by giving them a gentle swipe over and emery board.


Then glue the stringers to the top deck boards by adding just a tiny drop of glue to the ends and middle of each deck board. There is a laser cut guideline which indicates where the middle stringer goes.


Carefully position the stringers in place. Note, the instructions say that no more than six pallets should be assembled at a time. I already did one set of six and here I am working on the second set of six. My old camera decided to not recognize memory stick when I was taking pictures while I did the first six.  ::)


More in a moment... ;)
#5
Baggage Car - Daily Chat / Sunday - February 15, 2026
February 15, 2026, 11:44:28 AM
Morning all,

Ugh...stuffy thi s morning. I haven't figured out if it's allegies or a cold but I'm leaning towards the latter. Doubt I'll get much, if anything, done at the workbench today. 

Guess I'll nap through survior (aka the Daytona 500). I only need to wake up for the last two laps.

Have a great one!
#6
Baggage Car - Daily Chat / Saturday - 11/22/2025
November 22, 2025, 10:35:03 AM
Morning all,

Been a while since I opened up. Since I retired, I'm no longer spending my days sitting in front of a computer while attending endless meetings. While it paid well it was boring as heck but did give me plenty of time to peruse the forum. Now I ignore the computer, for the most part. 

From a few years ago. My favorite railfanning spot near my brother's house in Enola, PA. Raymo knows this spot as well.


Have a great one!
#7
Happy Birthday to Tom (ACL1504) and his better half, Pam!

I finished my morning walk and had breakfast. Now it's time to clean up and then the rest of the day is wide open. Maybe some yard work. Maybe some workbench time. We'll see which one wins.  ;)

Have a great one!
#8
Happy Birthday to John Mancuso (Cuse)!

I'm heading out for breakfast with a friend/former co-worker shortly. After that the day is mine as I took care of the yard work yesterday (violating my never do today what you can put off until tomorrow rule).

I'll have to think about what I want to put on the TV while I'm sitting at the workbench later. Old movie, concert, train video, etc.

Have a great one!
#9
Baggage Car - Daily Chat / Saturday - October 18, 2025
October 18, 2025, 10:47:01 AM
Morning all,

Not much on the agenda today so perhaps some workbench time. ;) 


Have a great one!
#10
Kit Building / FOS - Shakey's Pool Hall
October 07, 2025, 12:37:33 PM
This is my build of Shakey's Pool Hall from FOS Scale Models. If you've followed along on any of my previous builds don't expect too much, if anything, to be different. :( 

The kit came packaged in a plastic clam shell case.


The contents were the usual assortment of goodies. I'll note that this kit came out in 2016, before 3D printed details were a thing (or at least before FOS included them in their kits).


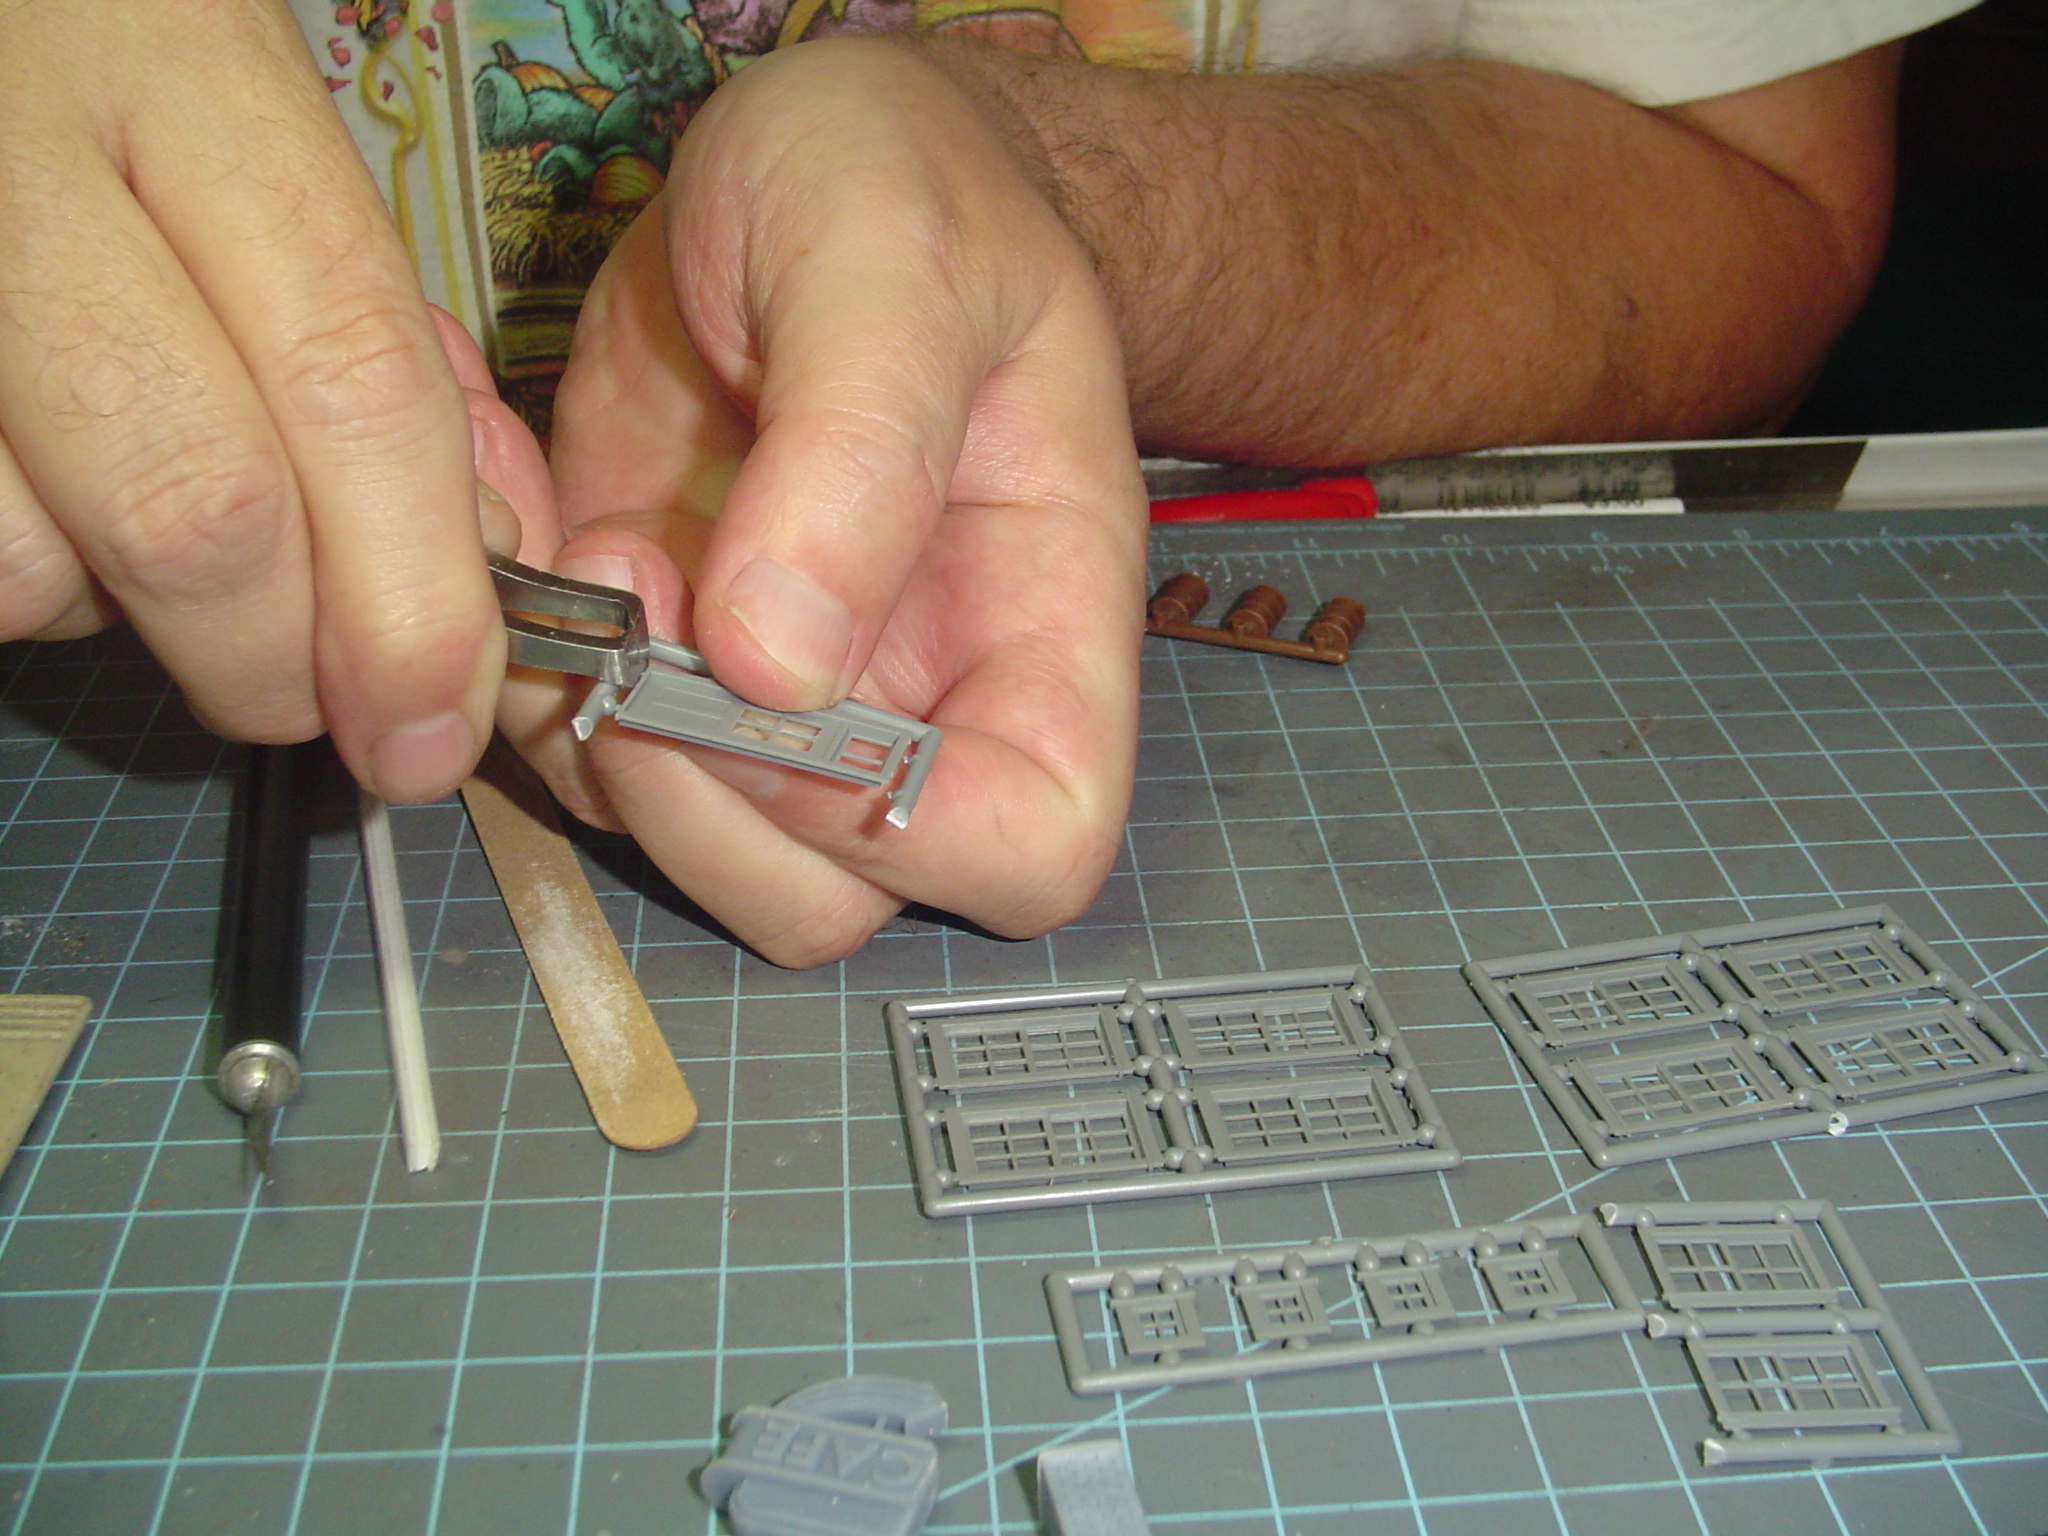
I began by removing the plastic parts from their sprues using a sprue cutter (for most).


A few quick swipes with an emery board took care of any nubs left by the sprue cutter.


The 55-gallon oil drums have a very thick sprue which my sprue cutter can't handle. To remove these, I use an old pair of flush cut rail nippers.


The metal detail castings I cleaned up with a small file. They didn't require too much clean up.


More in a moment... ;)
#11
Baggage Car - Daily Chat / Sunday - October 5, 2025
October 05, 2025, 11:57:33 AM
Morning all,

We just got back from ordering a new freezer at Home Depot. The old one (in the garage) is acting up. I don't know why. It's only 32+ years old.  ::) I also ordered a new wi-fi router yesterday after I received a notice that my current one is at its end of life and will no longer receive firmware updates. I am NOT looking forward to swapping out that out. It should be easy but, based on past experience, it probably won't be.

This afternoon will be workbench time and some football. Maybe I'll watch some racing as well. 

Have a great one!  
#12
Baggage Car - Daily Chat / Thursday - September 25, 2025
September 25, 2025, 12:02:15 PM
Afternoon all,

Busy day today. Dentist appointment this morning. Now there's a crew here replacing three sliding glass doors. I don't think the replacements are Tichy though. I won't be able to get at my workbench this afternoon. Maybe not tomorrow either. Depends on how the installation goes.  :P

Have a great one!
#13
Baggage Car - Daily Chat / Tuesday - September 9, 2025
September 09, 2025, 10:28:43 AM
Morning all,

Got my walk in first thing this morning. After I flip through the e-edition of the paper I'll think about what king of trouble I can get into today. Yesterday I made a little progress on the current build and inched closer to the finish line. More of the same after lunch.


Have a great one!
#14
Baggage Car - Daily Chat / Sunday - July 6, 2025
July 06, 2025, 10:58:13 AM
Morning all,

Sorry, we only have bagels and cream cheese available this morning. Tea as well. Coffee lovers are on your own. There's probably a Starbucks nearby. Right next to another Starbucks.

I did manage to get some workbench time in over the past few days. Next session should be 'glue the walls together' session.

Preparing for our next trip. I don't expect driving up I95, 26, 77 and 81 will be quite the same experience as cruising the Rhine River.  :( 

Have a great one! 
#15
Baggage Car - Daily Chat / Tuesday - June 17, 2025
June 17, 2025, 04:35:56 AM
Morning all,

Sitting at gate, in Basel, waiting to board the first of three flights to go home. Boarding starts at 10:55. We should arrive in Orlando around midnight. Doesn't sound too bad until you add in the 6 hour time difference.  :o

Had a great time cruising the Rhine. We'll likely do another trip next year or the year after.

Have a great one!
#16
Baggage Car - Daily Chat / Saturday - June 14, 2025
June 14, 2025, 02:19:00 AM
Guten Morgen,

Just got back from breakfast.  Now it's time to look over the lunch menu to consider our options.

Yesterday we spent too much time on the upper deck, watching the castles go by, and got a bit of a sunburn.  This afternoon is a walking tour of Speyer.

Have a great one!
#17
Afternoon all,

Sipping on a cup of tea while watching the banks of the Rhine go past us. This morning, we toured wind mills (the old fashioned kind) and then saw how Gouda Cheese is made. Life is good.

Have a great one!
#18
Good morning,

Heading out for breakfast shortly so you're welcome to tag along if so inclined.  Peach Valley is our usual Wednesday morning hangout.  Try one of the Peach Muffins if you join us.

I'll mow the grass later.  Assuming it stops raining and it dries out a bit.

Just read where they're evacuating 20,000 people in Cologne, Germany so they can defuse 3 unexploded US WWII era bombs (2 twenty ton and 1 ten ton) that were just discovered in a shipyard.  Gee, we'll be in Cologne next Thursday.  I hope they do a good job.  :o

Maybe some workbench time this afternoon.  We'll see how the day goes.

Have a great one!
#19
Kit Building / FOS - Frank Lava Gunsmith
May 13, 2025, 07:26:42 PM
Time to open up the other kit my better half gave me this past X-Mas.  This one is the Frank Lava Gunsmith kit from FOS Scale Models.  I'm not sure I'll be able to shoehorn this one into the switching layout I plan on building but having it in its completed form will help be decide.

Here's the first peek at what's inside the box.


The contents.  A couple of sealed bags of laser cut components, window & door castings, etc. Instructions, strip wood, a contained with 3D printed and cast metal detail castings. But oh no!  :( There should be a 3D printed wall section (it sits above the store front. It's AWOL.  I sent an e-mail to the address in the instructions and got a reply that the information would be forwarded to Doug.  Hopefully the replacement arrives in a timely fashion.


If you have this kit pay attention to this sheet of laser cut parts.  Everything is a part.  Even the outer edge.  No waste here.


As I usually do, I started by removing the plastic doors and windows from their sprues using a sprue cutter.  Some folks (great modelers to be sure) prefer to paint them while they're still on the sprue.  Nothing wrong with that.  I happen to prefer removing them and cleaning them up prior to painting.


A couple of quick swipes with an emery board touches up any nubs that may have been left by the sprue cutter (thiough they're barely noticeable).


Something Tom (ACL1504) and experience has taught me is to check to make sure you have enough doors and windows to fill all the openings.  In this case they're all there.  It really kills the momentum when find out you're one or two short after they've been painted, weathered, dry brushed, the windows have been glazed, etc.  But, just in case, I have a couple of Tichey Window and Door assortment packs I keep handy.  If one is missing, I can typically find match in those assortments.


To be continued in a moment... ;)
#20
Here's a relatively quick little build I just finished.  It's Mack's Deli from FOS Scale Models. One of two kits I received as presents this past X-Mas. Pretty much my typical build thread but a few things are different with this one.

  • I used the laser cut acetate for the window glazing rather than MicroScale Industries Krystal Klear.
  • Most of the bracing included in the kit was laser cut rather than 1/8" square stripwood.
  • I decided to skip the lighting on this one.  Not every structure needs to be lit up at night. My thinking is the Deli is closed in the evenings.

It's a small package.


Here are the contents. I really like the 3D printed details that came with this one.


Since I just finished two background flats my razor blade and X-Acto blades needed to be replaced. I usually do this at the start of a new build unless I had to replace them near the end of the previous build.


Using a single edged razor blade, I removed the walls from the carrier sheets but slicing through the small connections.


Then I touched up the edges of the walls by running them over an emery board at a 90-degree angle.  This helps square up the edge and removes any nubs left where they connected to the carrier sheet.


There was only one plastic part in the kit, a door. I removed the sprues from it using a sprue cutter.


More in a moment... ;)
Powered by EzPortal