Continuing on...

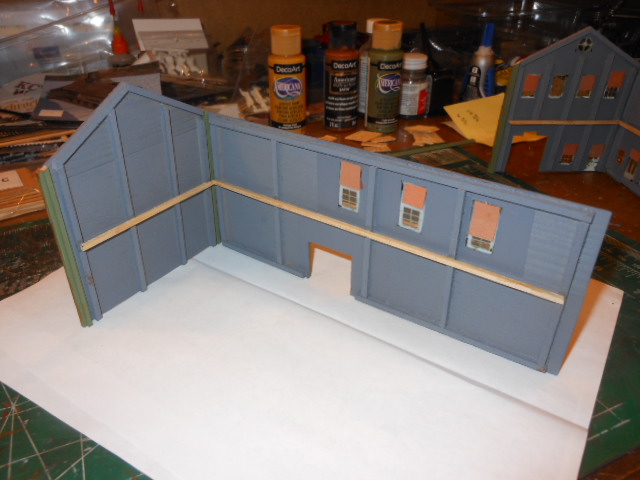
The warehouse walls have been assembled after adding the corner posts. After installing the freight doors I added some 2x4 wood trim pieces. I thought that the plain wood slab doors needed some dressing up. I also put in some window shades made from brown construction paper that are flowing out of the open window.
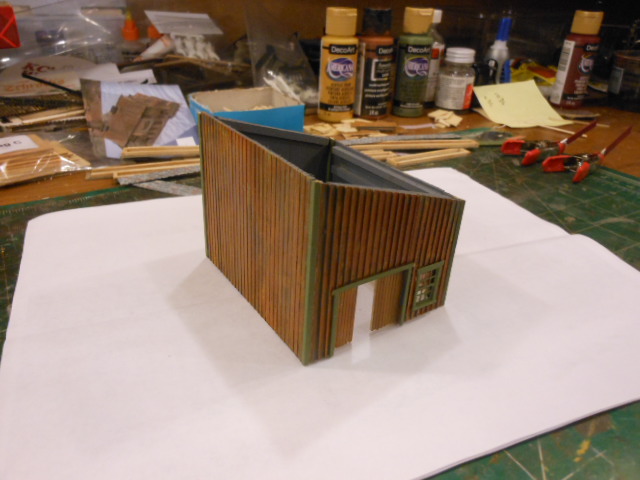
Another view of the warehouse walls after assembly. The plain tall wall goes up against the rear slaughterhouse wall and I haven't added the freight door trim pieces yet.

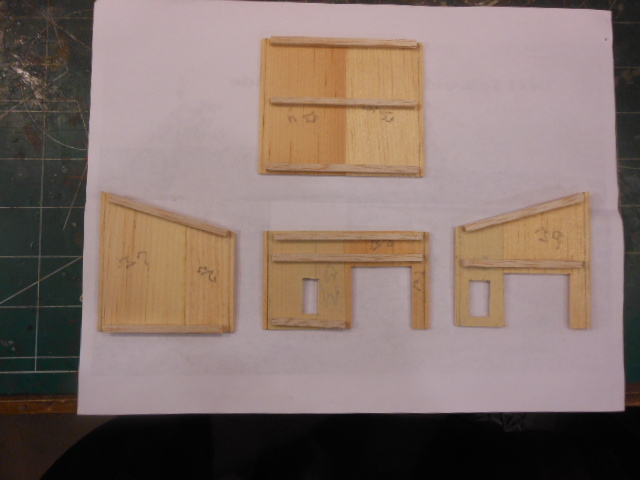
Next up is the foundation for the slaughterhouse and warehouse assembly. The short walls are cardstock that needed to be cut out and the bracing, which came with the kit was then added. The clearly written instructions made it easy for this step to be completed.

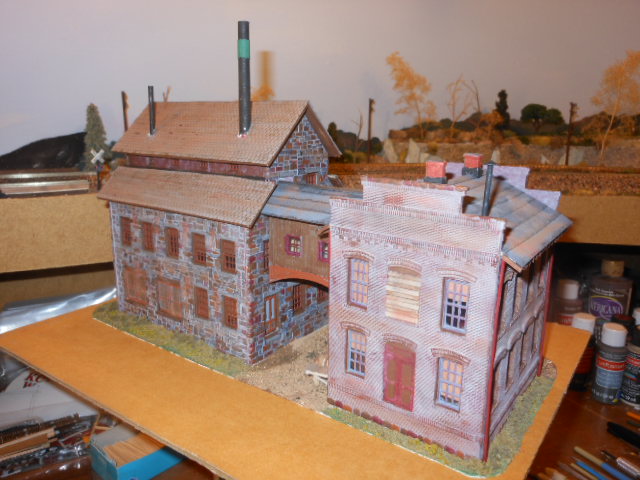
The kit came with some plain clear embossed plastic sheets that are meant to be the foundation stone walls. I must admit that when I first saw these clear plastic sheets I was not impressed, but after spraying them with rattle can dark grey primer, painting individual stones with various colors and then applying a light grey wash for the mortar color I liked the result.

Here is a view of the foundation wall. I think that I will apply an AI solution wash and then some weathering chalks later on, but I like the look so far.
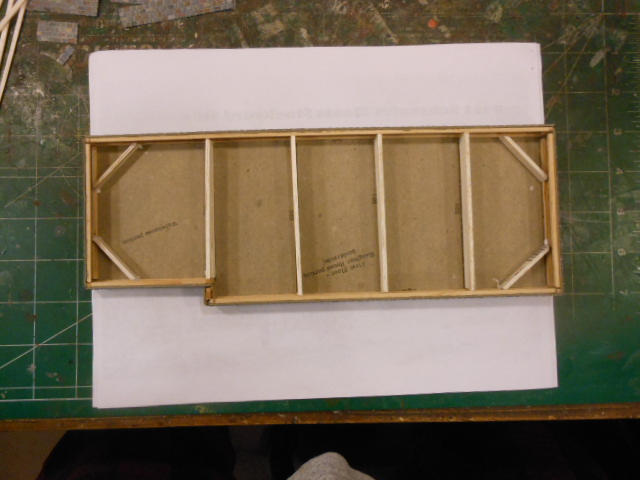
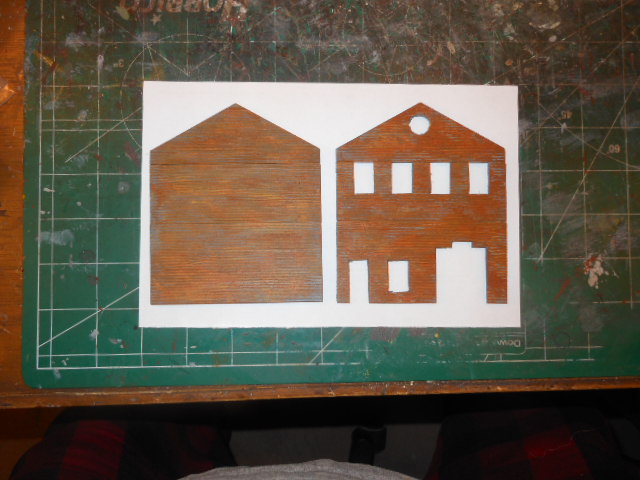
Here is the completed foundation assembly. The kit provides a cardstock floor that must be cut out and then the foundation walls were glued to the perimeter. Everything fit perfectly. I added extra bracing, I like bracing, to the whole thing using wood from my stash. More in a minute
The warehouse walls have been assembled after adding the corner posts. After installing the freight doors I added some 2x4 wood trim pieces. I thought that the plain wood slab doors needed some dressing up. I also put in some window shades made from brown construction paper that are flowing out of the open window.
Another view of the warehouse walls after assembly. The plain tall wall goes up against the rear slaughterhouse wall and I haven't added the freight door trim pieces yet.
Next up is the foundation for the slaughterhouse and warehouse assembly. The short walls are cardstock that needed to be cut out and the bracing, which came with the kit was then added. The clearly written instructions made it easy for this step to be completed.
The kit came with some plain clear embossed plastic sheets that are meant to be the foundation stone walls. I must admit that when I first saw these clear plastic sheets I was not impressed, but after spraying them with rattle can dark grey primer, painting individual stones with various colors and then applying a light grey wash for the mortar color I liked the result.
Here is a view of the foundation wall. I think that I will apply an AI solution wash and then some weathering chalks later on, but I like the look so far.
Here is the completed foundation assembly. The kit provides a cardstock floor that must be cut out and then the foundation walls were glued to the perimeter. Everything fit perfectly. I added extra bracing, I like bracing, to the whole thing using wood from my stash. More in a minute