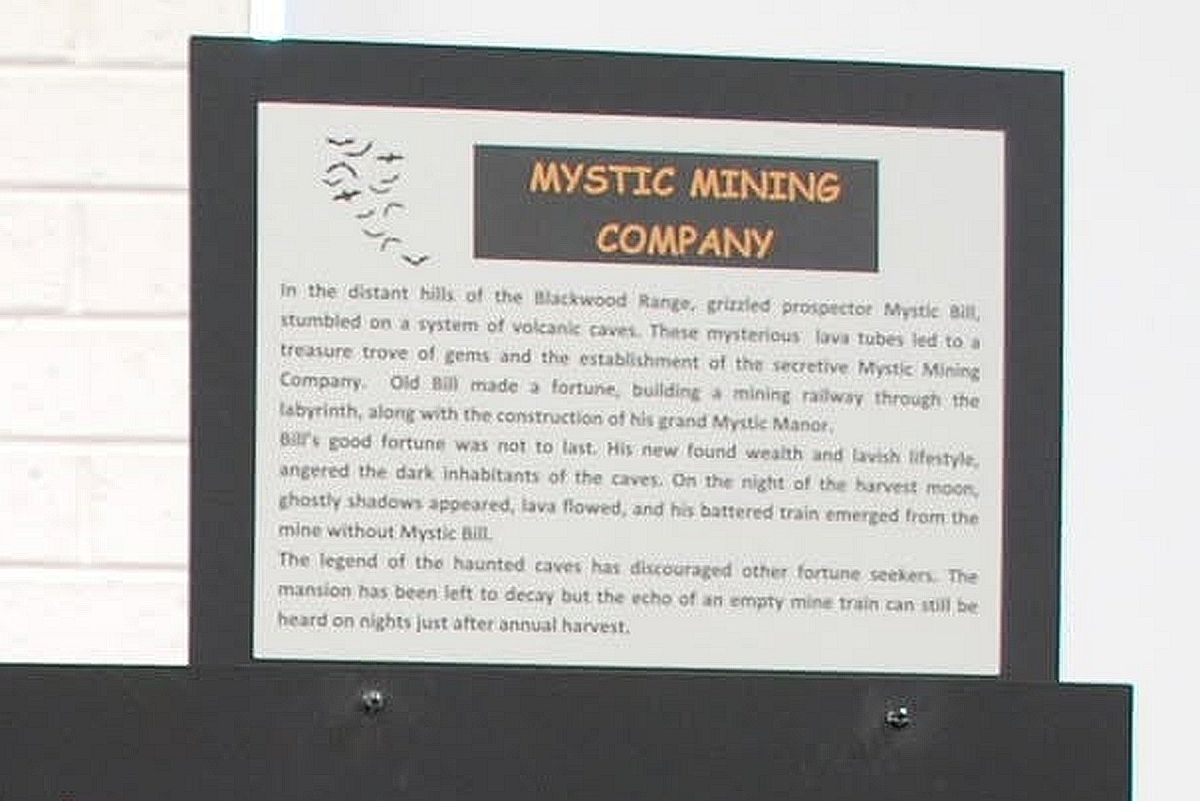
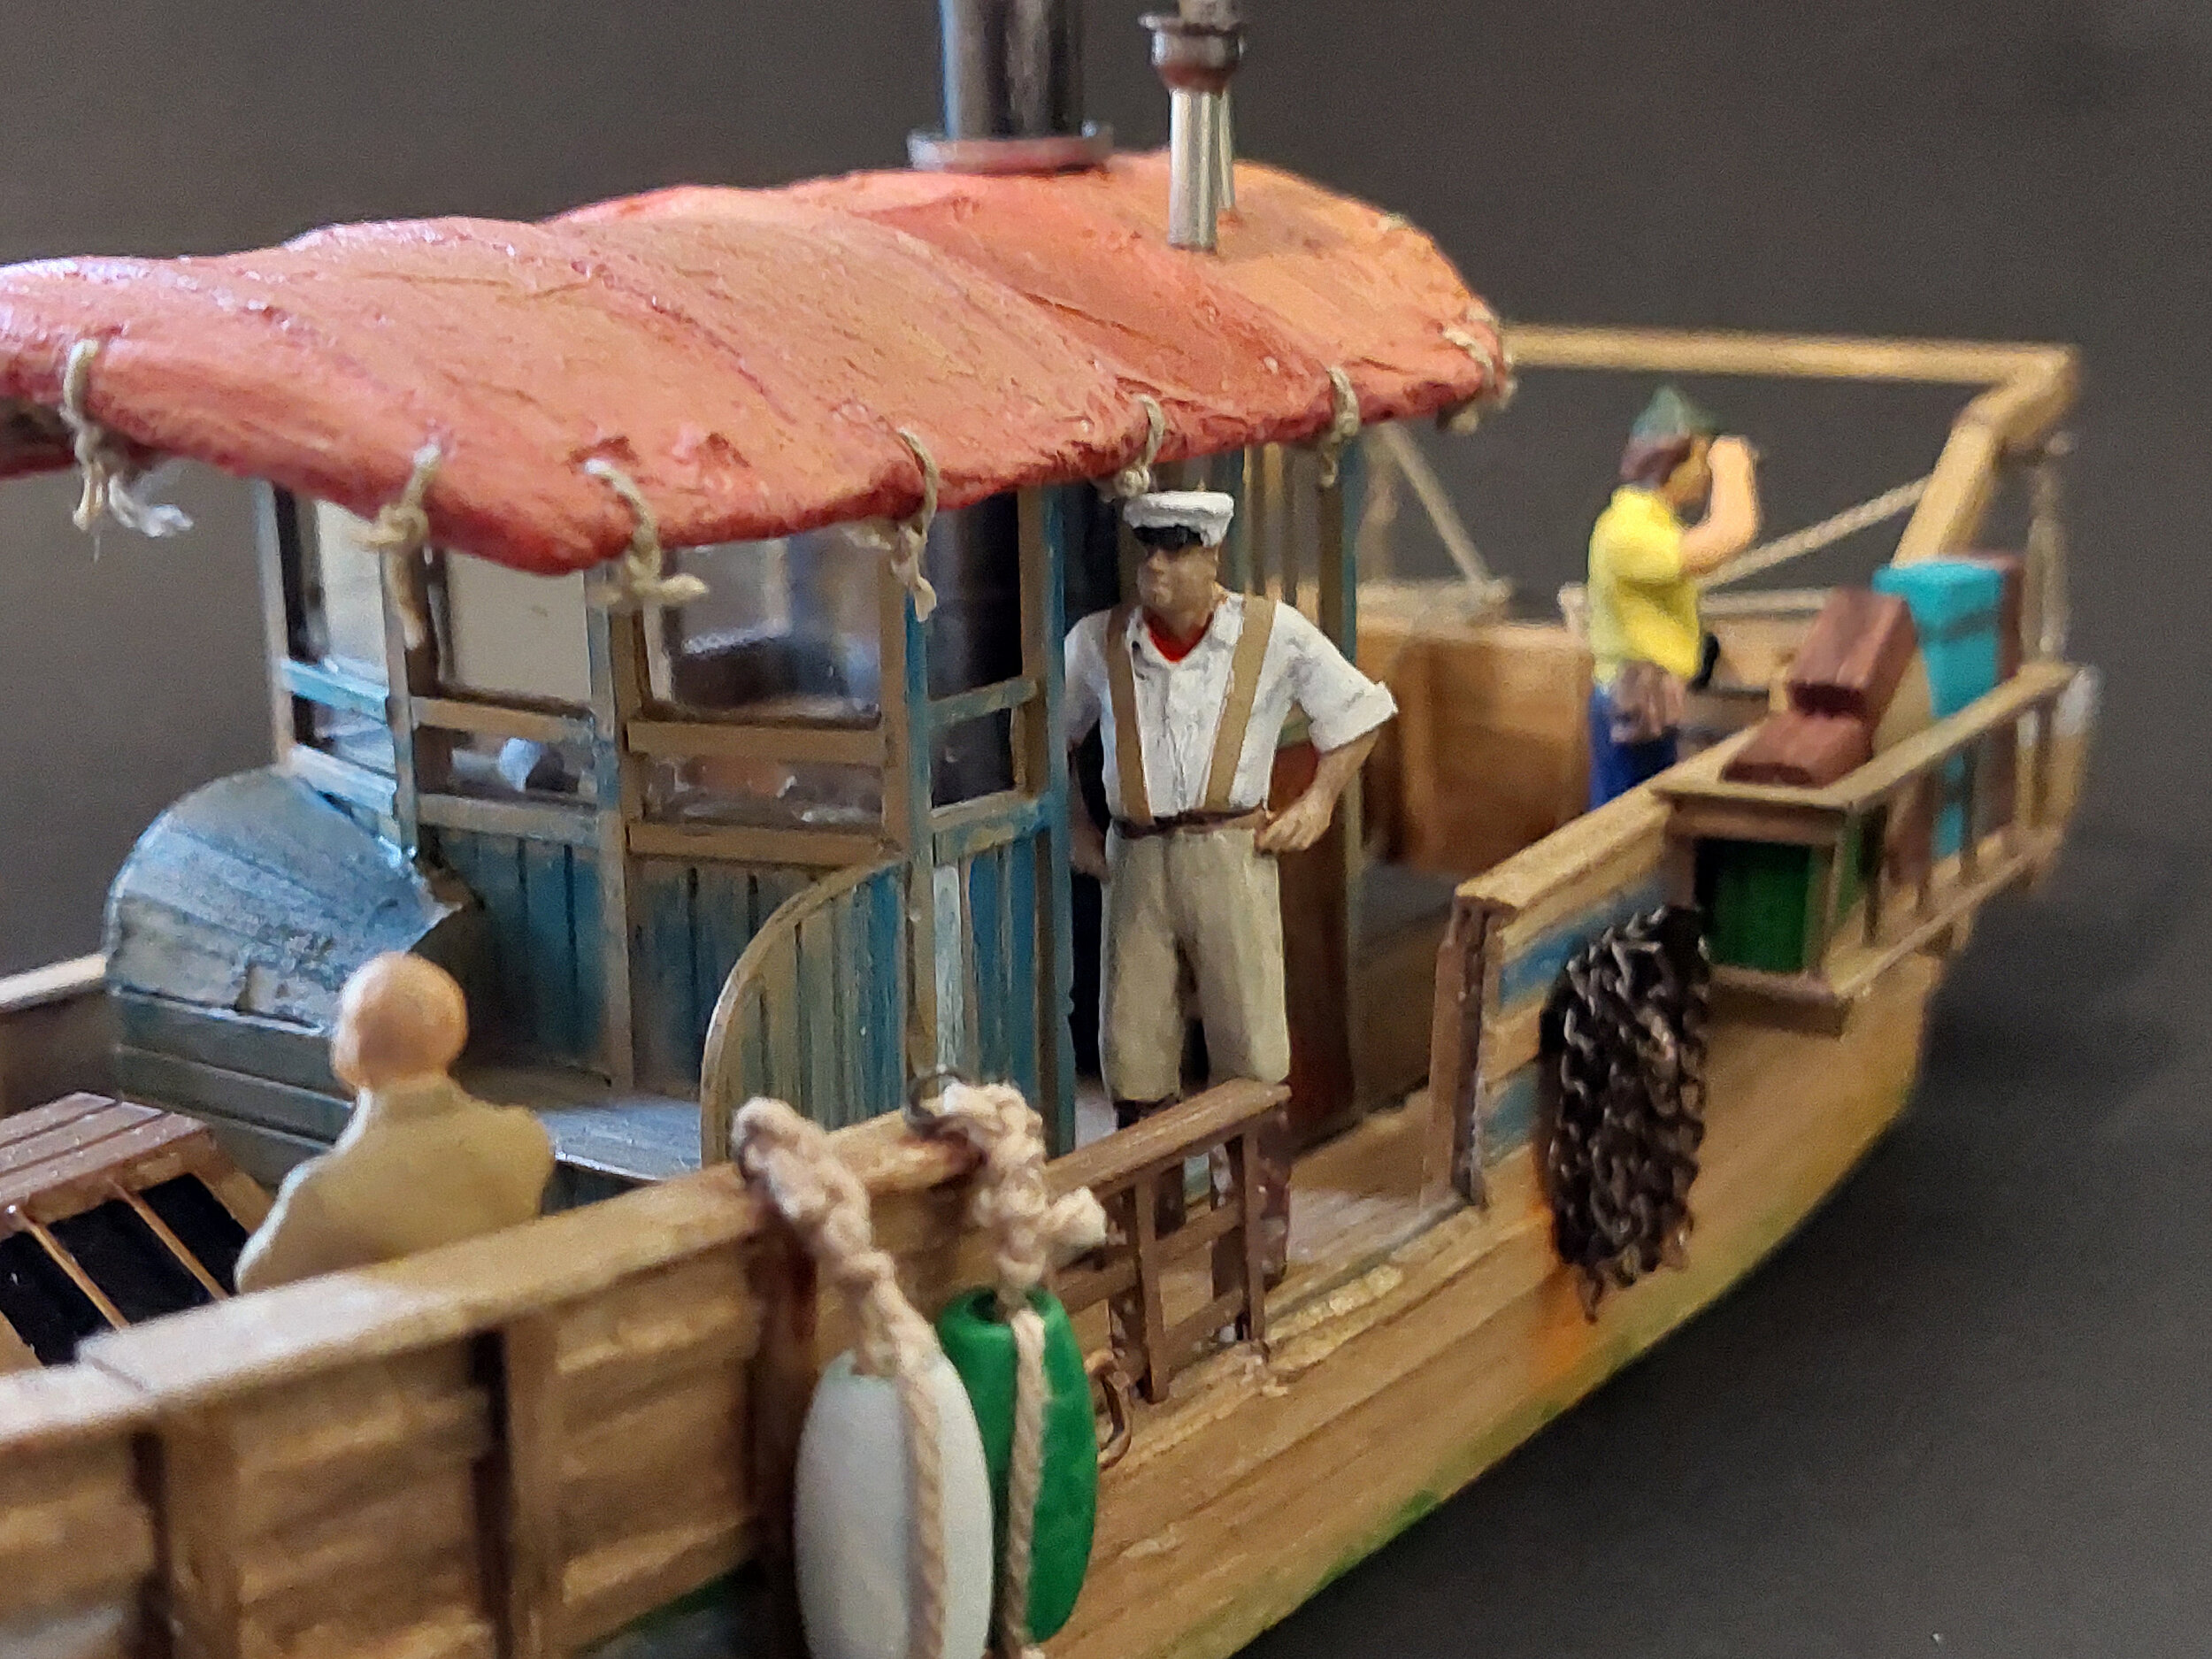
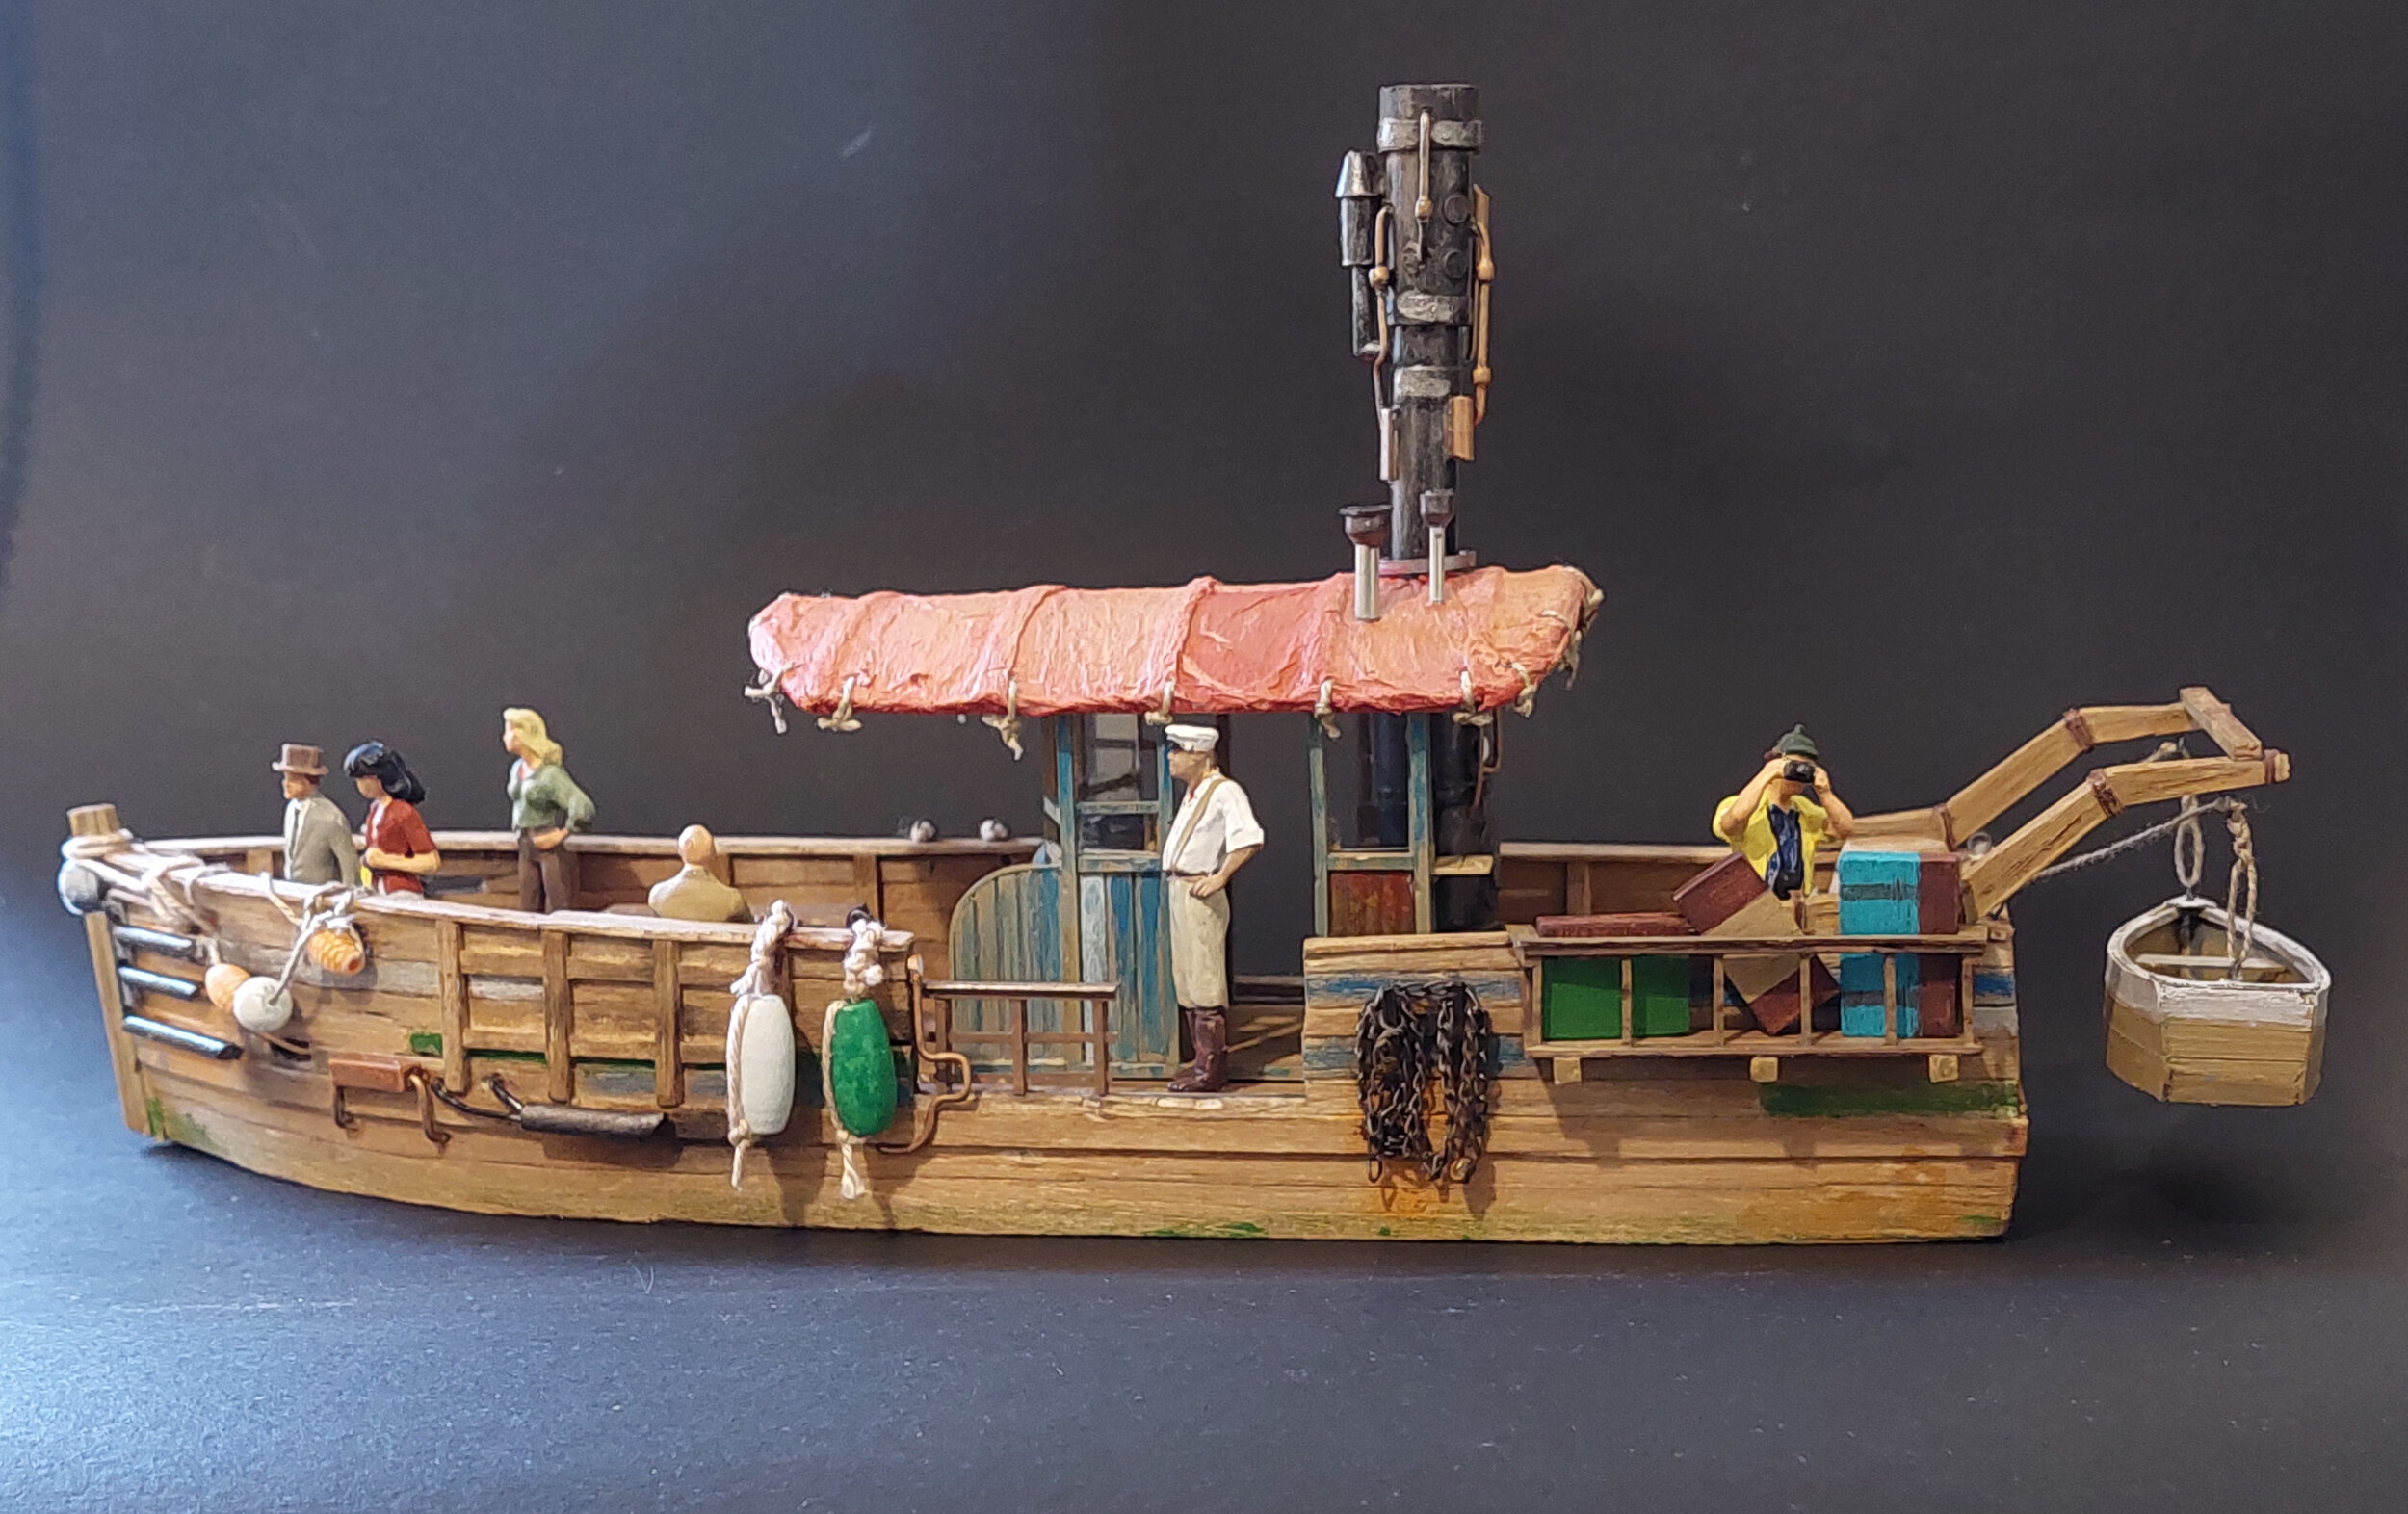
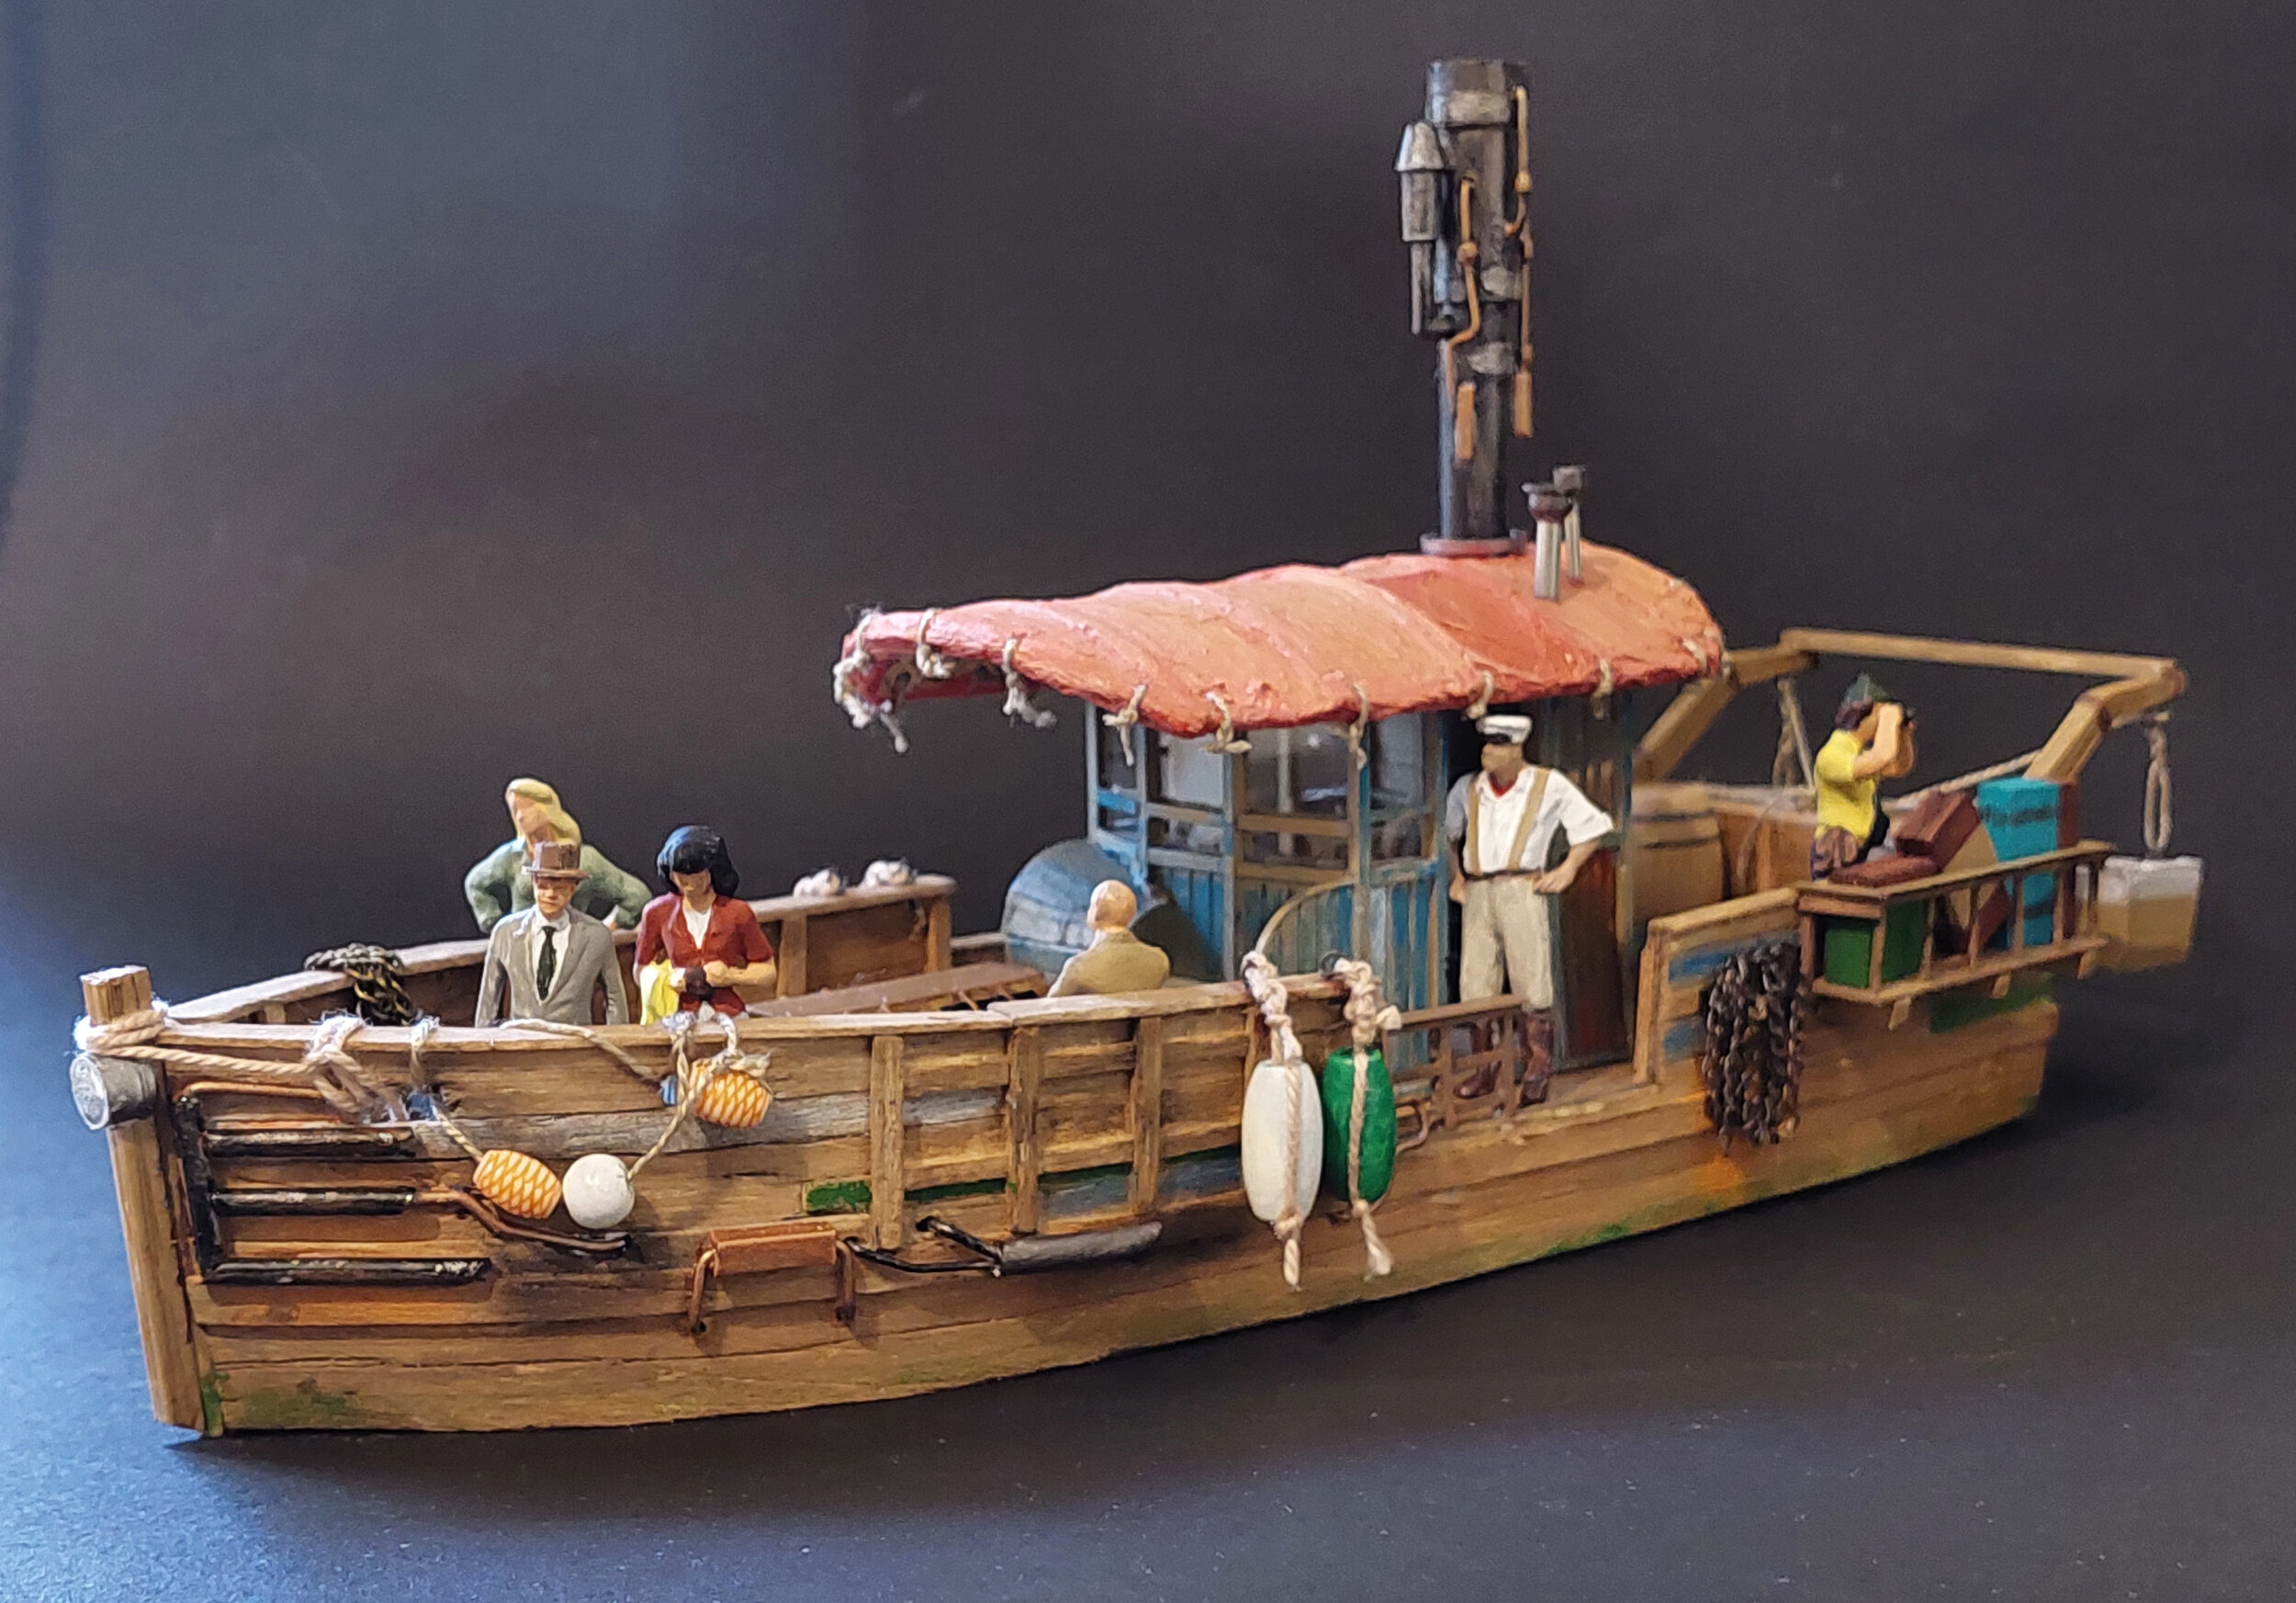
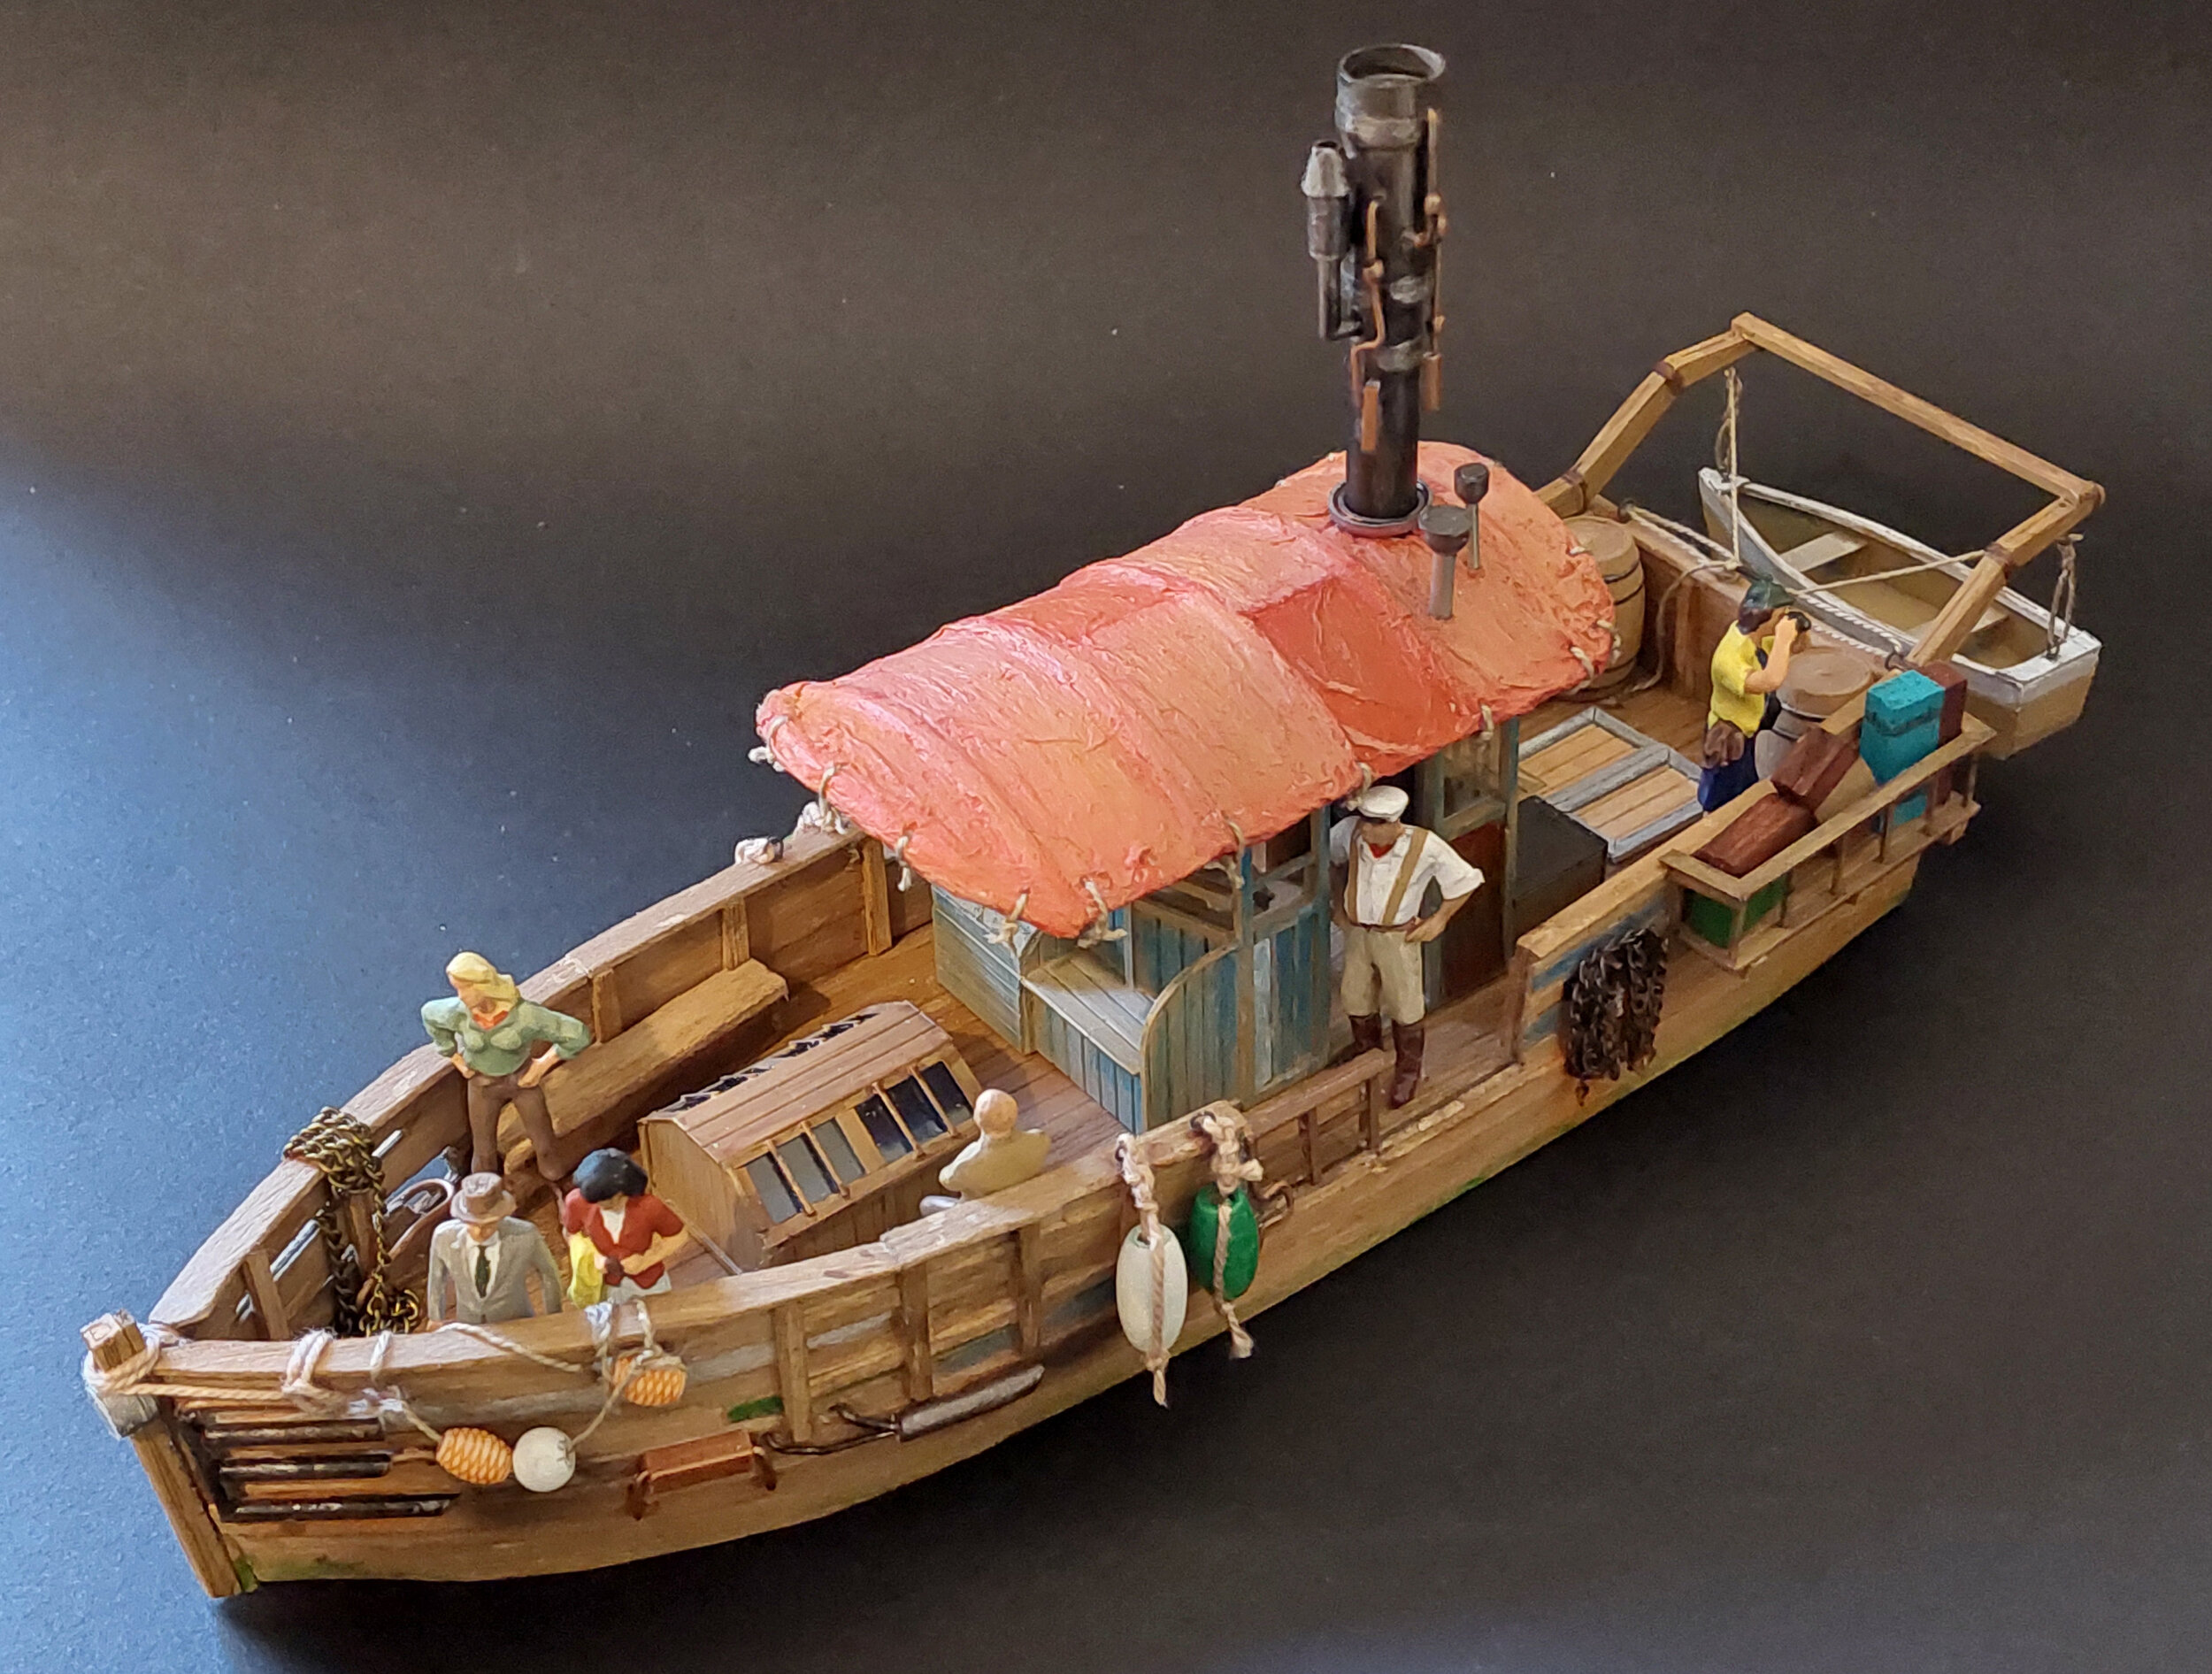
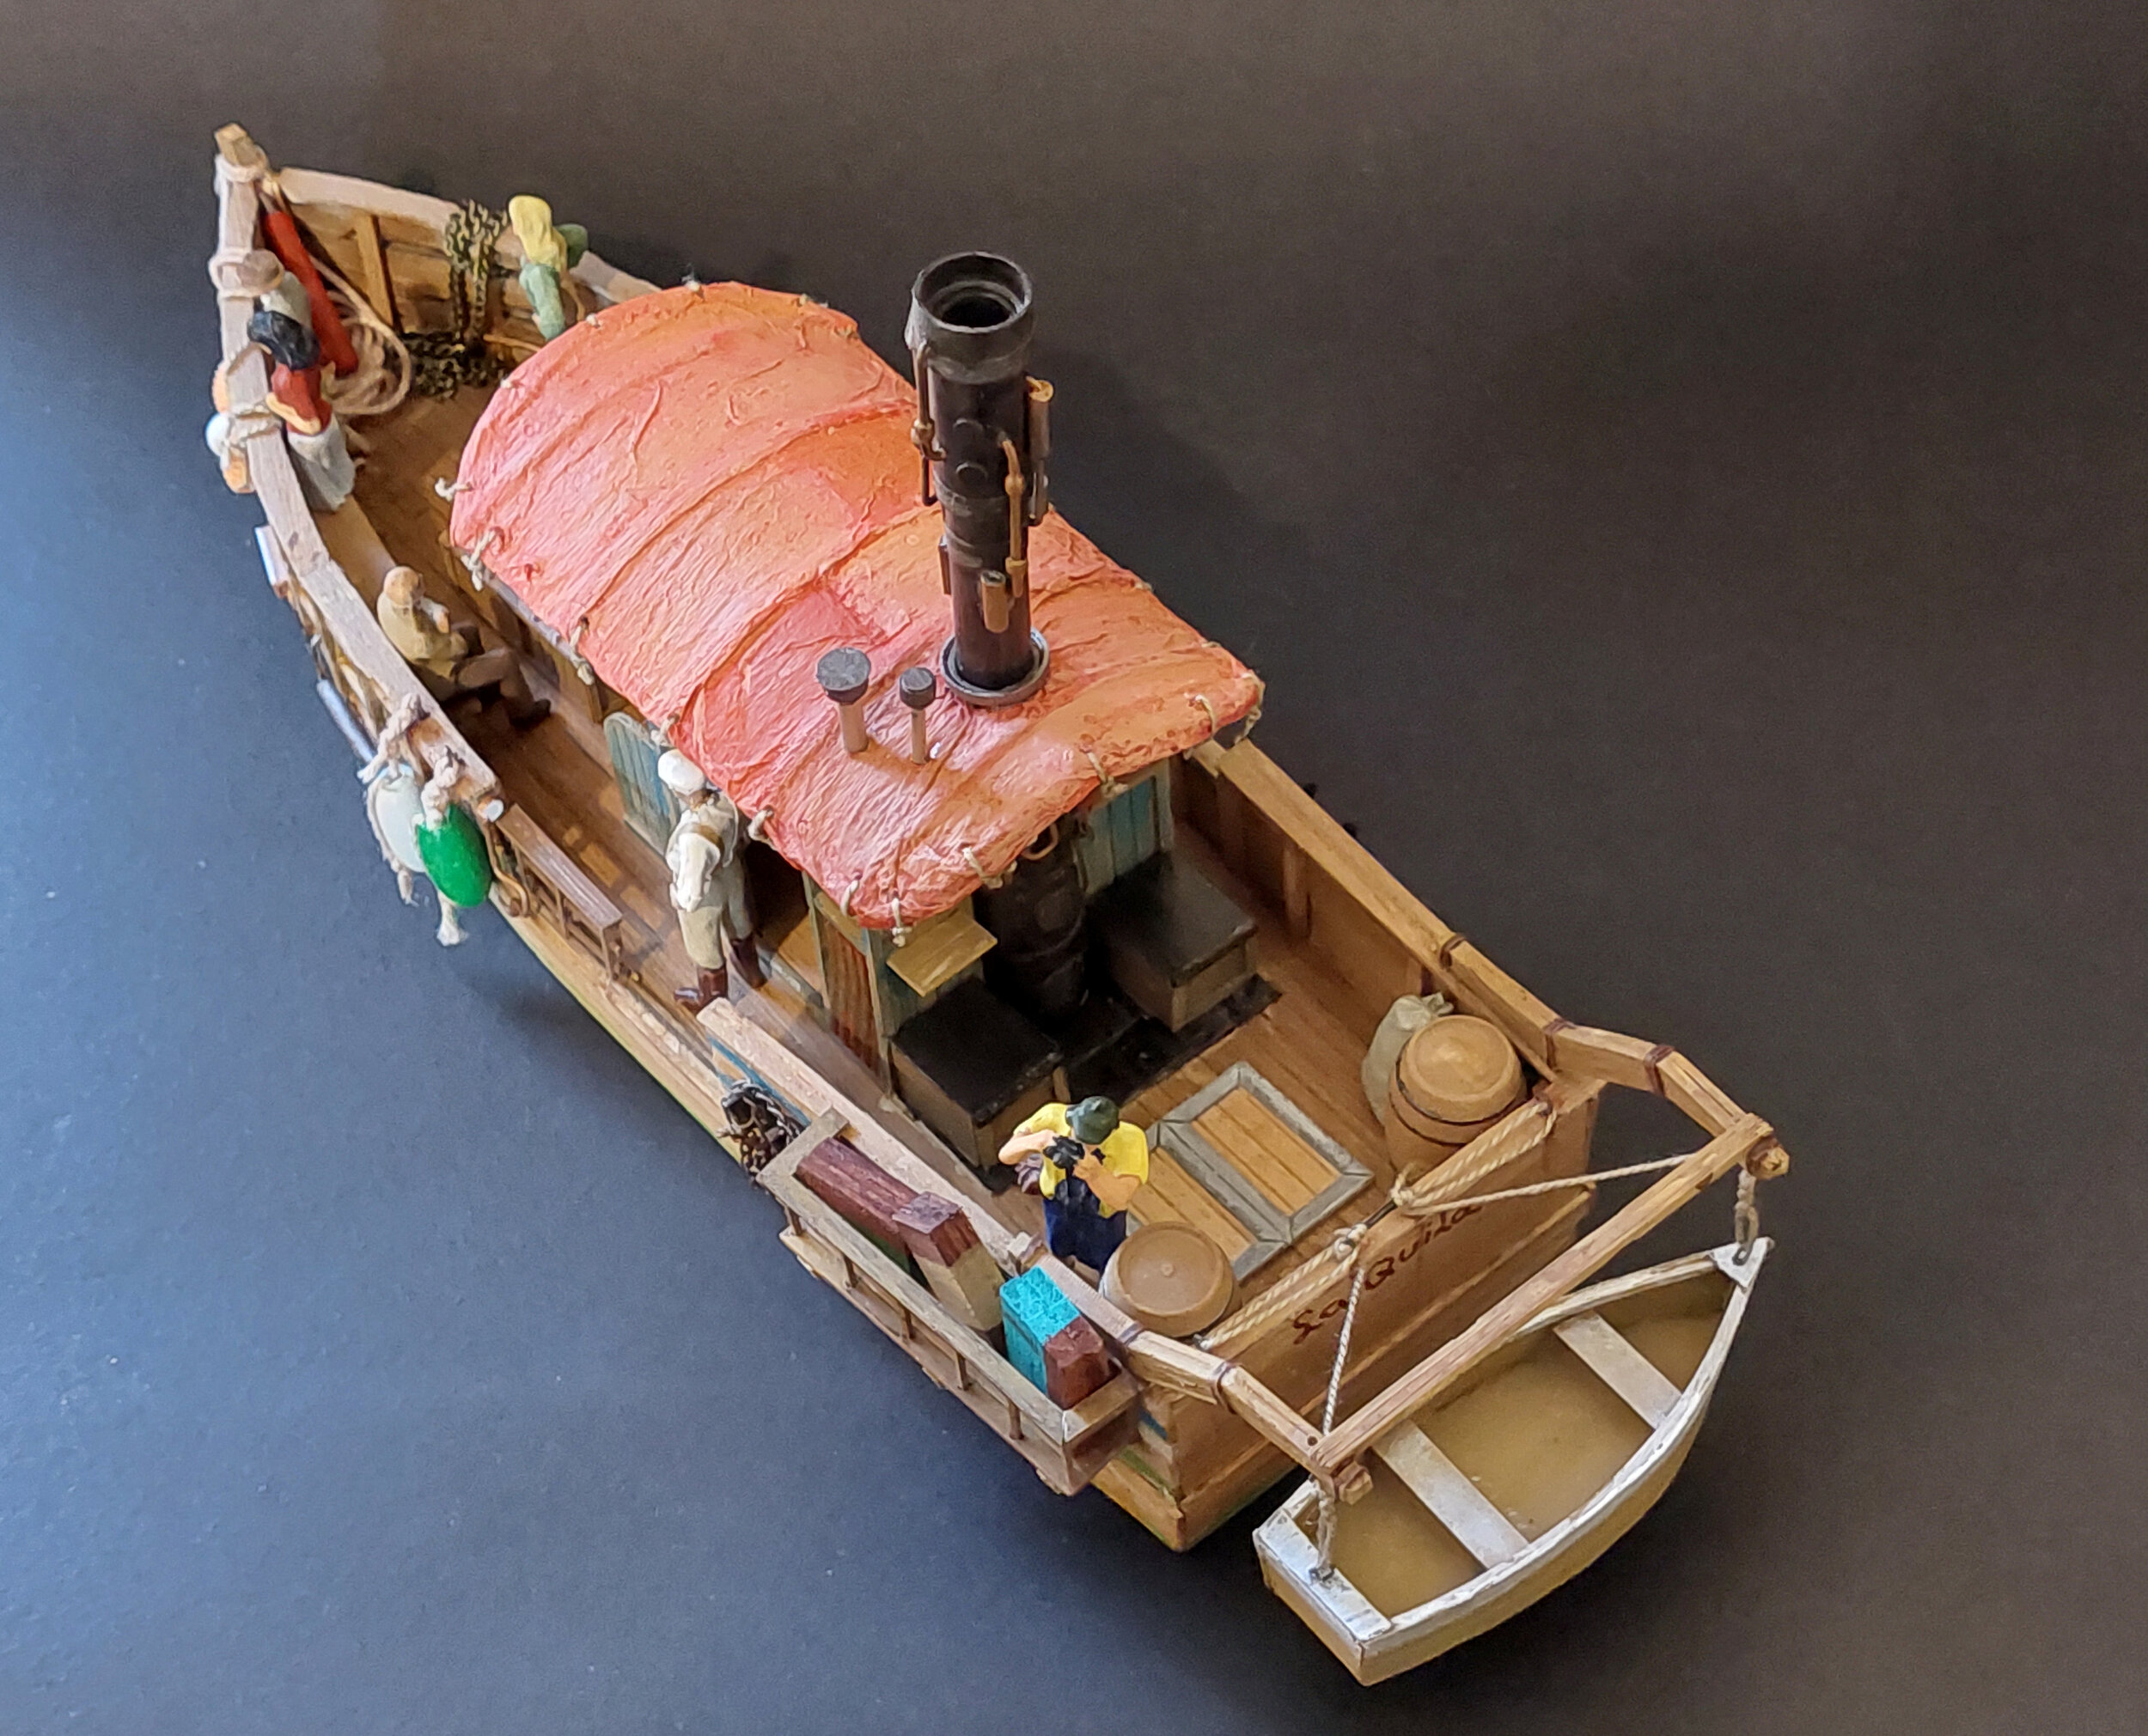
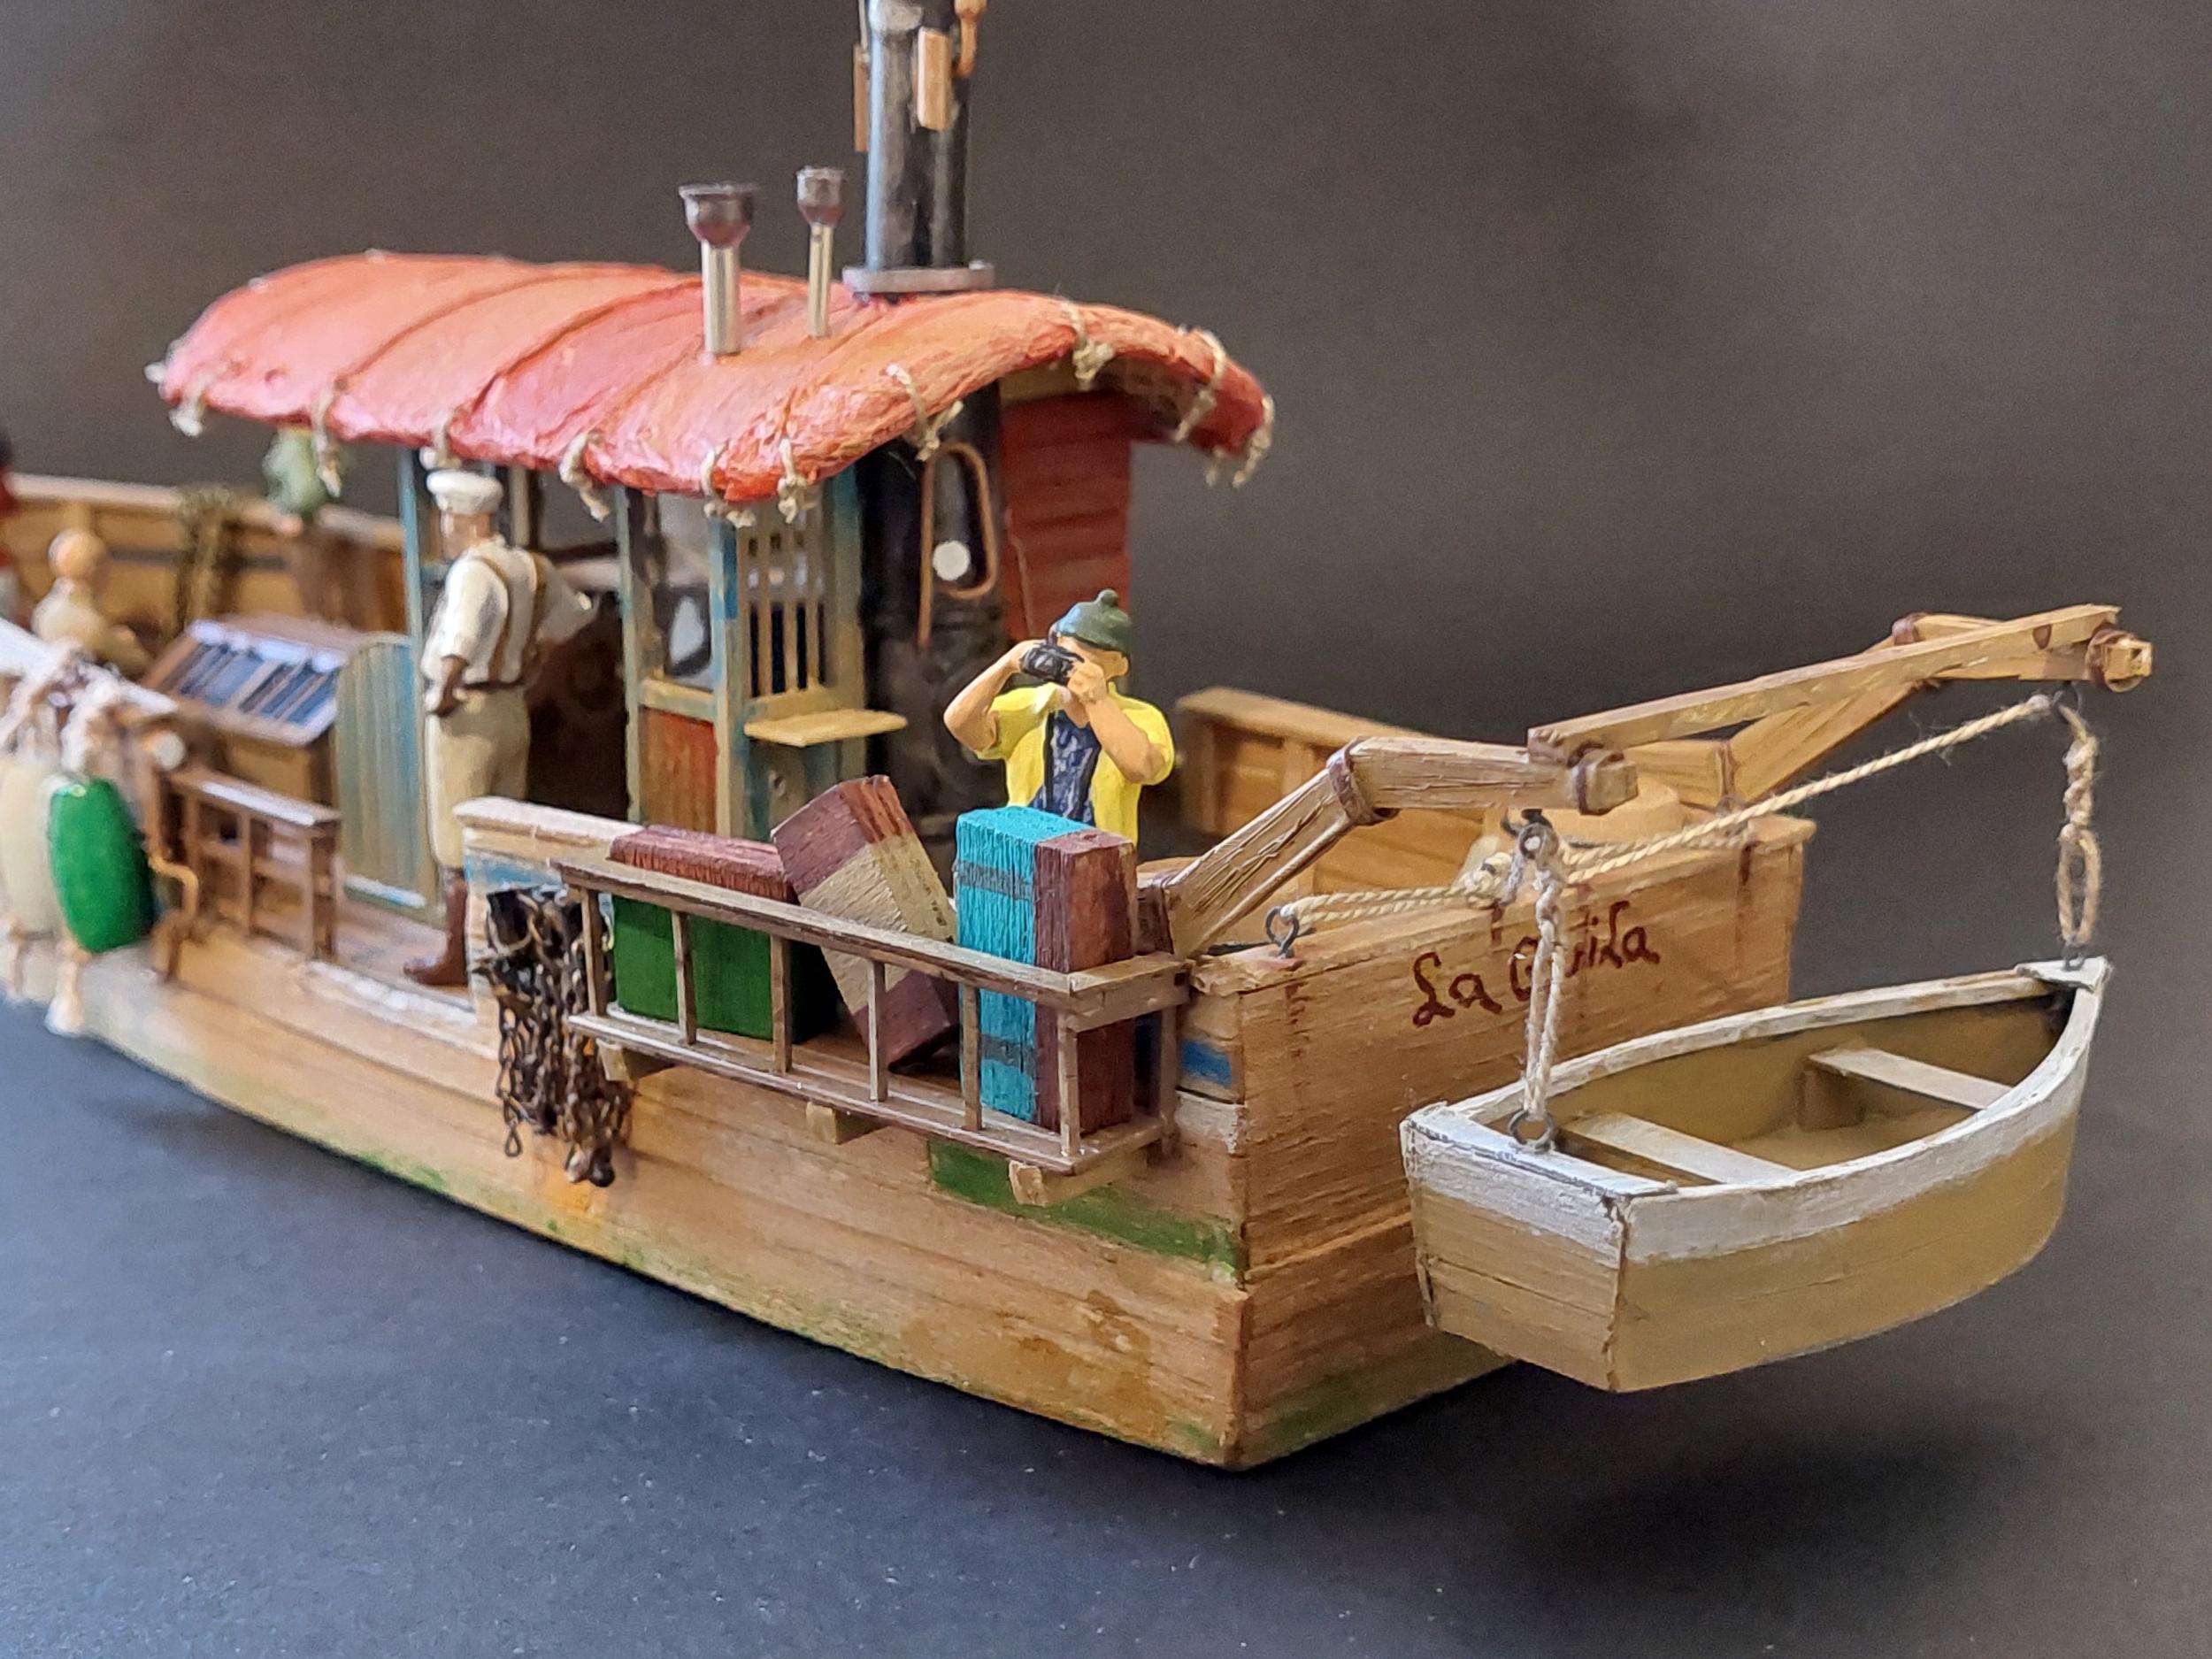
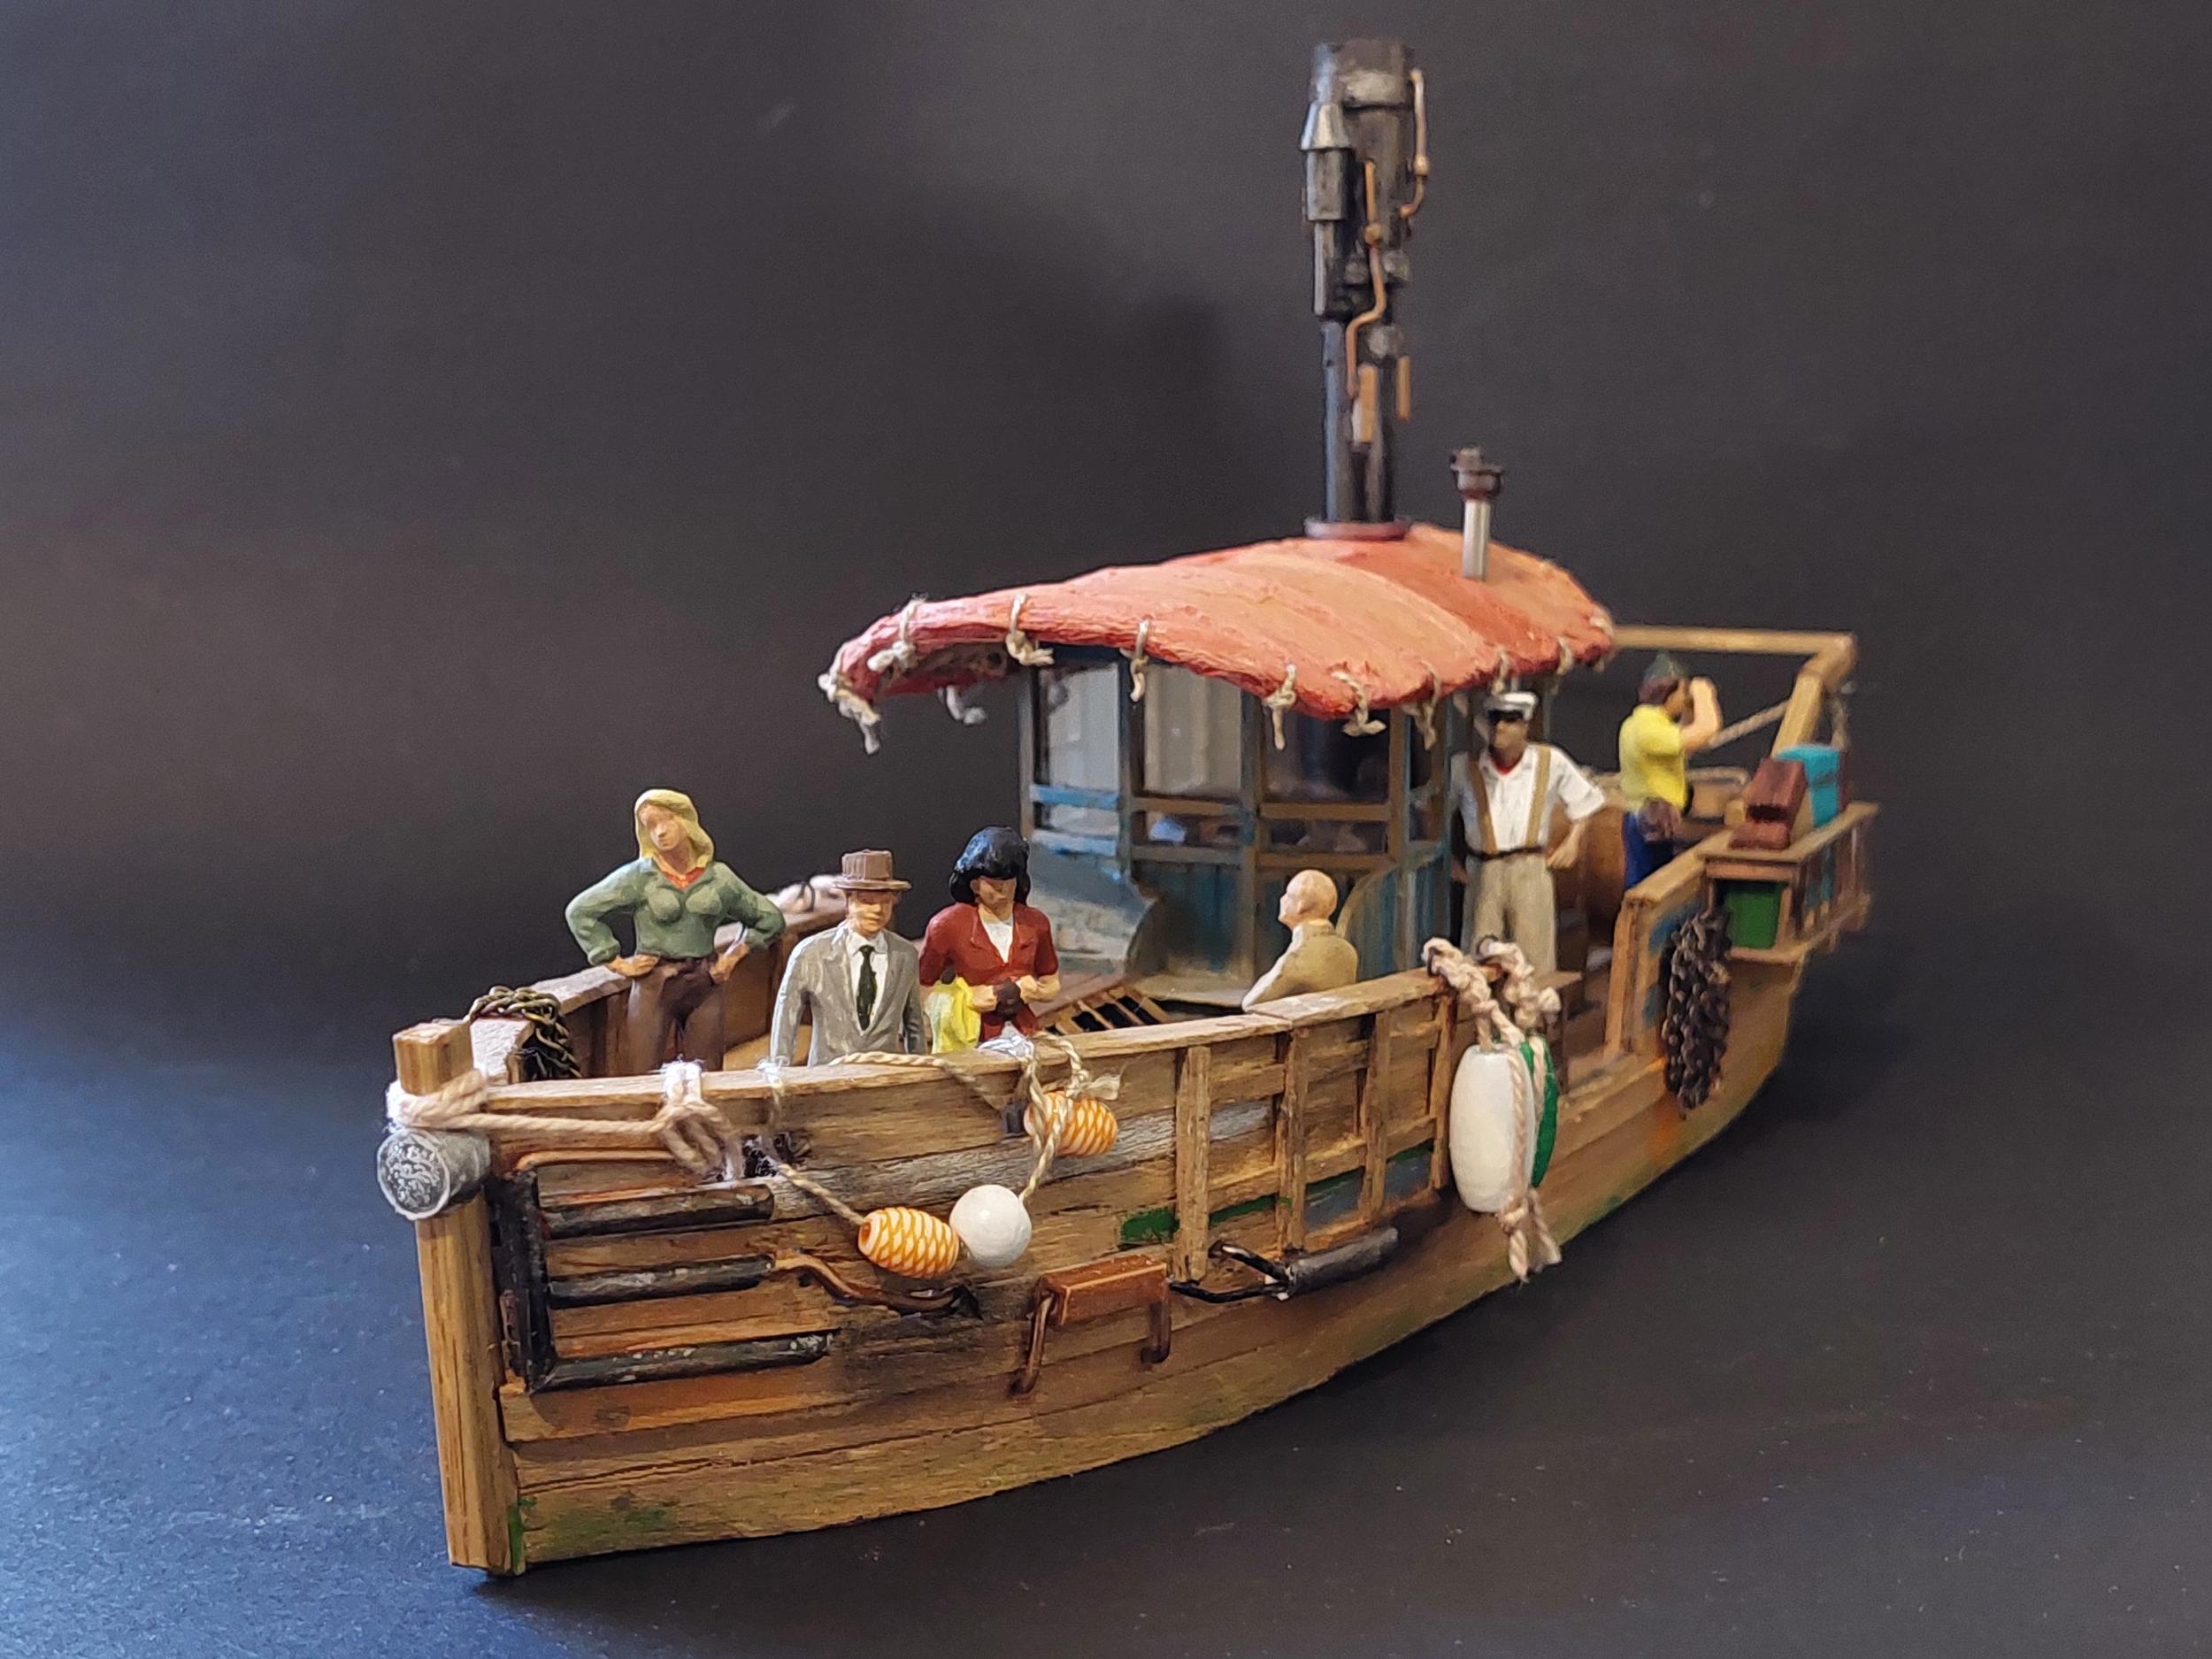
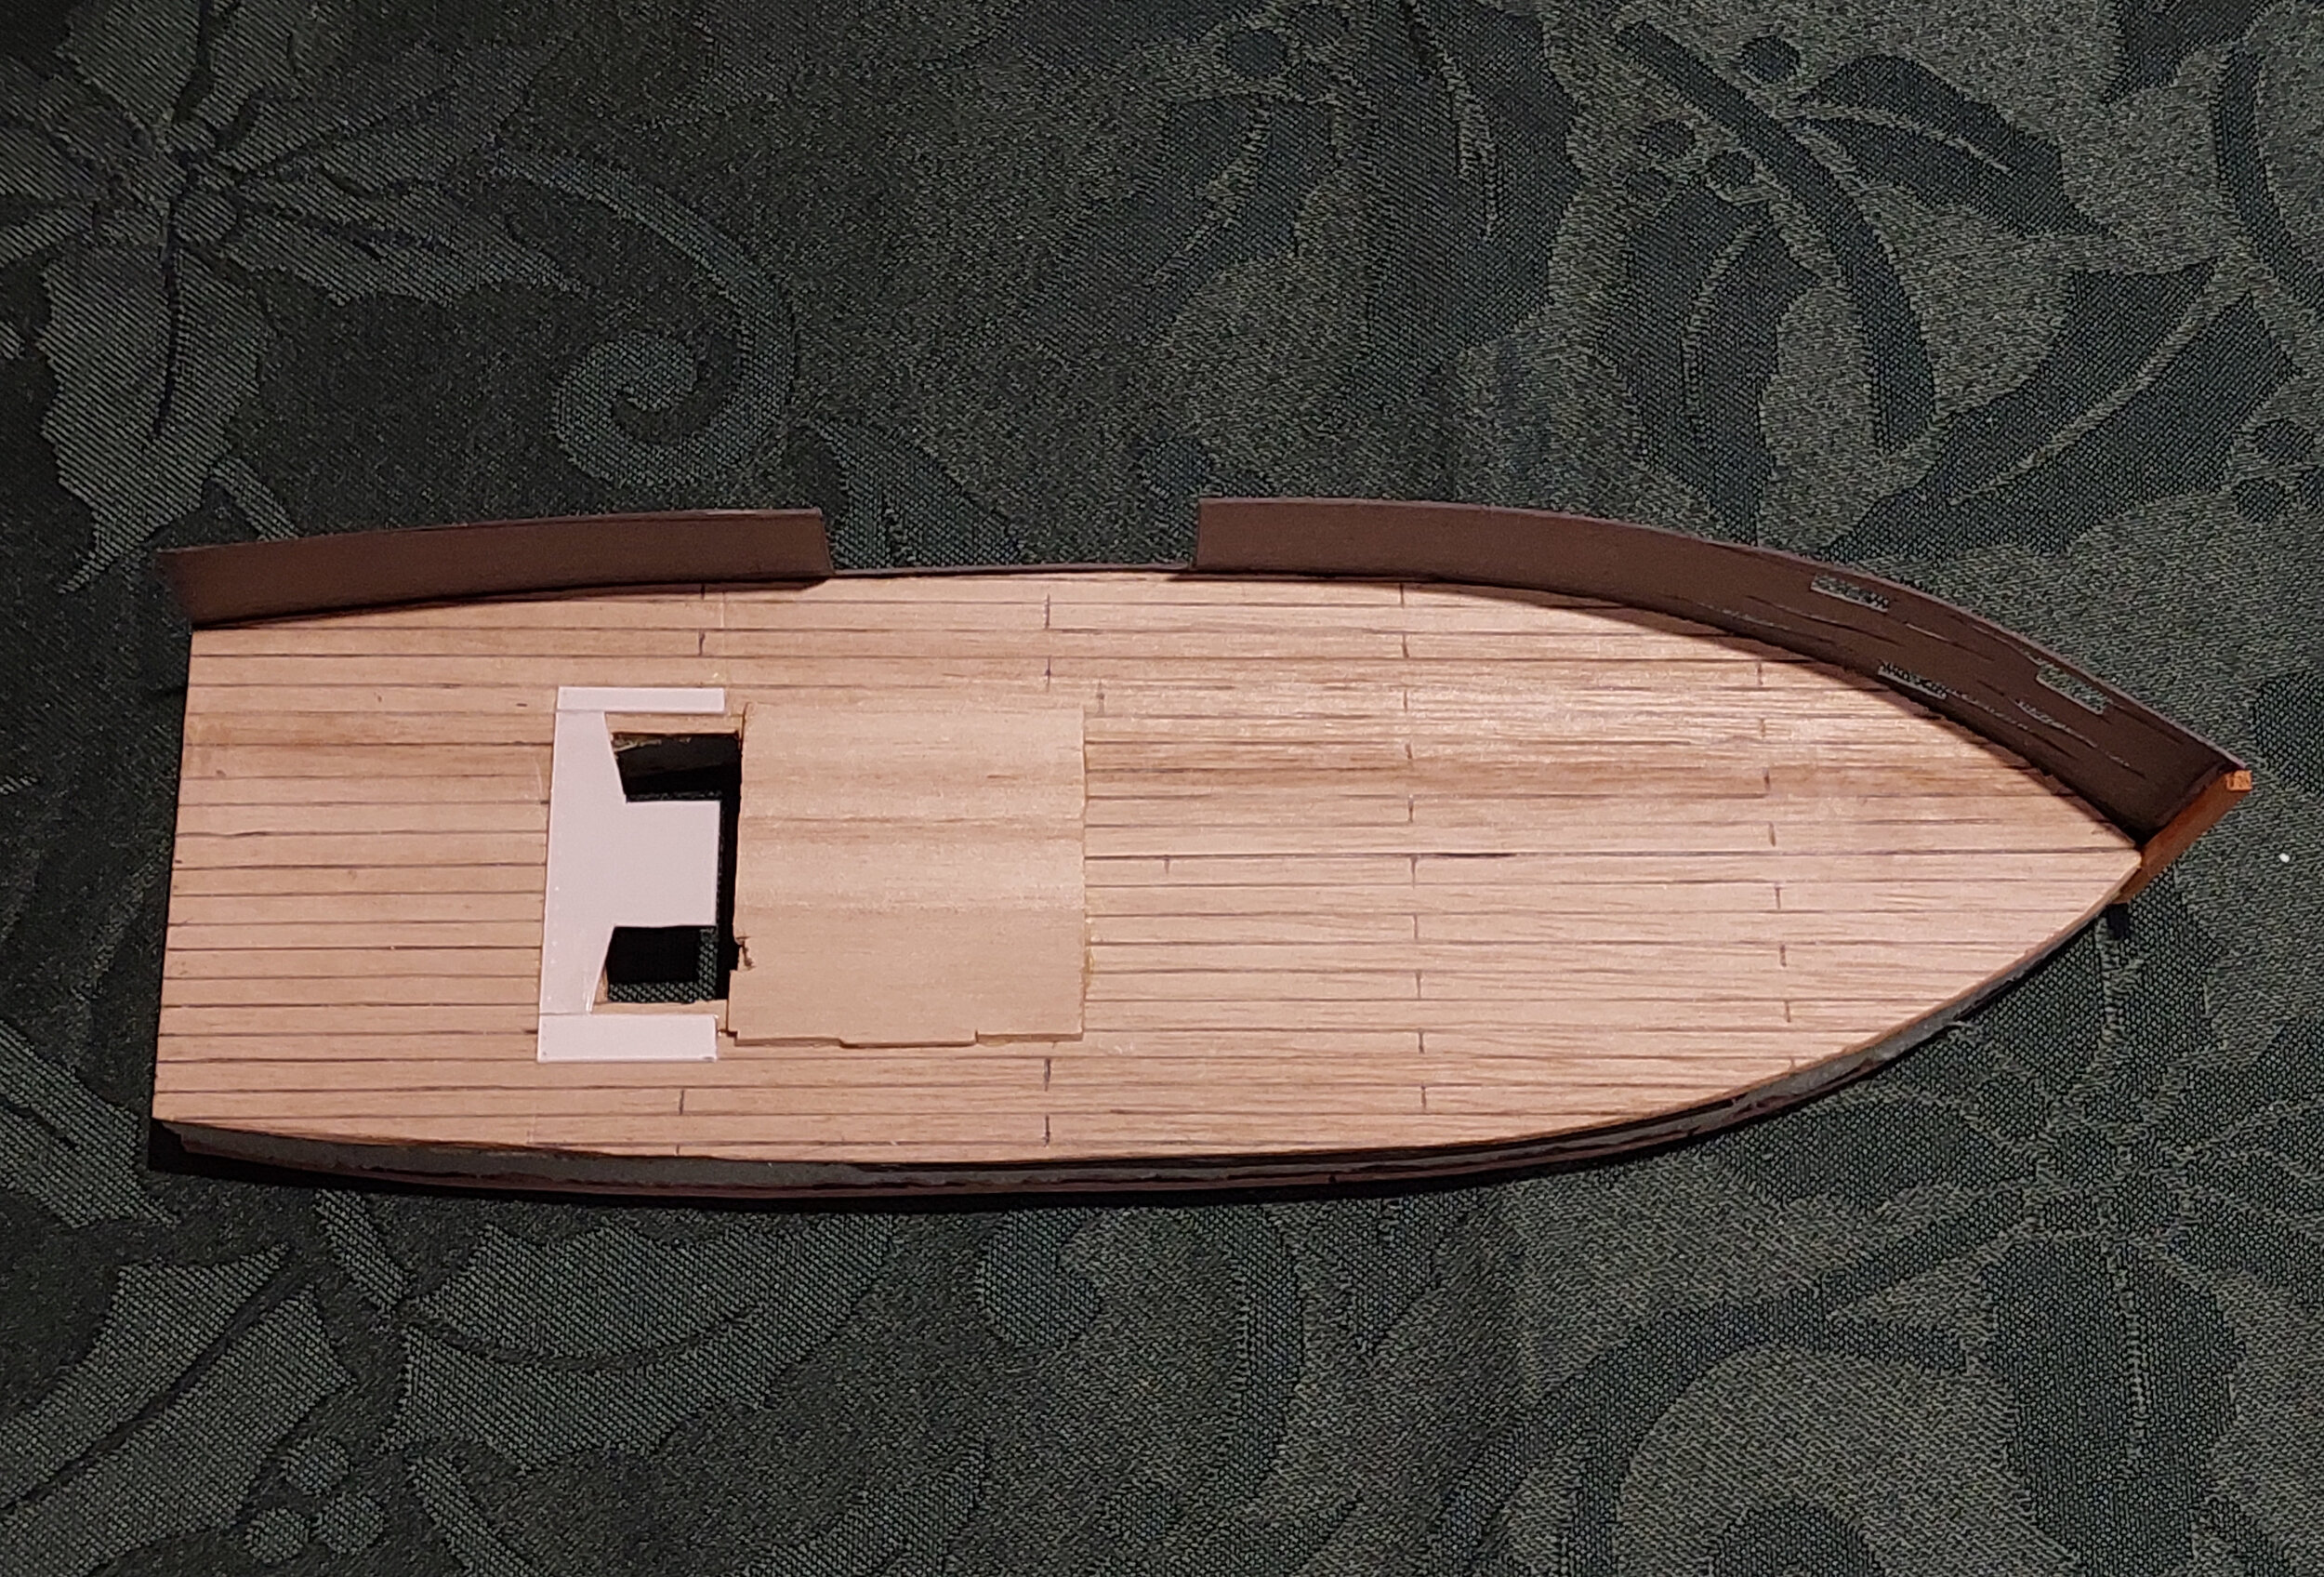
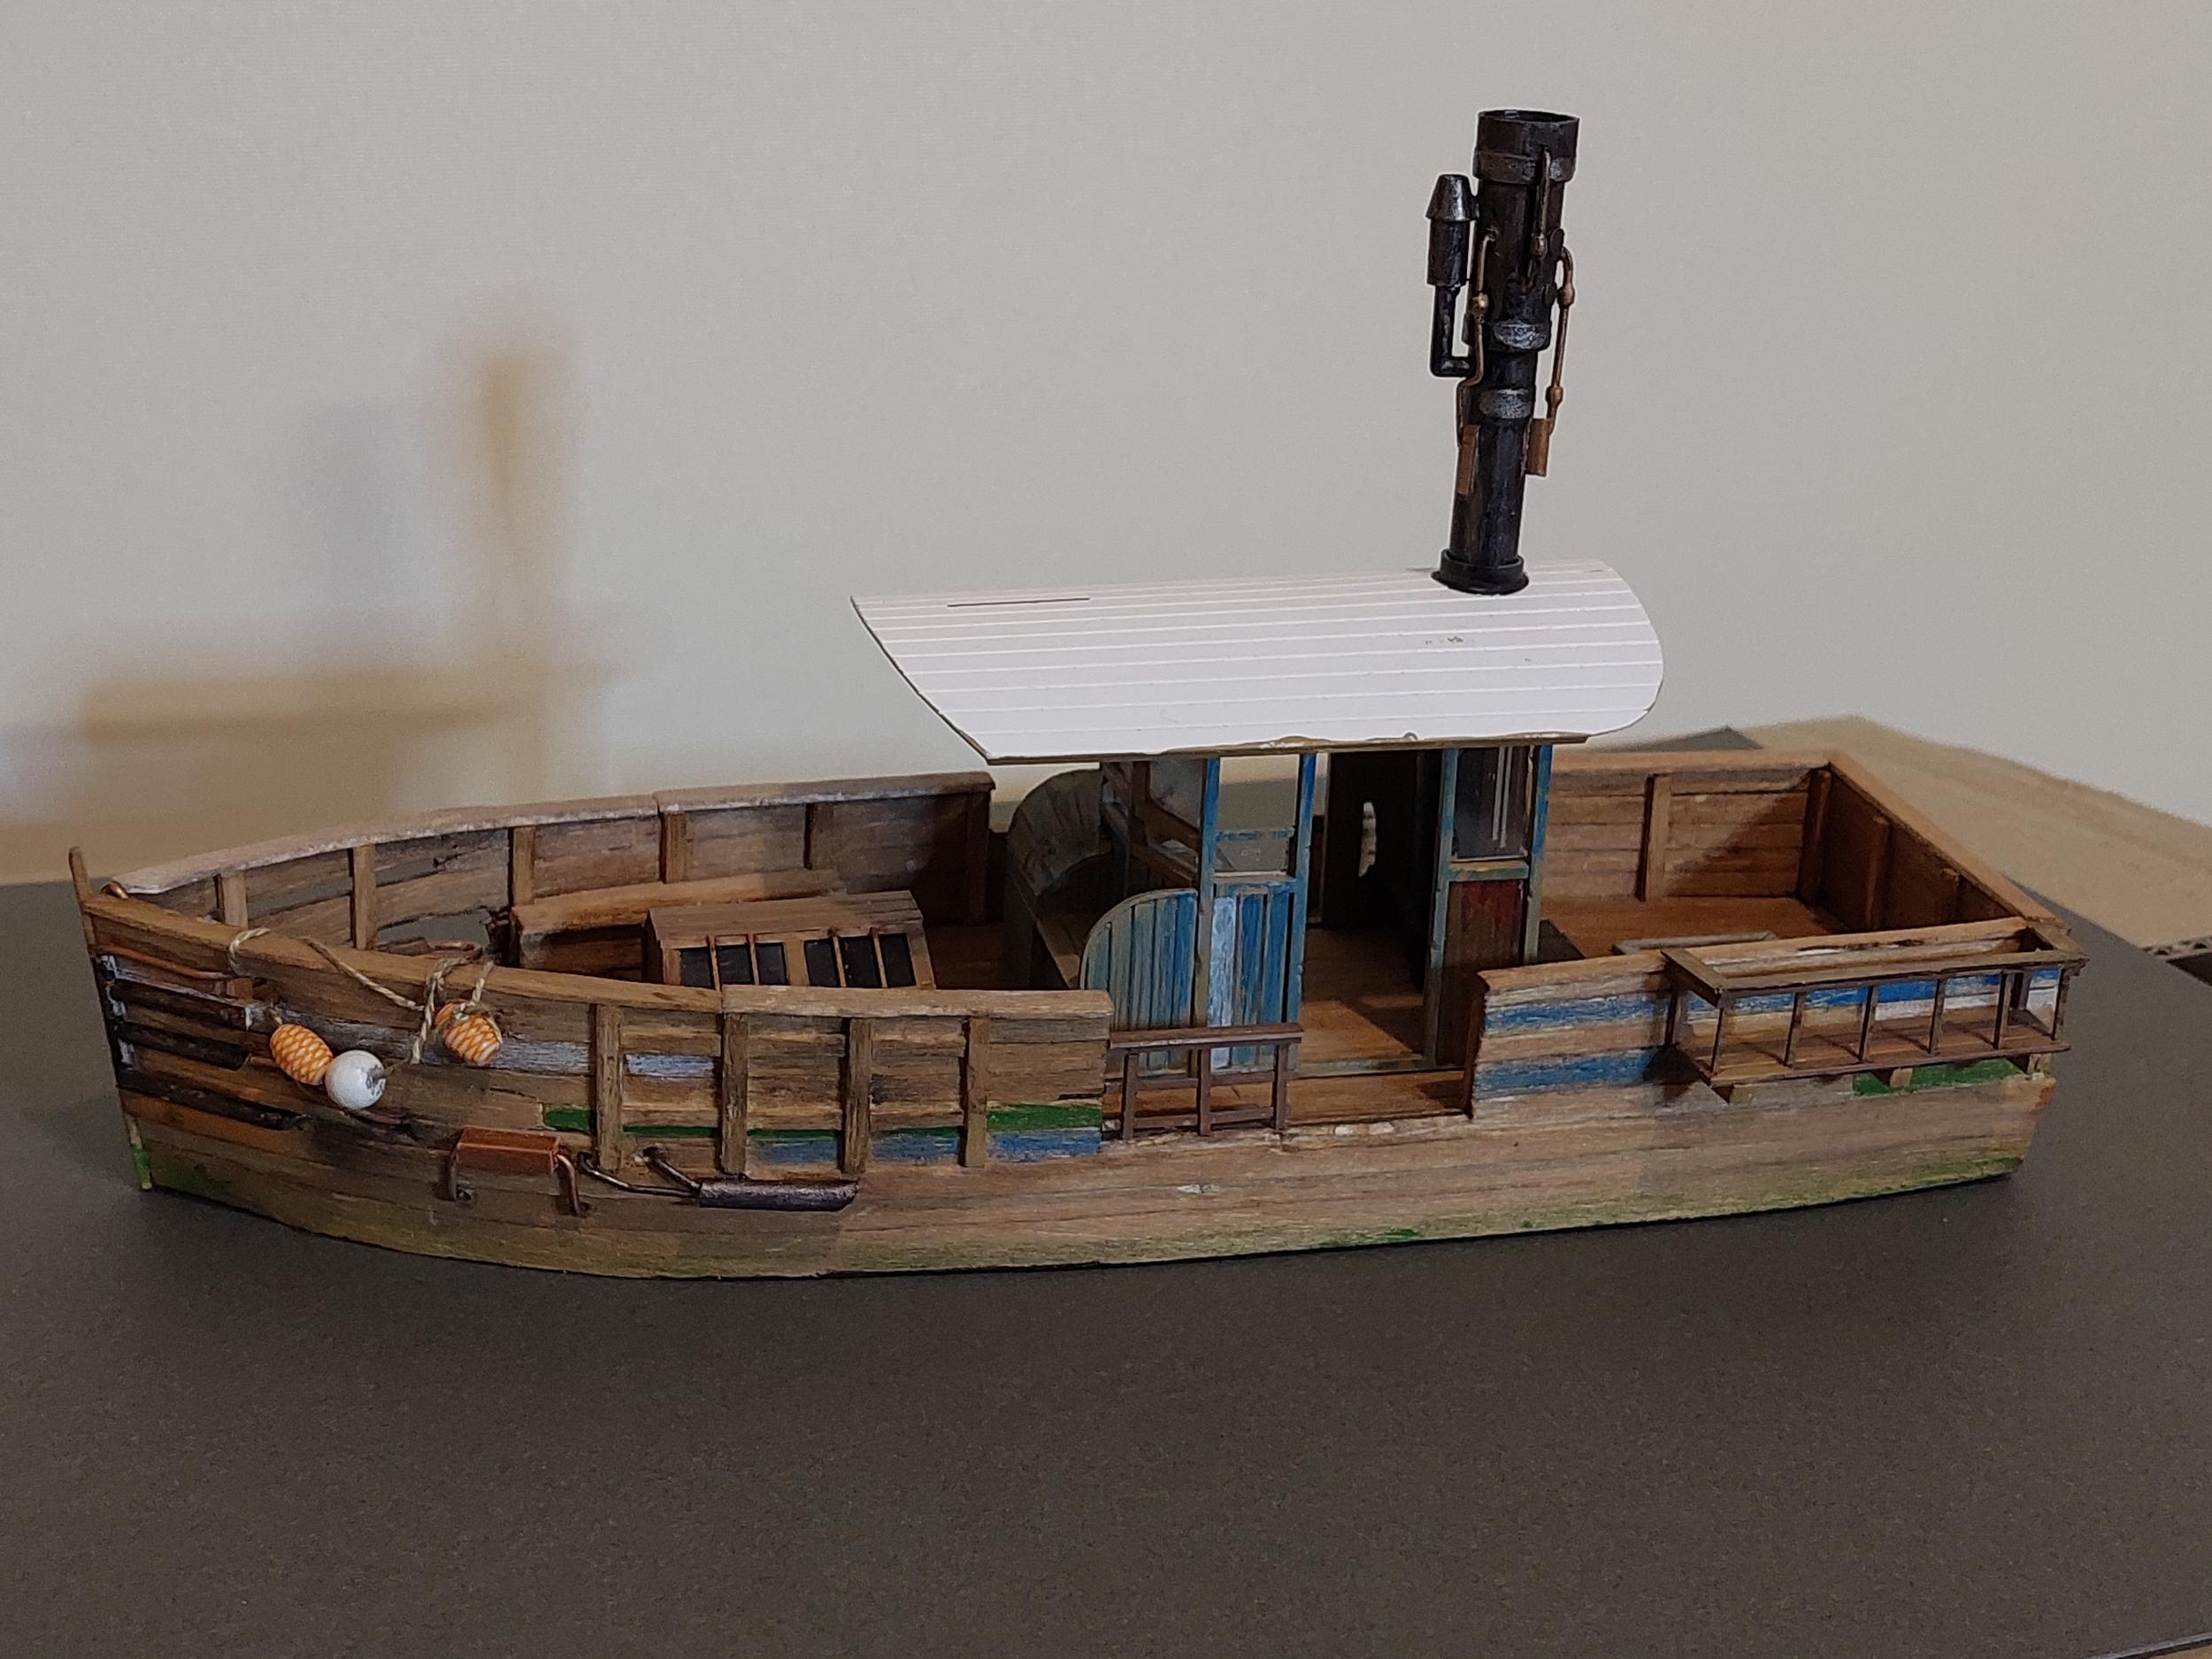
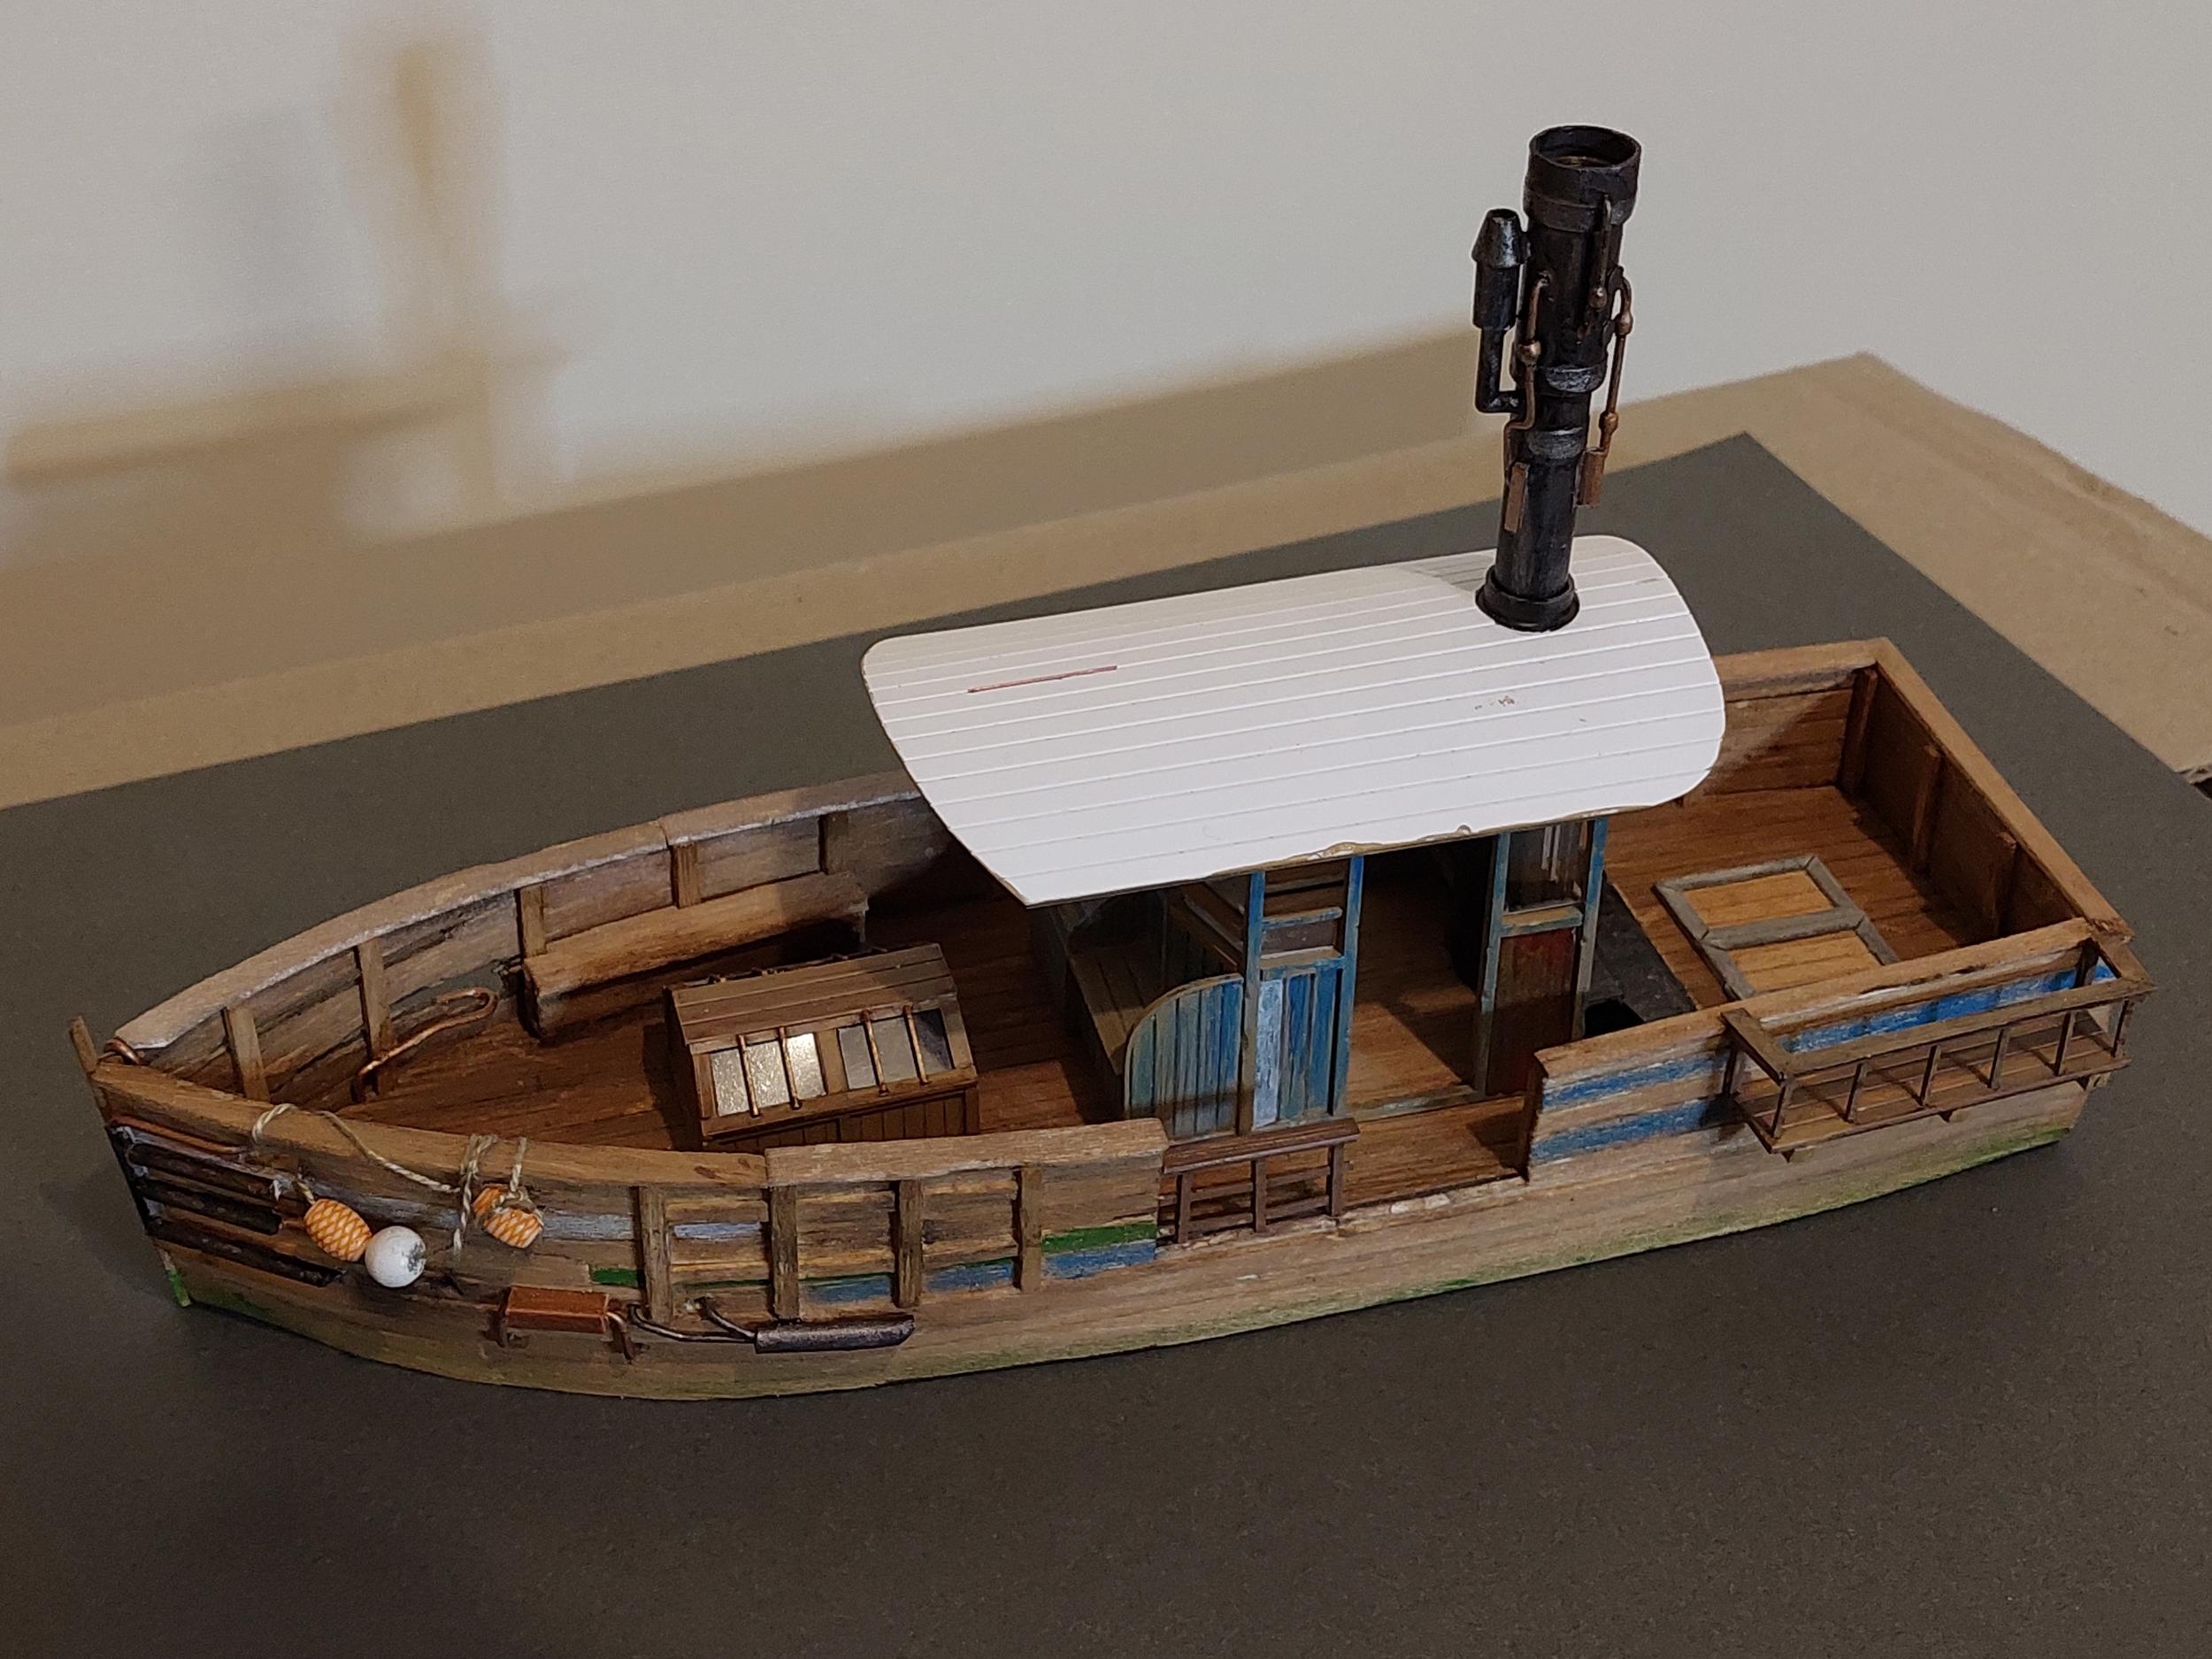
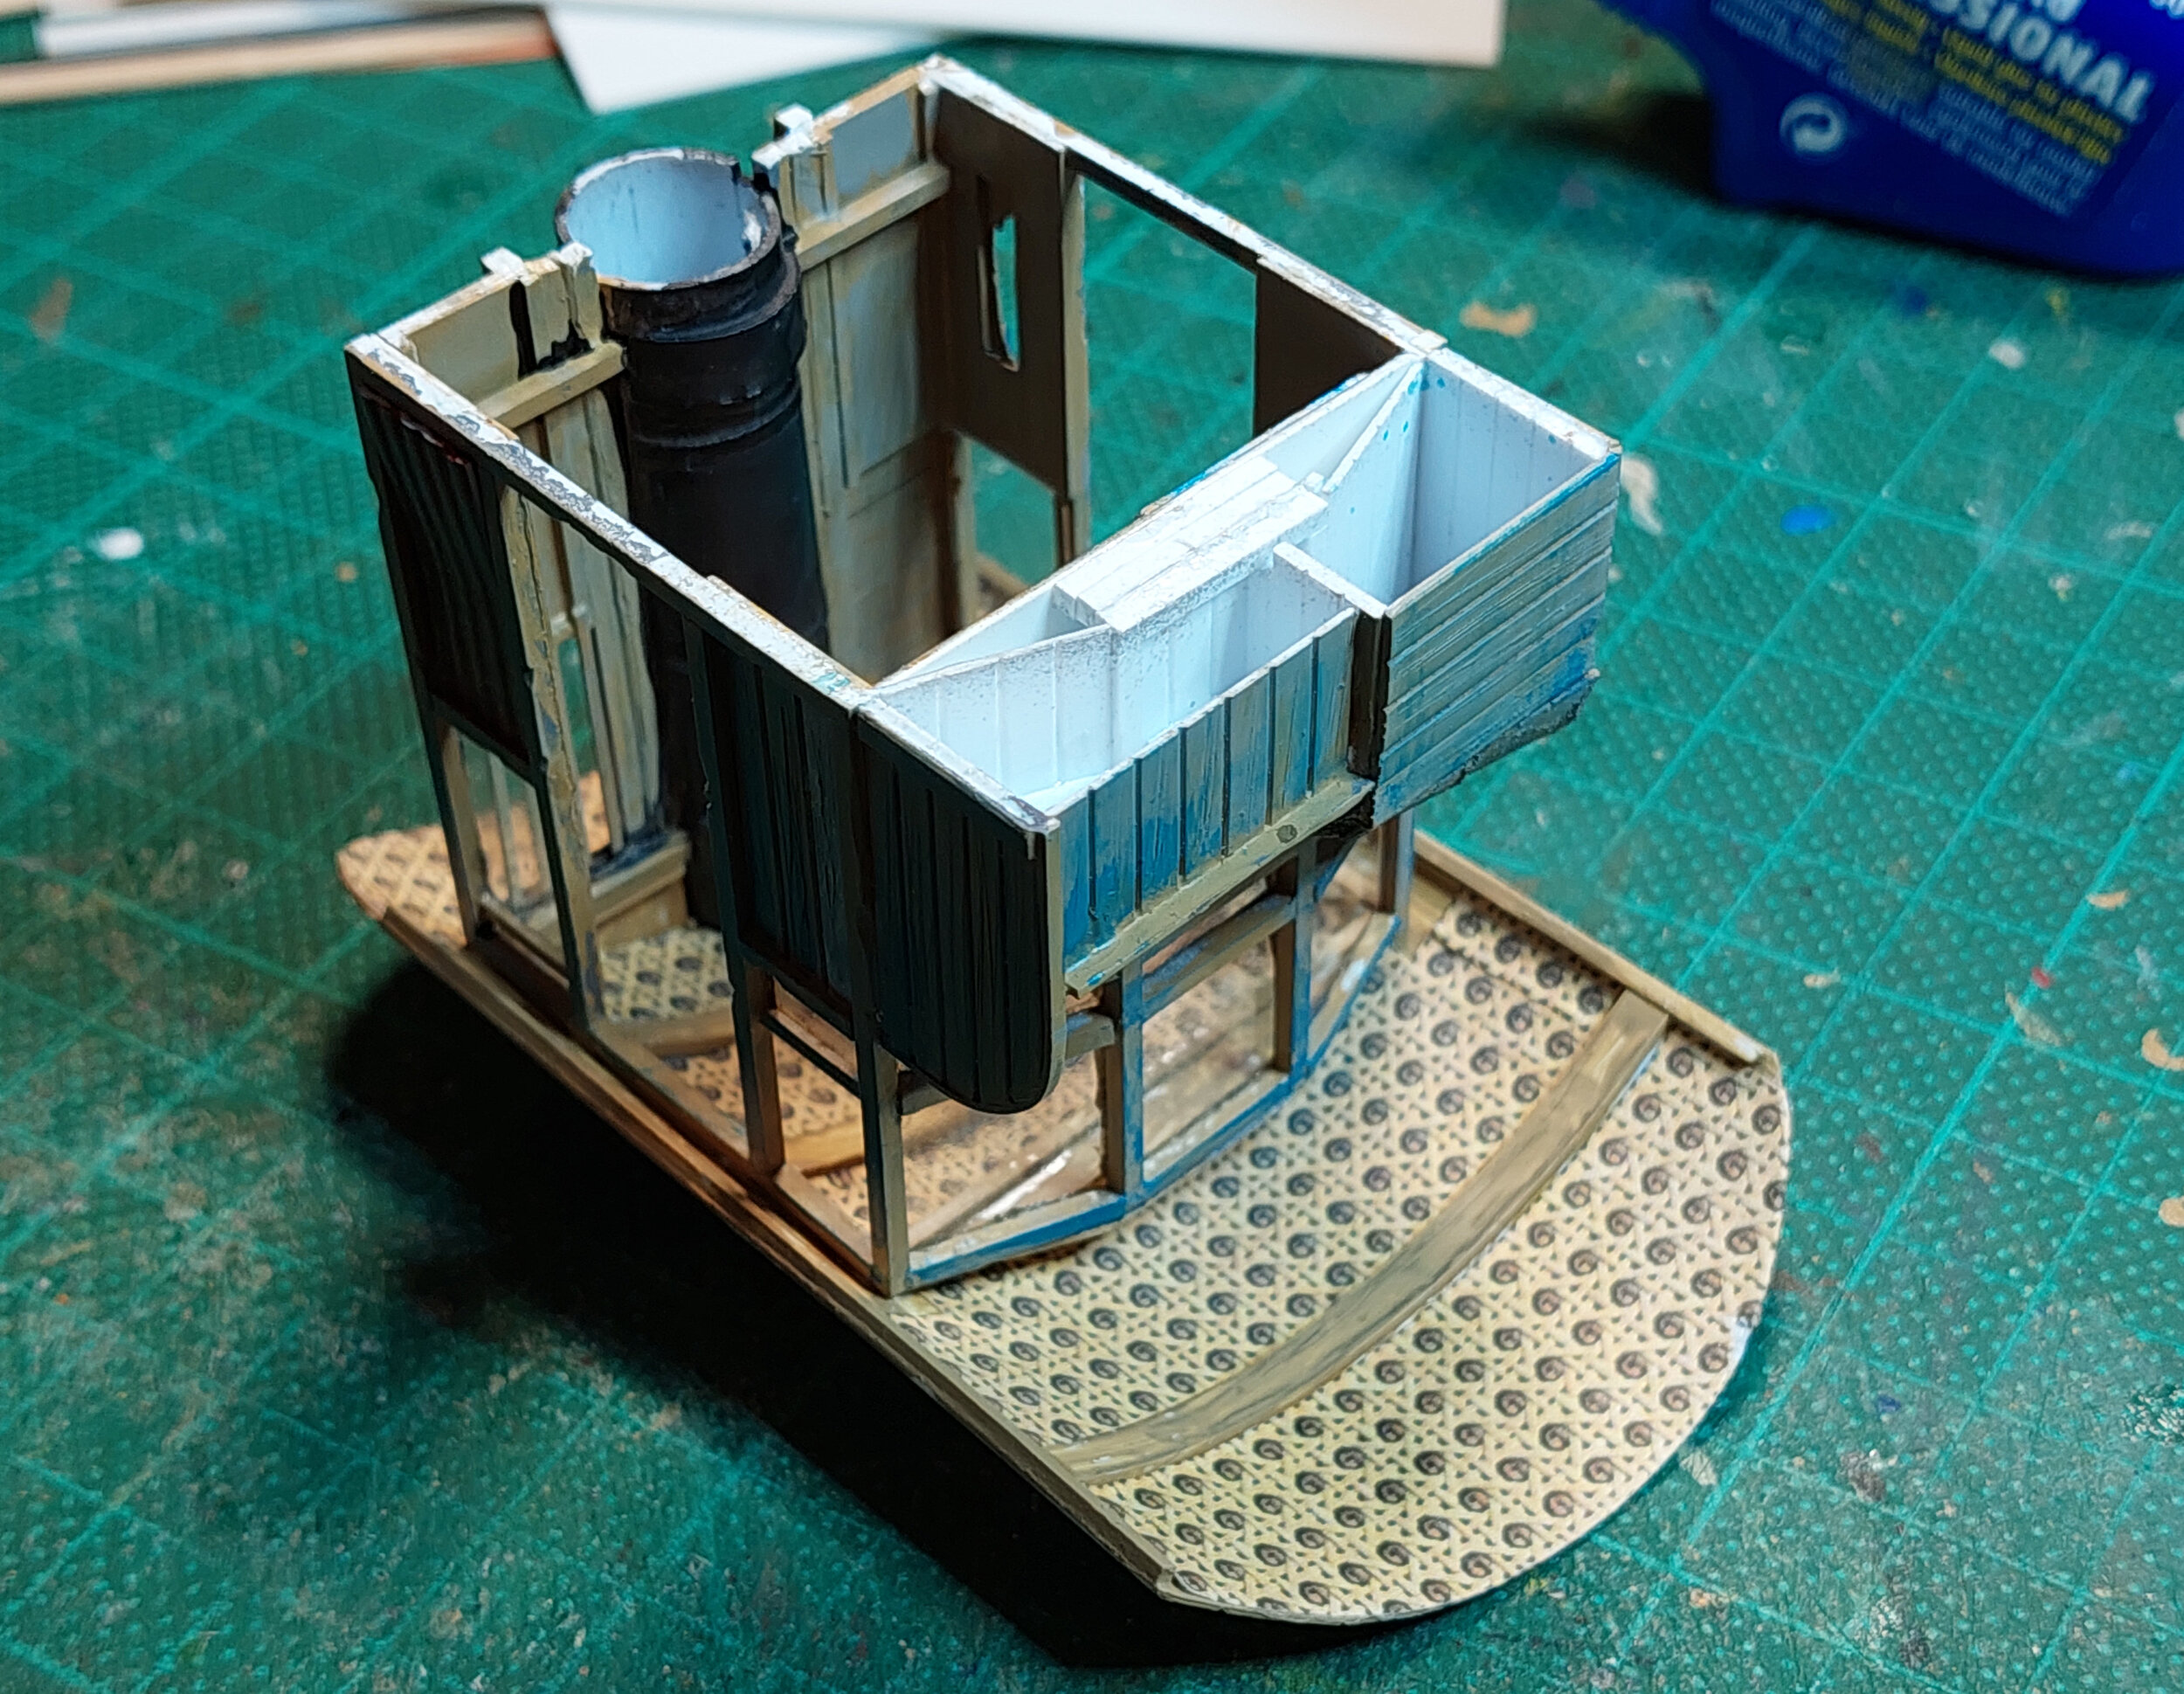
Thanks Rick, yes I'm very happy with my rendition of the boat. Certainly different looking than my normal fishing boats & trawlers.
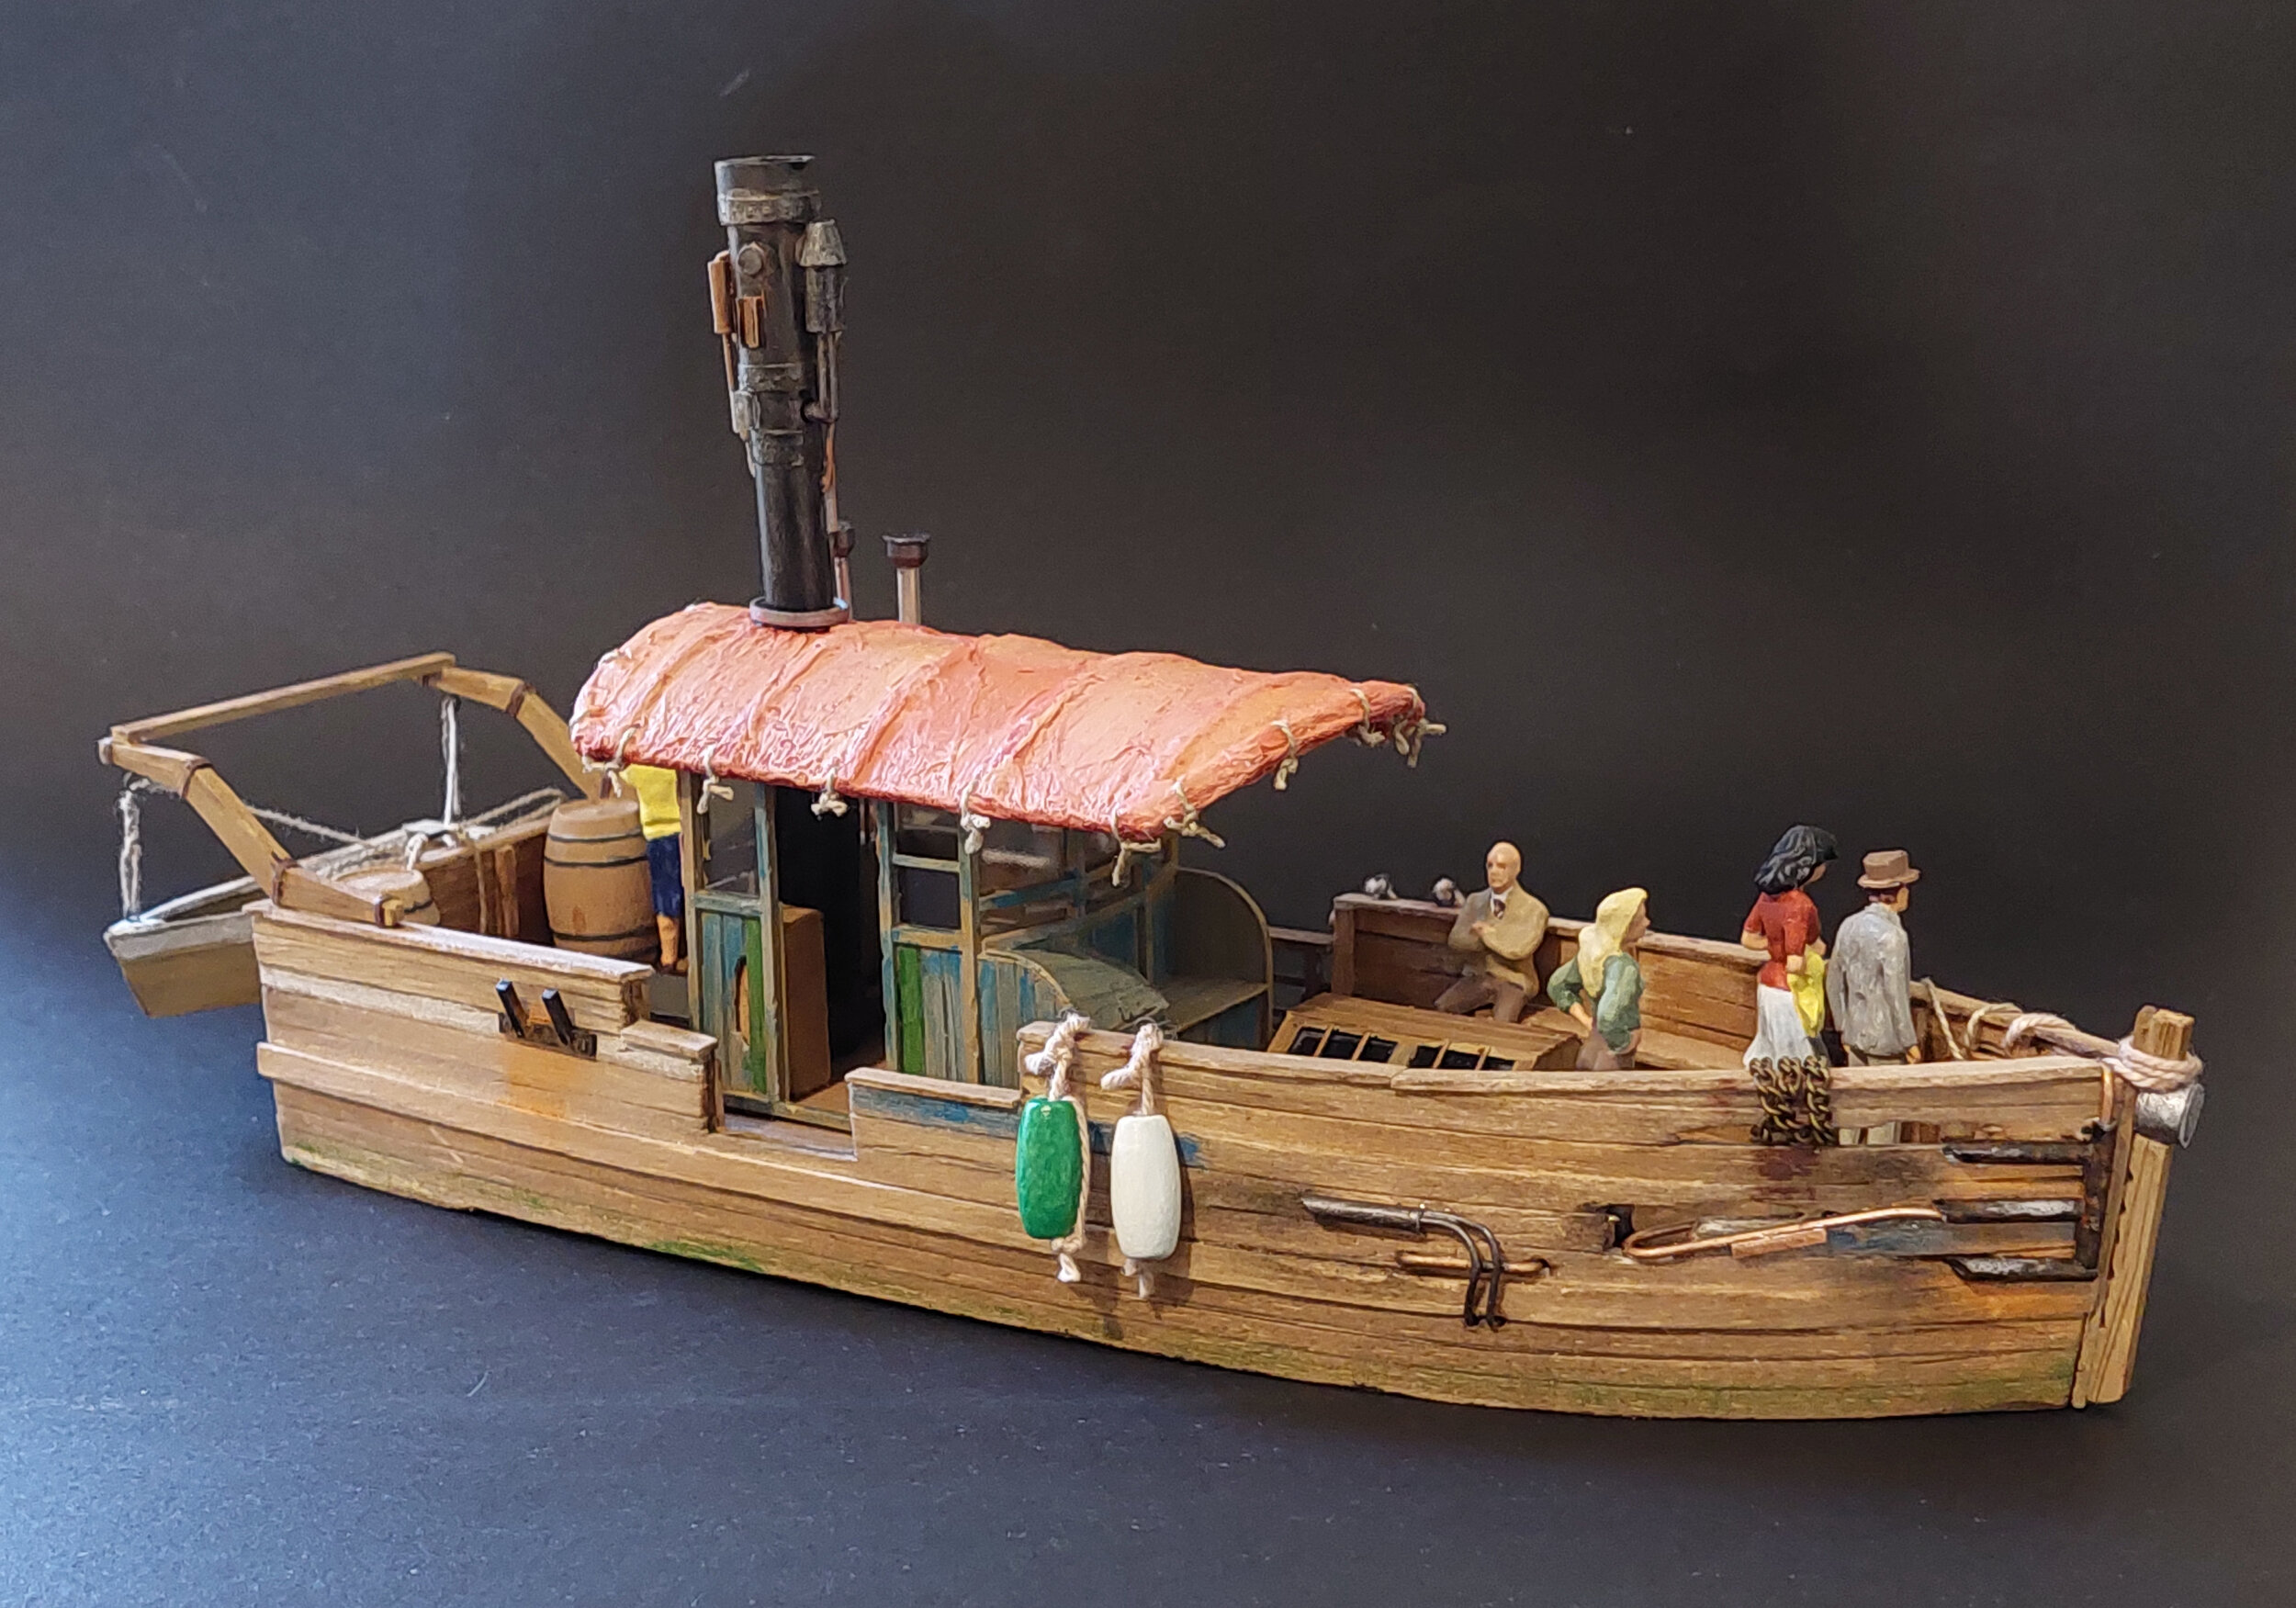
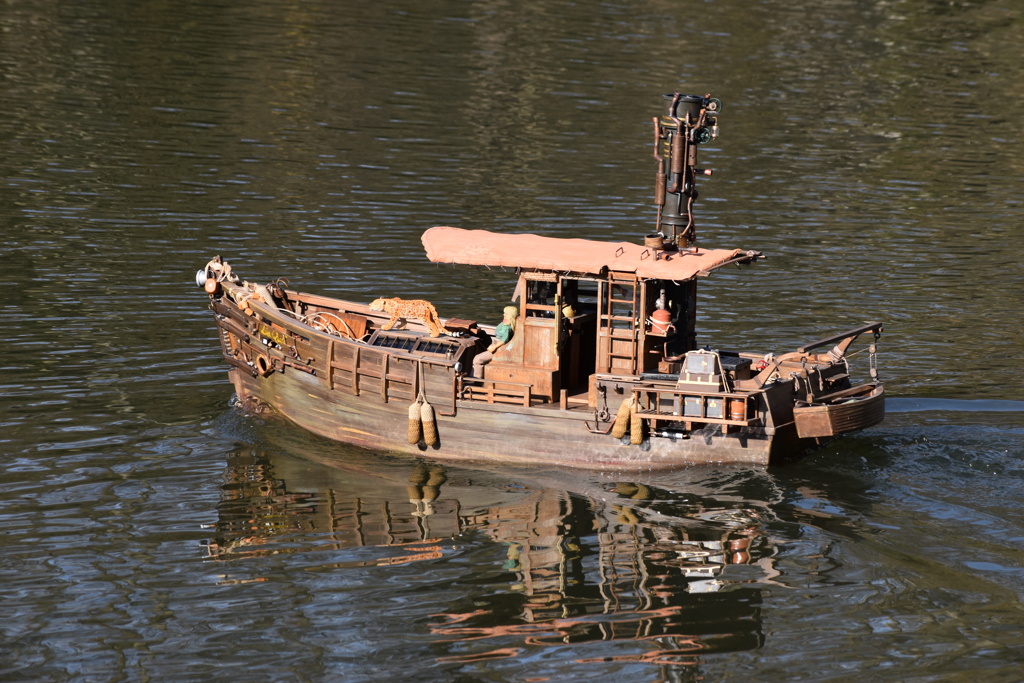
My efforts so far of making the boat move are hit & miss. As an exhibition layout I need everything to run smoothly all day, so still plenty of tweaking to do. If worse comes to worse and I can't get it running properly, then the boats will just be static displays on the layout, so will still look good.
Thanks Darryl, appreciate your kind words.
My efforts so far of making the boat move are hit & miss. As an exhibition layout I need everything to run smoothly all day, so still plenty of tweaking to do. If worse comes to worse and I can't get it running properly, then the boats will just be static displays on the layout, so will still look good.
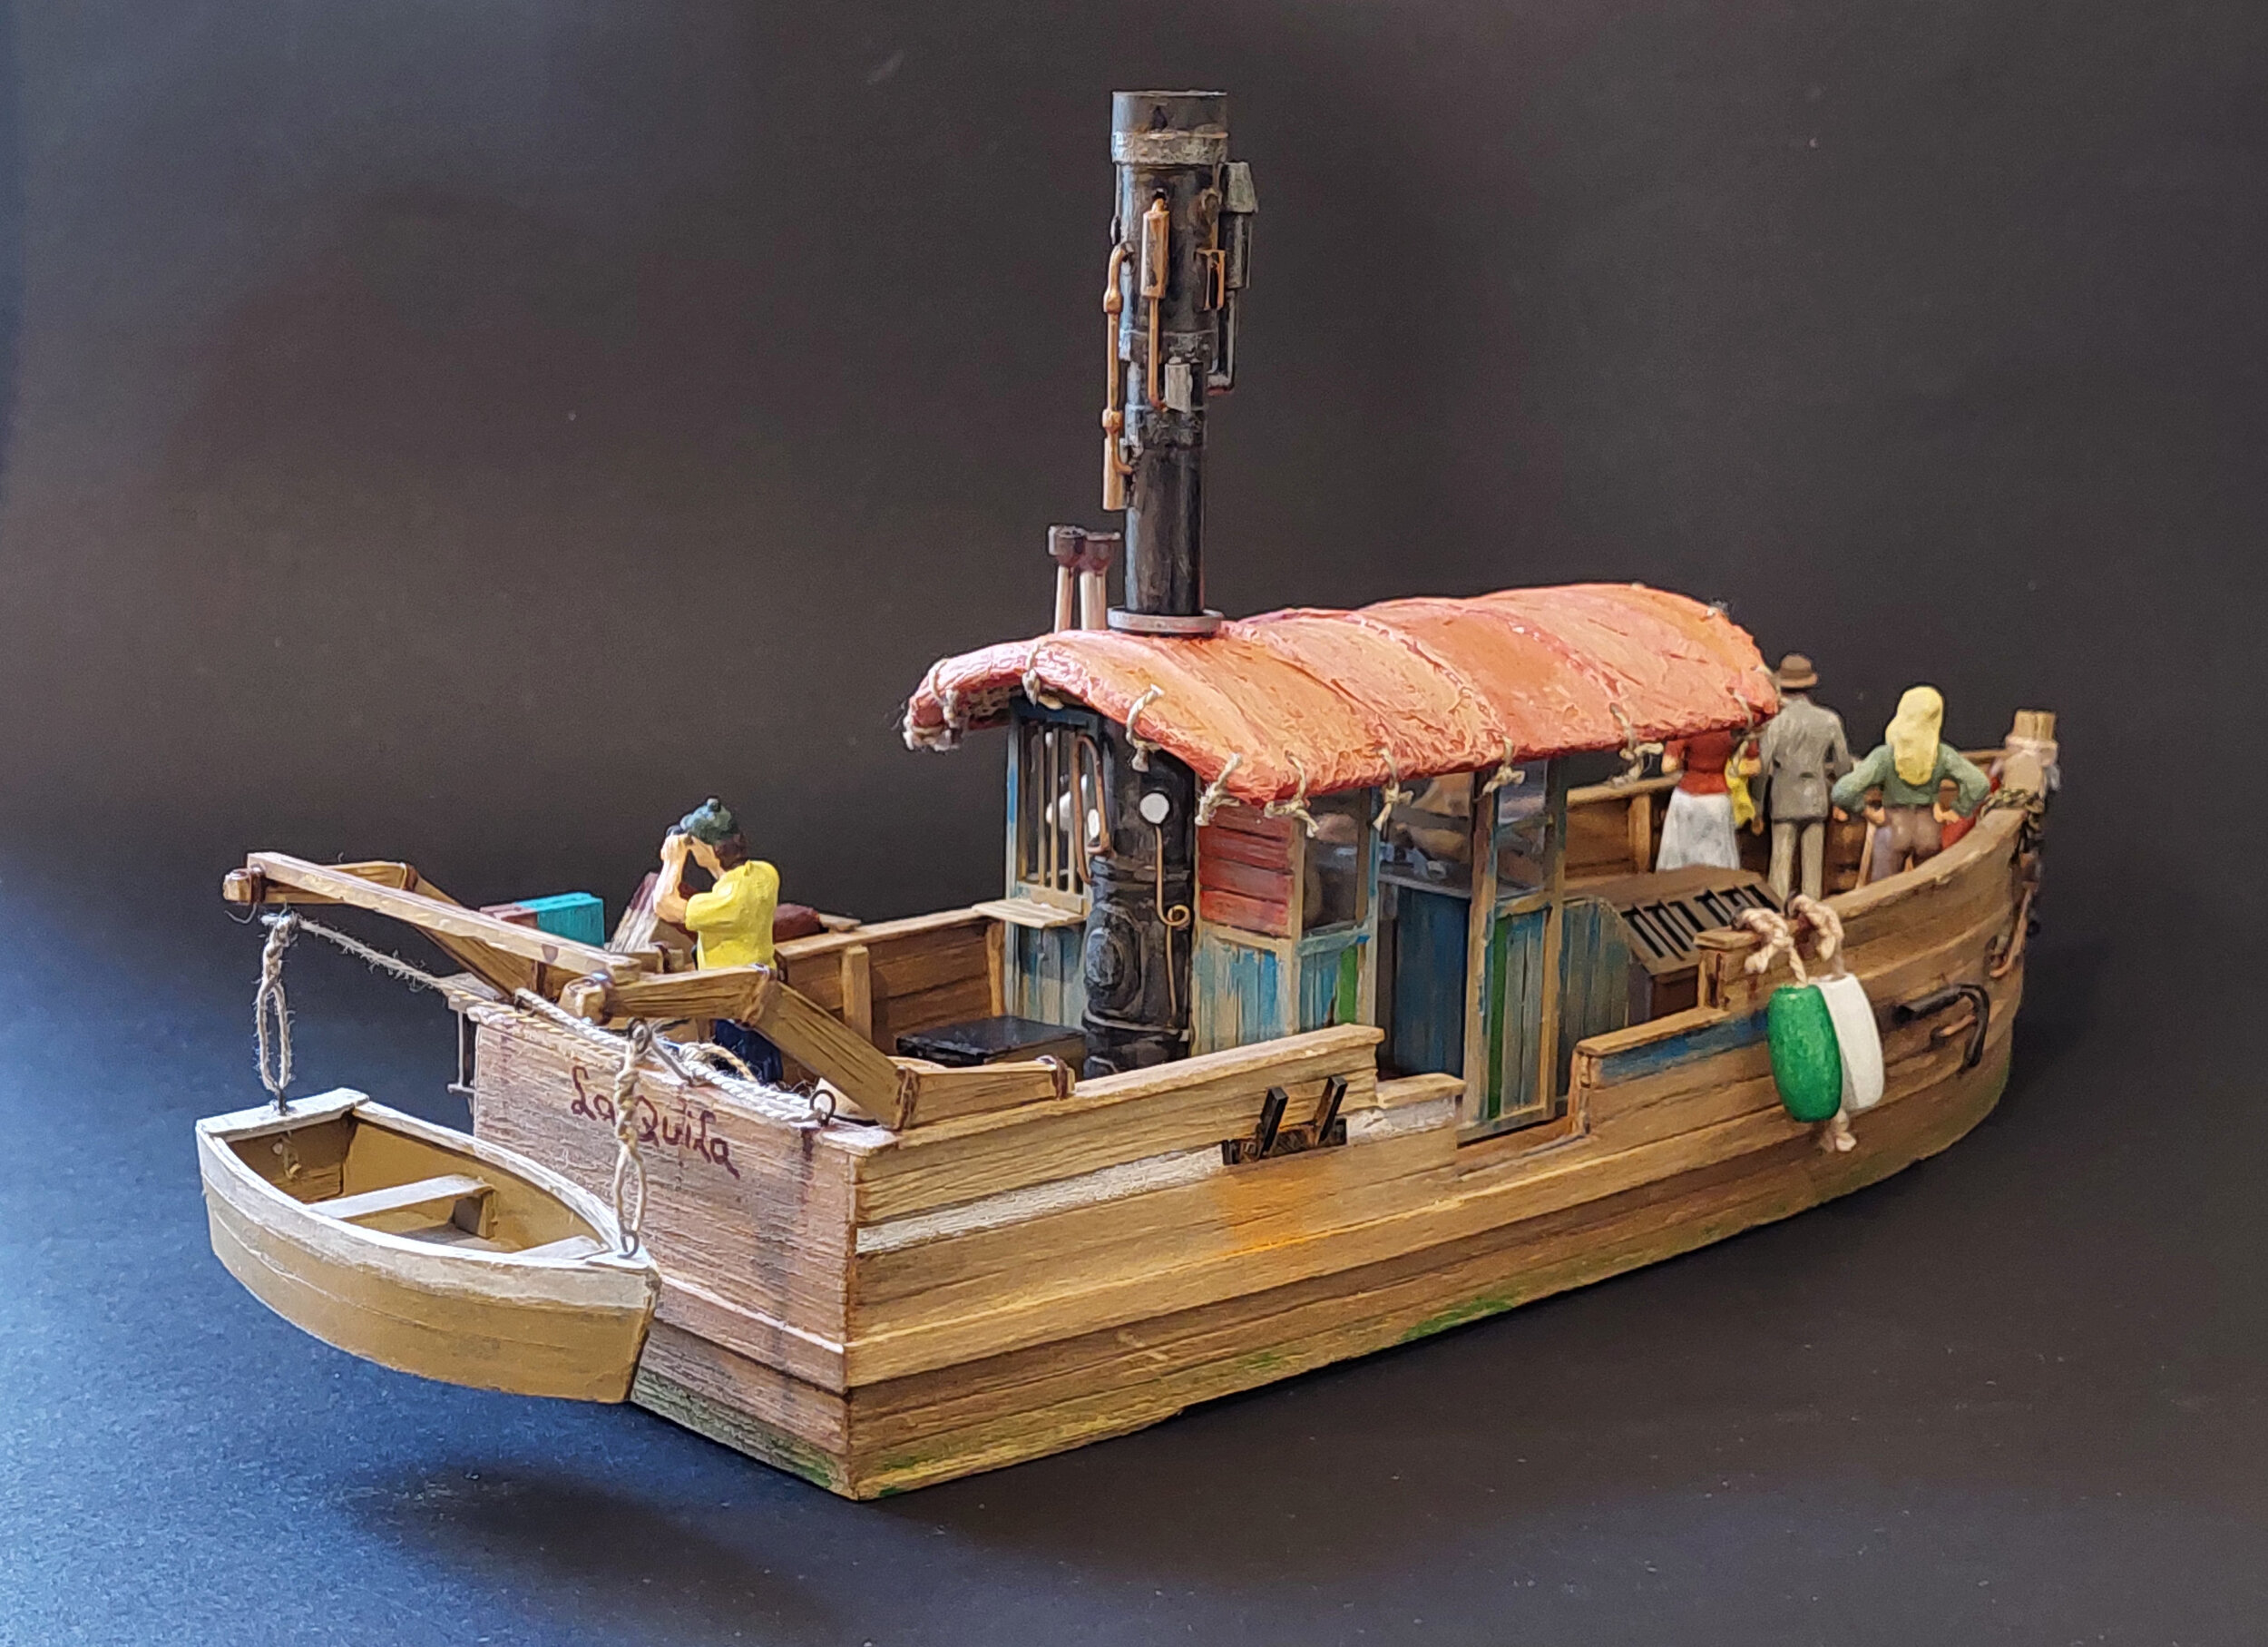
Thanks Darryl, appreciate your kind words.